The content of this post is based on Horizon on VMware Cloud on AWS deployment
In this post I will provide step by step guidance on installation and configuration of Horizon connection and replica server in horizon 7.9 admin console.
1st Connection Server Installation
Prerequisites for connection server installation
- Confirm you have download the the correct version on horizon connection server installer.
- Connection server must be domain joined
- Connection server must have static ip
- Confirm required port for horizon connection server is not being used by other application
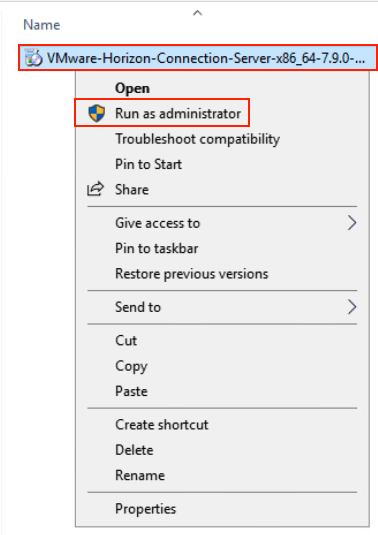
- Run connection server installer with administrator credential.
2. Select next.
3. Accept the terms of license agreement and select next.
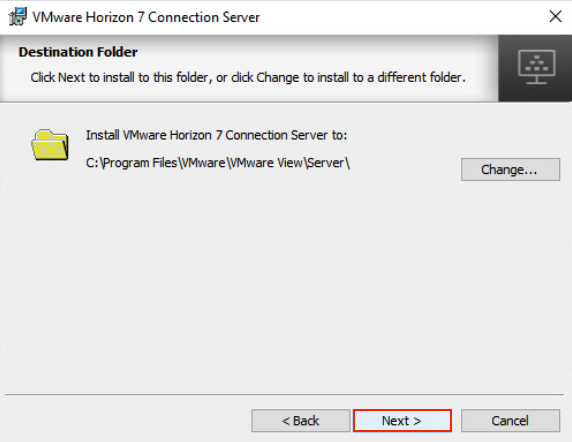
4. Define Connection Server installation directory and select next.
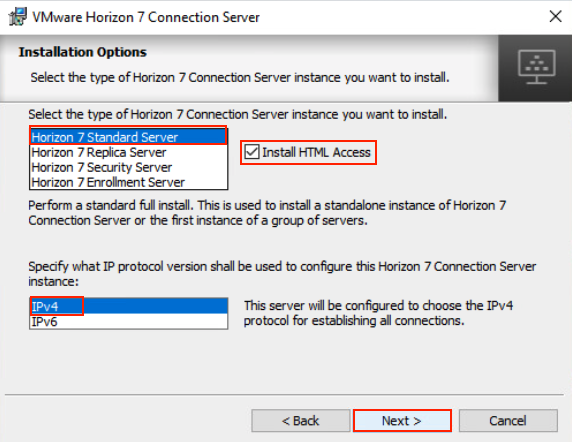
5. Select installation option as Horizon 7 Standard Server, put the check on Install HTML access option, specify the IP protocol version as IPv4 and select next.
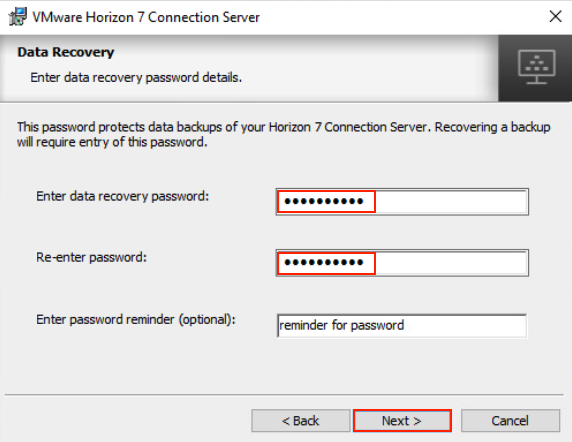
6. Enter password for data recovery and select next.
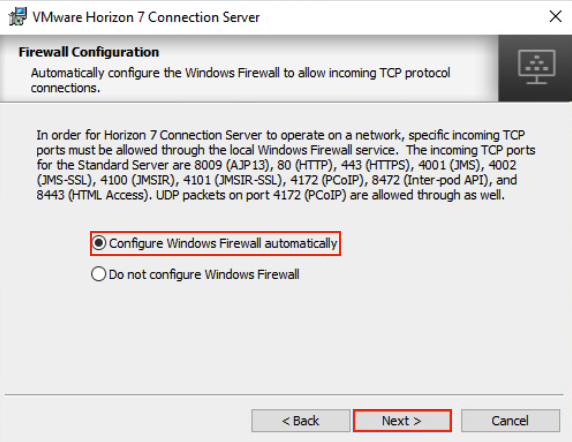
7. Select the option for firewall configuration and select next.
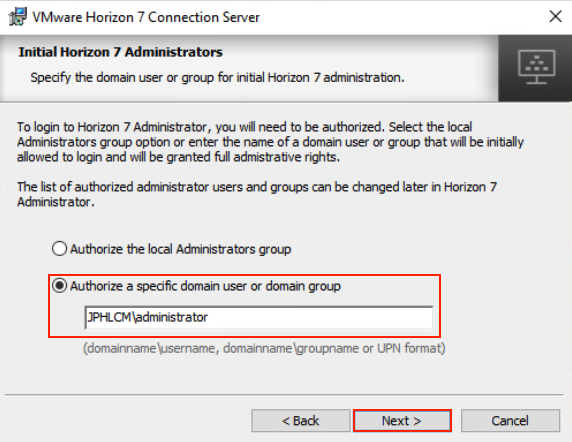
8. Choose Authorise a specific domain user or domain group option, specify the username/group and select next.
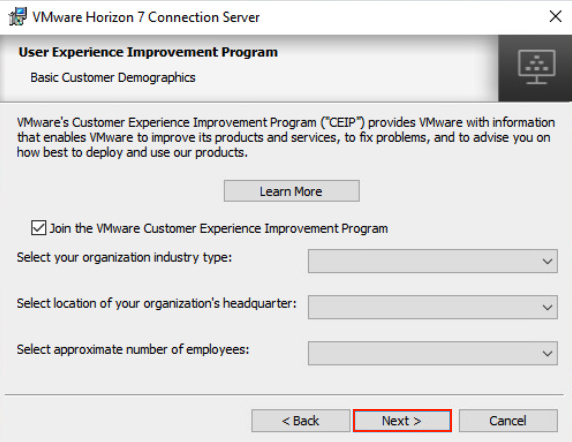
9. Select user experience improvement program and inter the information in given field and select next.
10. Validate all the information you have entered for connection server configuration and select Install to proceed the installation.

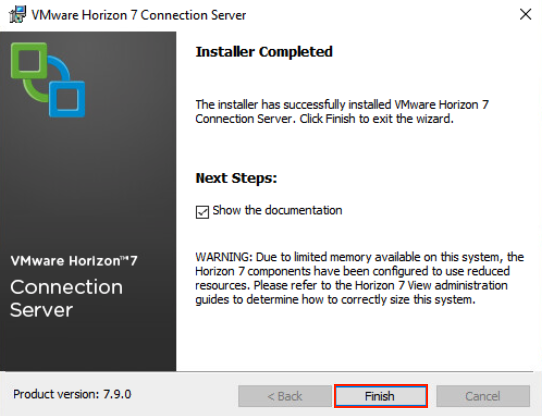
11. Confirm your installation has been completed successfully.
Replica Connection Server Installation
Prerequisites for replica connection server installation is same as the 1st connection server.
- Run connection server installer with administrator credential.
2. Select next.
3. Accept the terms of license agreement and select next.
4. Define the Connection Server installation directory and select next.
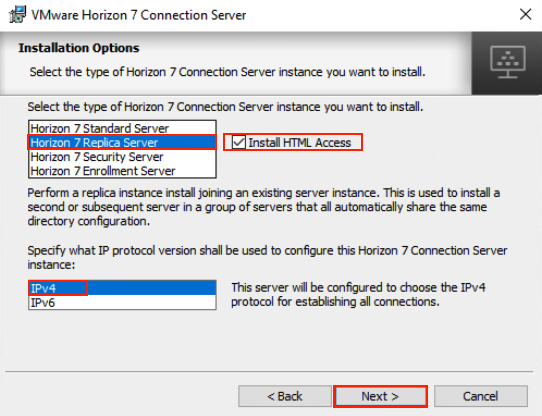
5. Select installation option as Horizon 7 Replica Server, put the check on Install HTML Access option, specify the IP protocol version as IPv4 and select next.
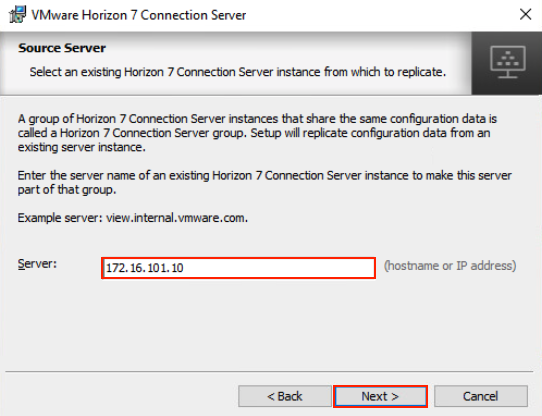
6. In source server, define the hostname or IP address of 1st connection server your have installed earlier and select next.
7. Select the option for firewall configuration and select next.
8. Validate all the information you have entered for the connection server configuration and select install to proceed the installation.
9. Confirm your installation has been completed successfully.
Now we have completed the installation of connection servers set with replica server. Next we configure connection servers in horizon admin console.
Configuration of Horizon Management Components
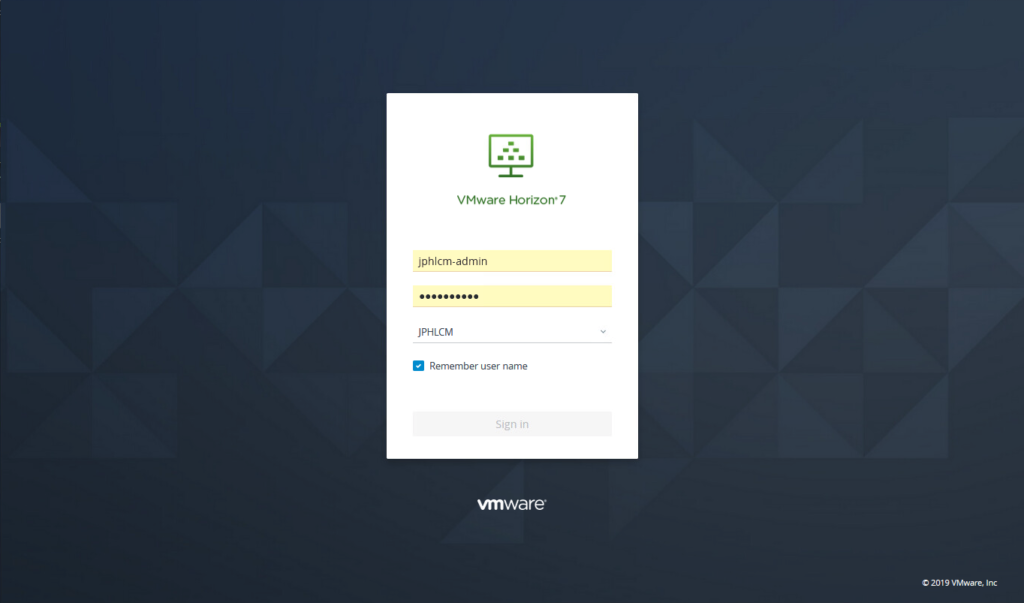
- Open administration console of horizon 7.9 from your browser. https://ipaddress-of-your-first-connetion-server/newadmin and login with your domain username and password.
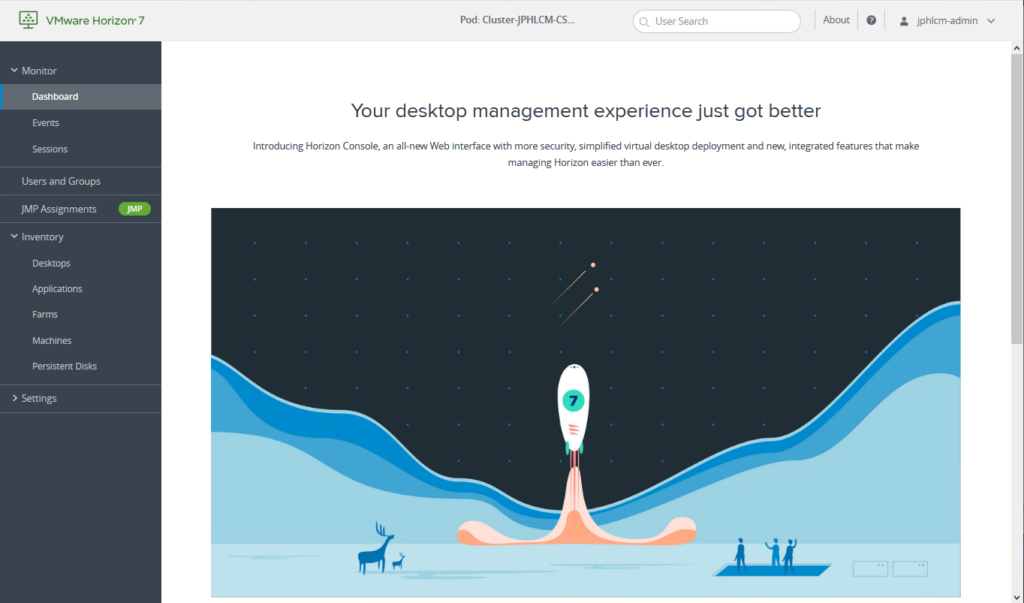
2. You will see admin Dashboard of horizon.
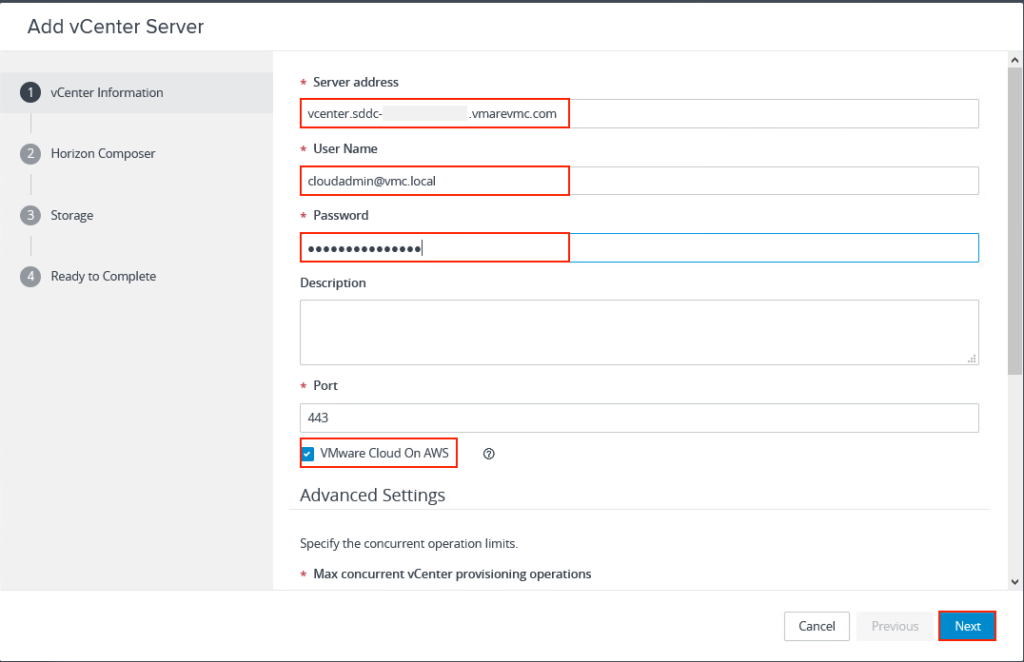
3. In left pane, go to Settings>Servers>vCenter Servers and select Add.
4. Inter vCenter server address, username/password and put check on VMware Cloud on AWS (VMC) if only you are deploying horizon environment on top of VMware cloud on AWS IaaS and select next.
4. Select Do not use Horizon Composer (Composer feature is not supported on horizon on VMC at the moment) and select next.

5. Put check on Reclaim VM disk space and select next.

6. Verify all the vCenter parameters and select Submit if everything looks good.
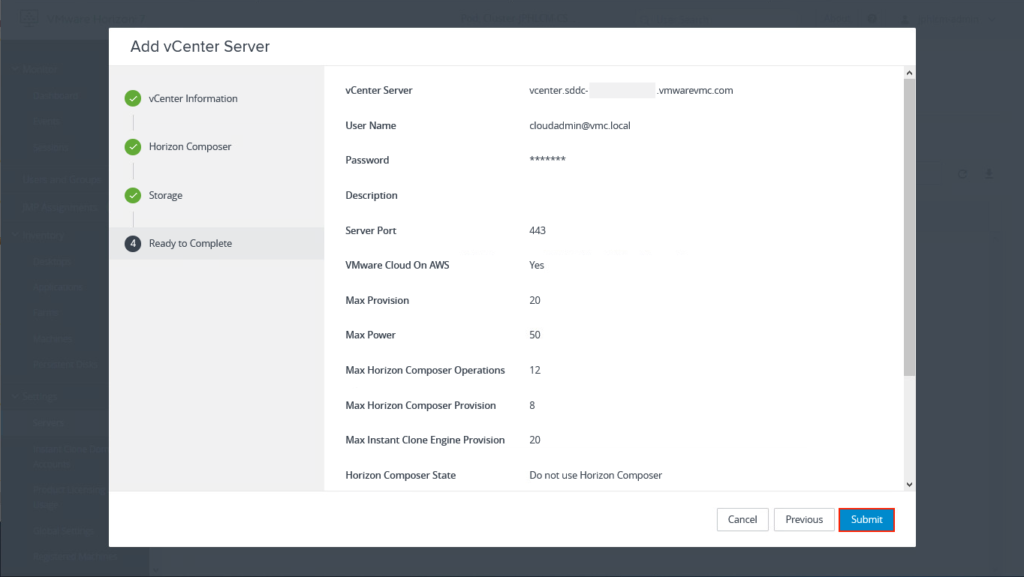
7. Confirm vCenter server has been added under the vCenter Server tab.

8. In left pane, go to Settings>Servers>Connection Servers and Select Add. Specify the detail of 1st connection server and save the configuration.
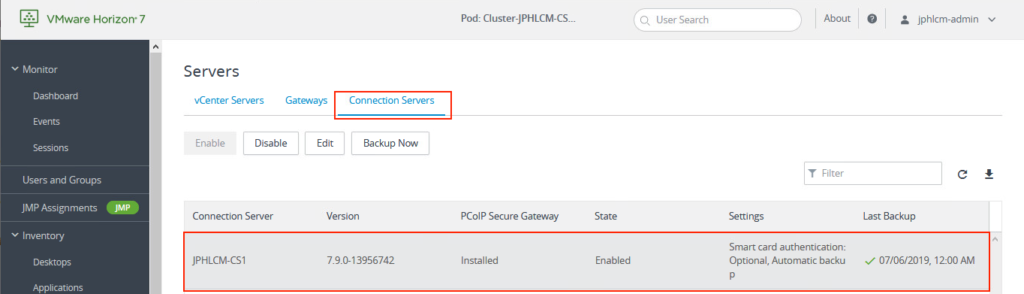
9. Select newly added connection server in middle pane and select edit. Configure the settings as per your requirement and select OK to save the settings.

10. In case of replica server/s, it will be automatically added on admin console (no need to add manually).
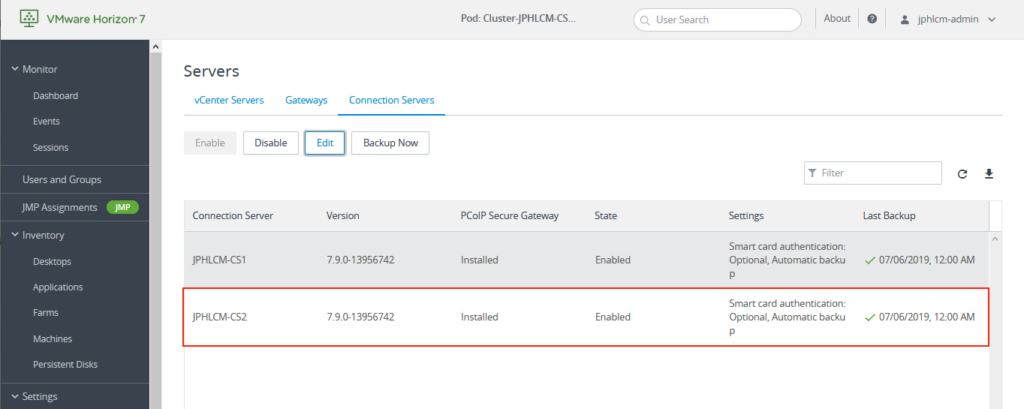
11. Repeat step-9 settings for replica server/s as well.
![]()