VMware Horizon Cloud Service Next-gen (aka Horizon Cloud Service v2) has added a new TrueSSO feature with Microsoft Enterprise Certificate Authority (CA) in September, 2023 release. Similar feature is available in Horizon Cloud service first-gen (aka v1) as well. But the key difference here is, in first-gen, there is a requirement of Horizon Enrollment Server has to be installed and configured within customer`s environment to handles the cert requests during the users logon. In Next-gen, Horizon Enrollment Server is no more required. The Enrollment Server like capability is hosted within the Horizon Cloud Next-gen control plane as a part of service. Hence, this reduces the burden on admin as well as reduces cost which occurs to host the Enrollment Servers.
In this post, I will guide you through the steps for configuring the TrueSSO with Microsoft CA.
Prerequisite:
- You have access to Horizon Cloud Next-gen environment.
- Verify that you have the Microsoft Enterprise Certificate Authority (AD CS) instances that the TrueSSO feature requires. If you don’t have one, you can follow my previous blog post “Configuration of Certificate Authority” section.
- Configure your firewall to allow the deployed Horizon Edges to communicate with the Certificate Authority instances with the required protocol and ports combination as described in Horizon Cloud Port and Protocol Requirements for Your Horizon Cloud Deployment in Microsoft Azure.
Tasks:
A. Registration of domain enrollment service accounts
B. Create an AD security group for TrueSSO and register domain service accounts
C. Create TrueSSO certificate templates. (Enrollment Agent and Smart Logon)
D. Issuance of templates
E. Configure SSO with Microsoft CA in Horizon Cloud Universal Console
A. Register domain enrollment service accounts.
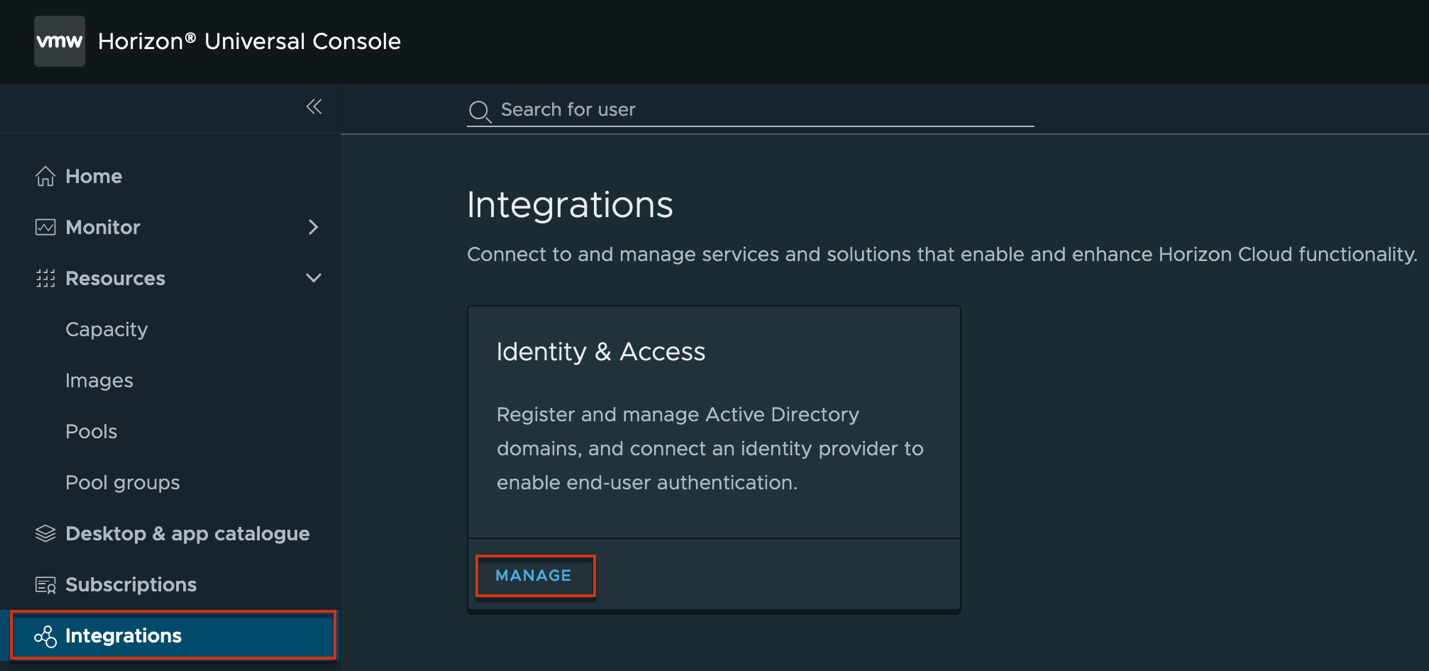
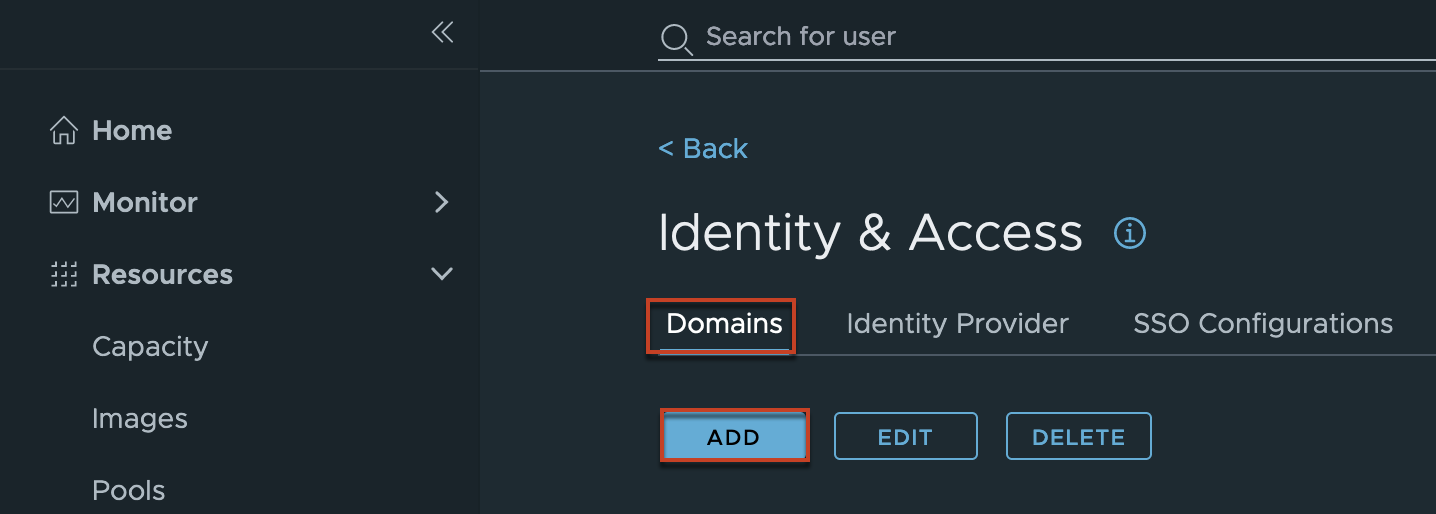
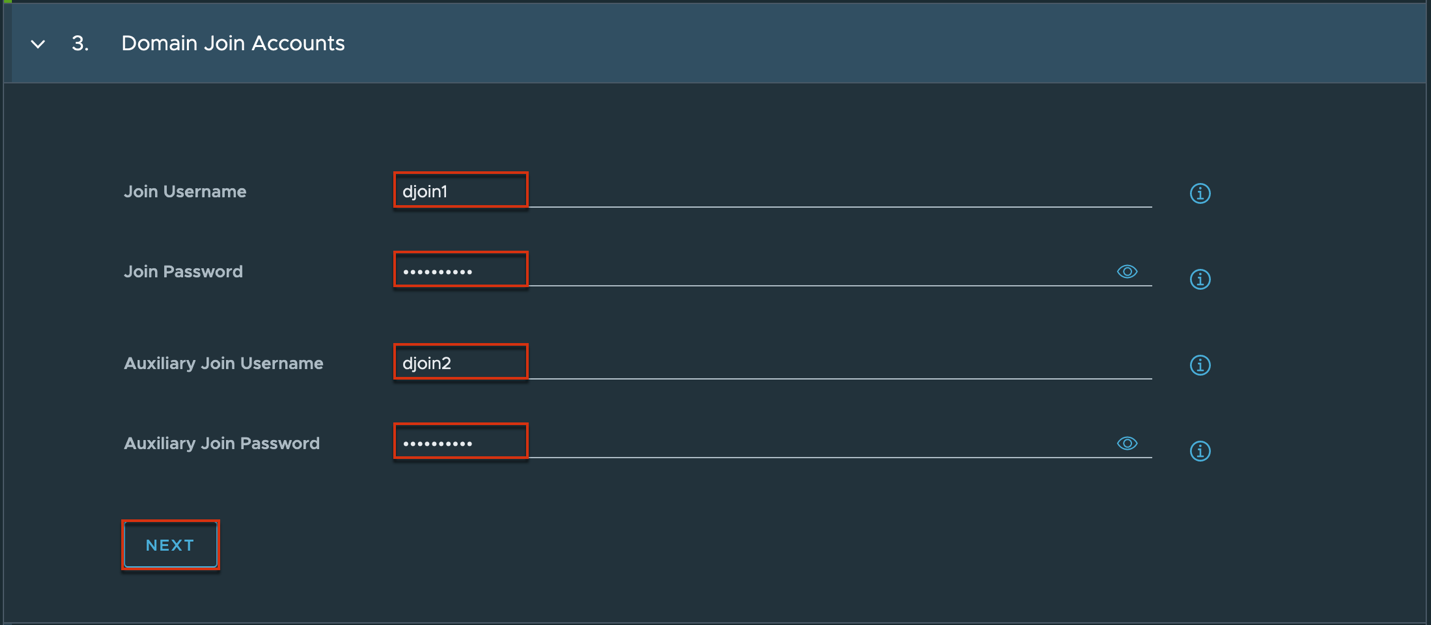
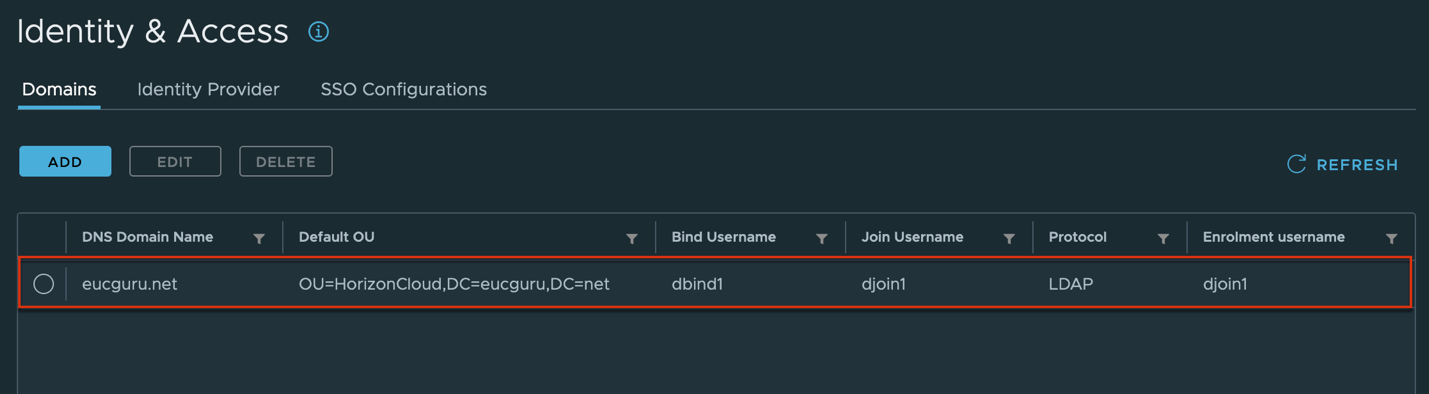
1. Log into Horizon Cloud Universal Console and navigate to [Integration] tab in left pane > [Manage] > [Domains] > [Add].
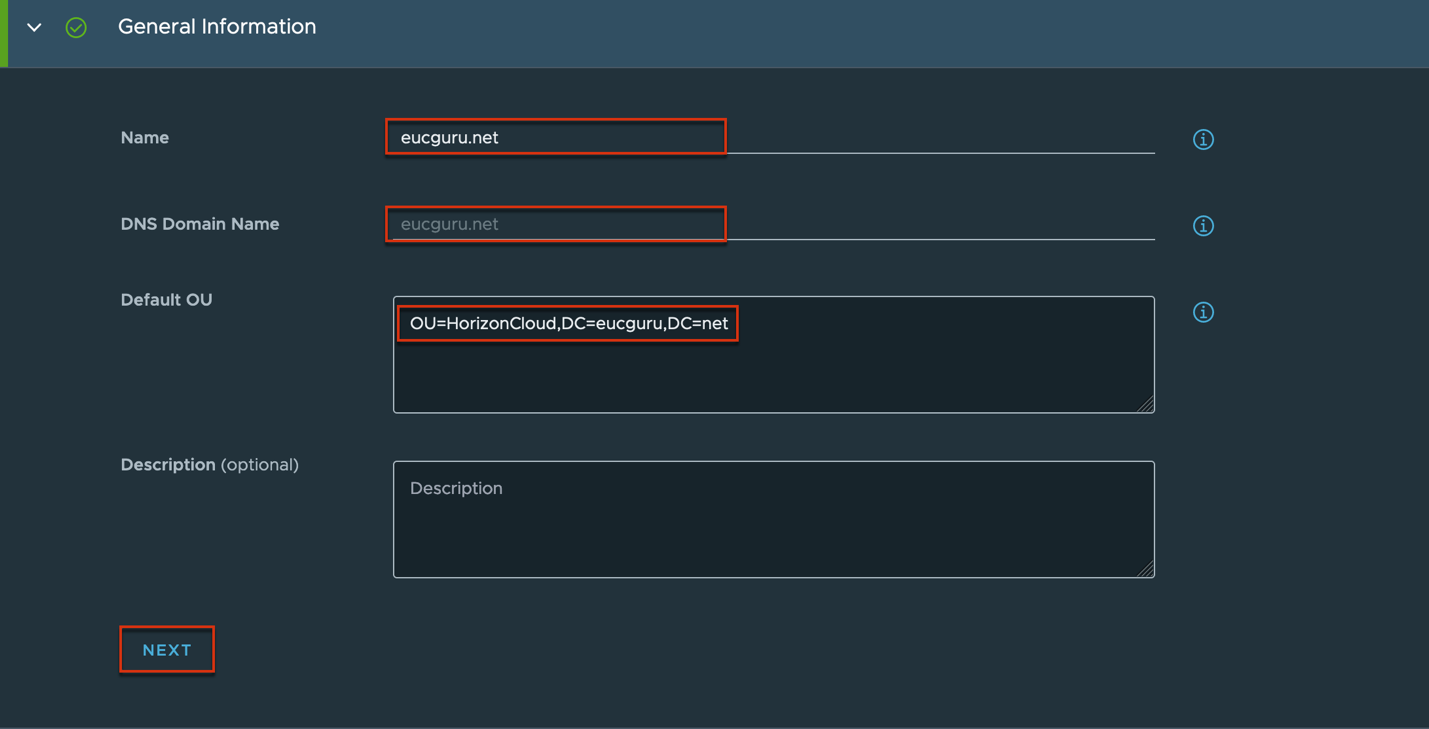
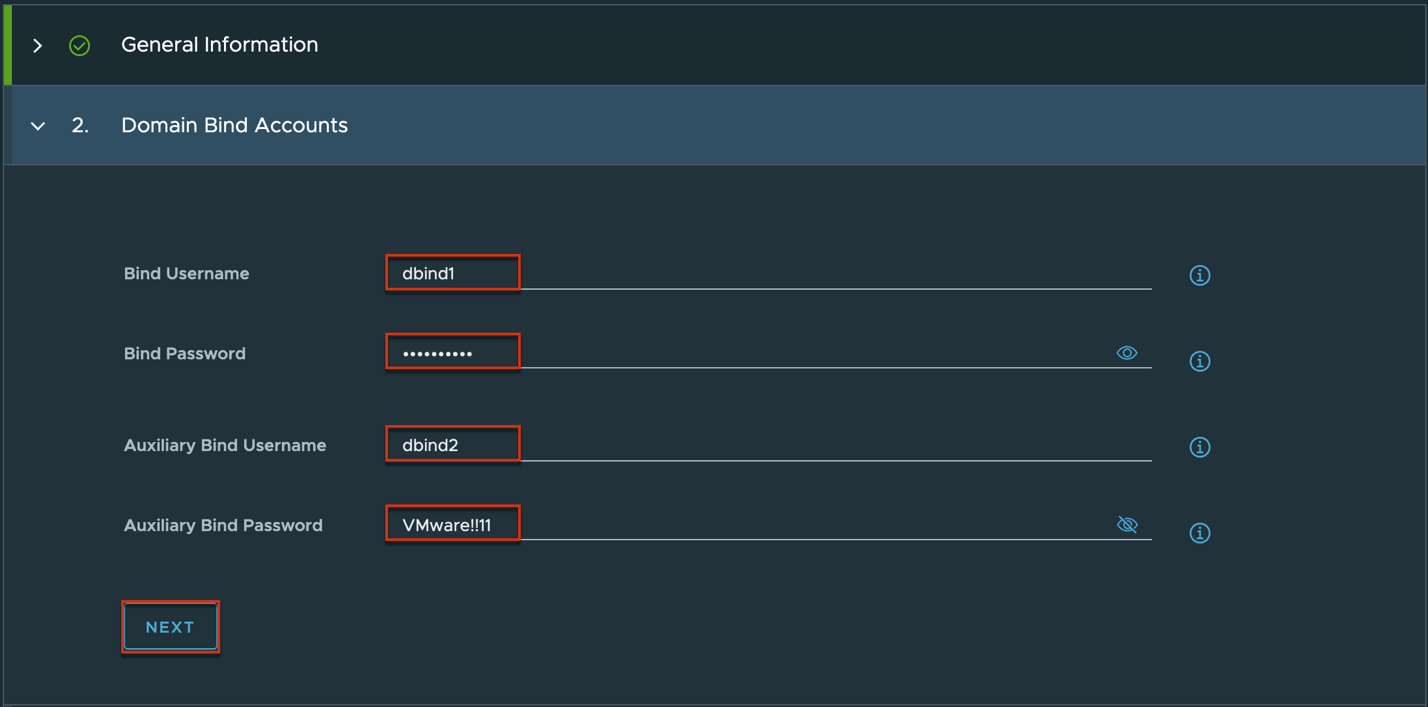
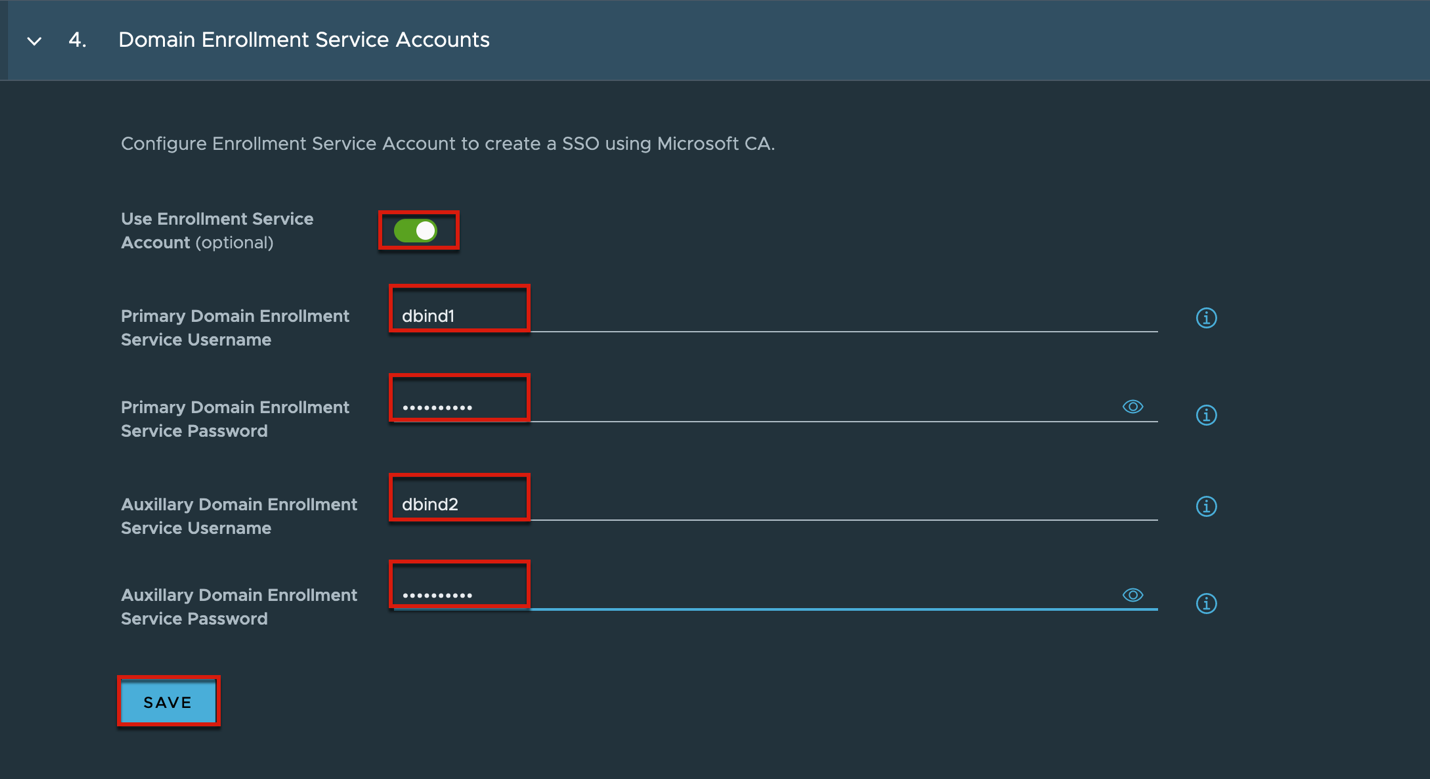
Complete domain bind and domain join account registration > [Next] > turn the toggle [User Enrolment Service Account] on > define the primary and secondary domain enrollment service accounts > [Save].
In my case I am utilizing the bind accounts as domain enrollment server account as well.
B. Create an AD security group for TrueSSO and register domain service accounts.
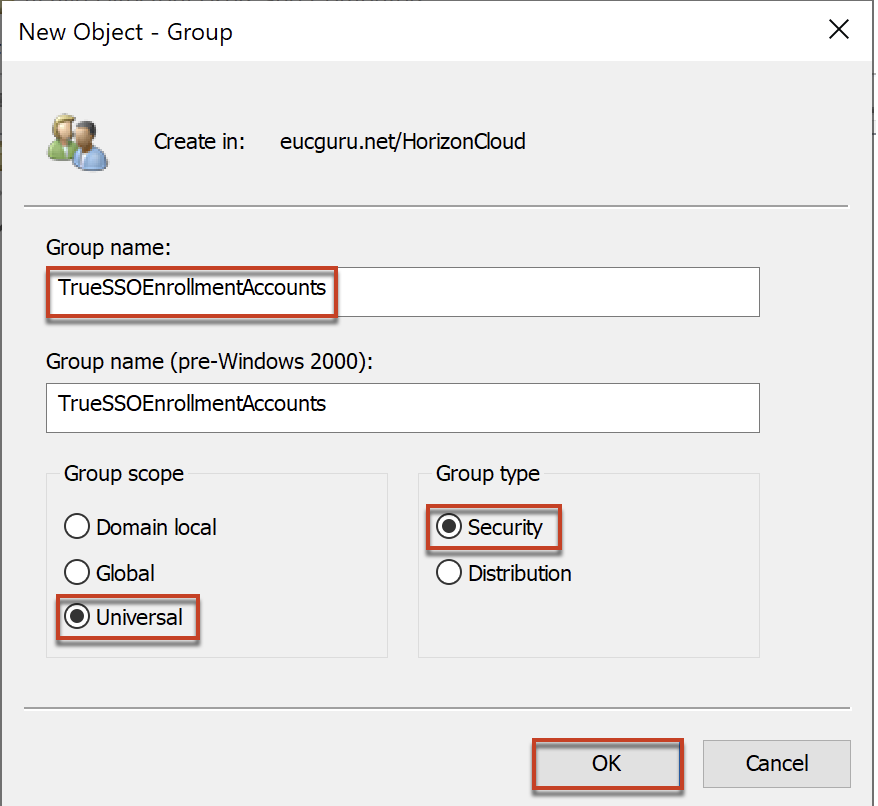
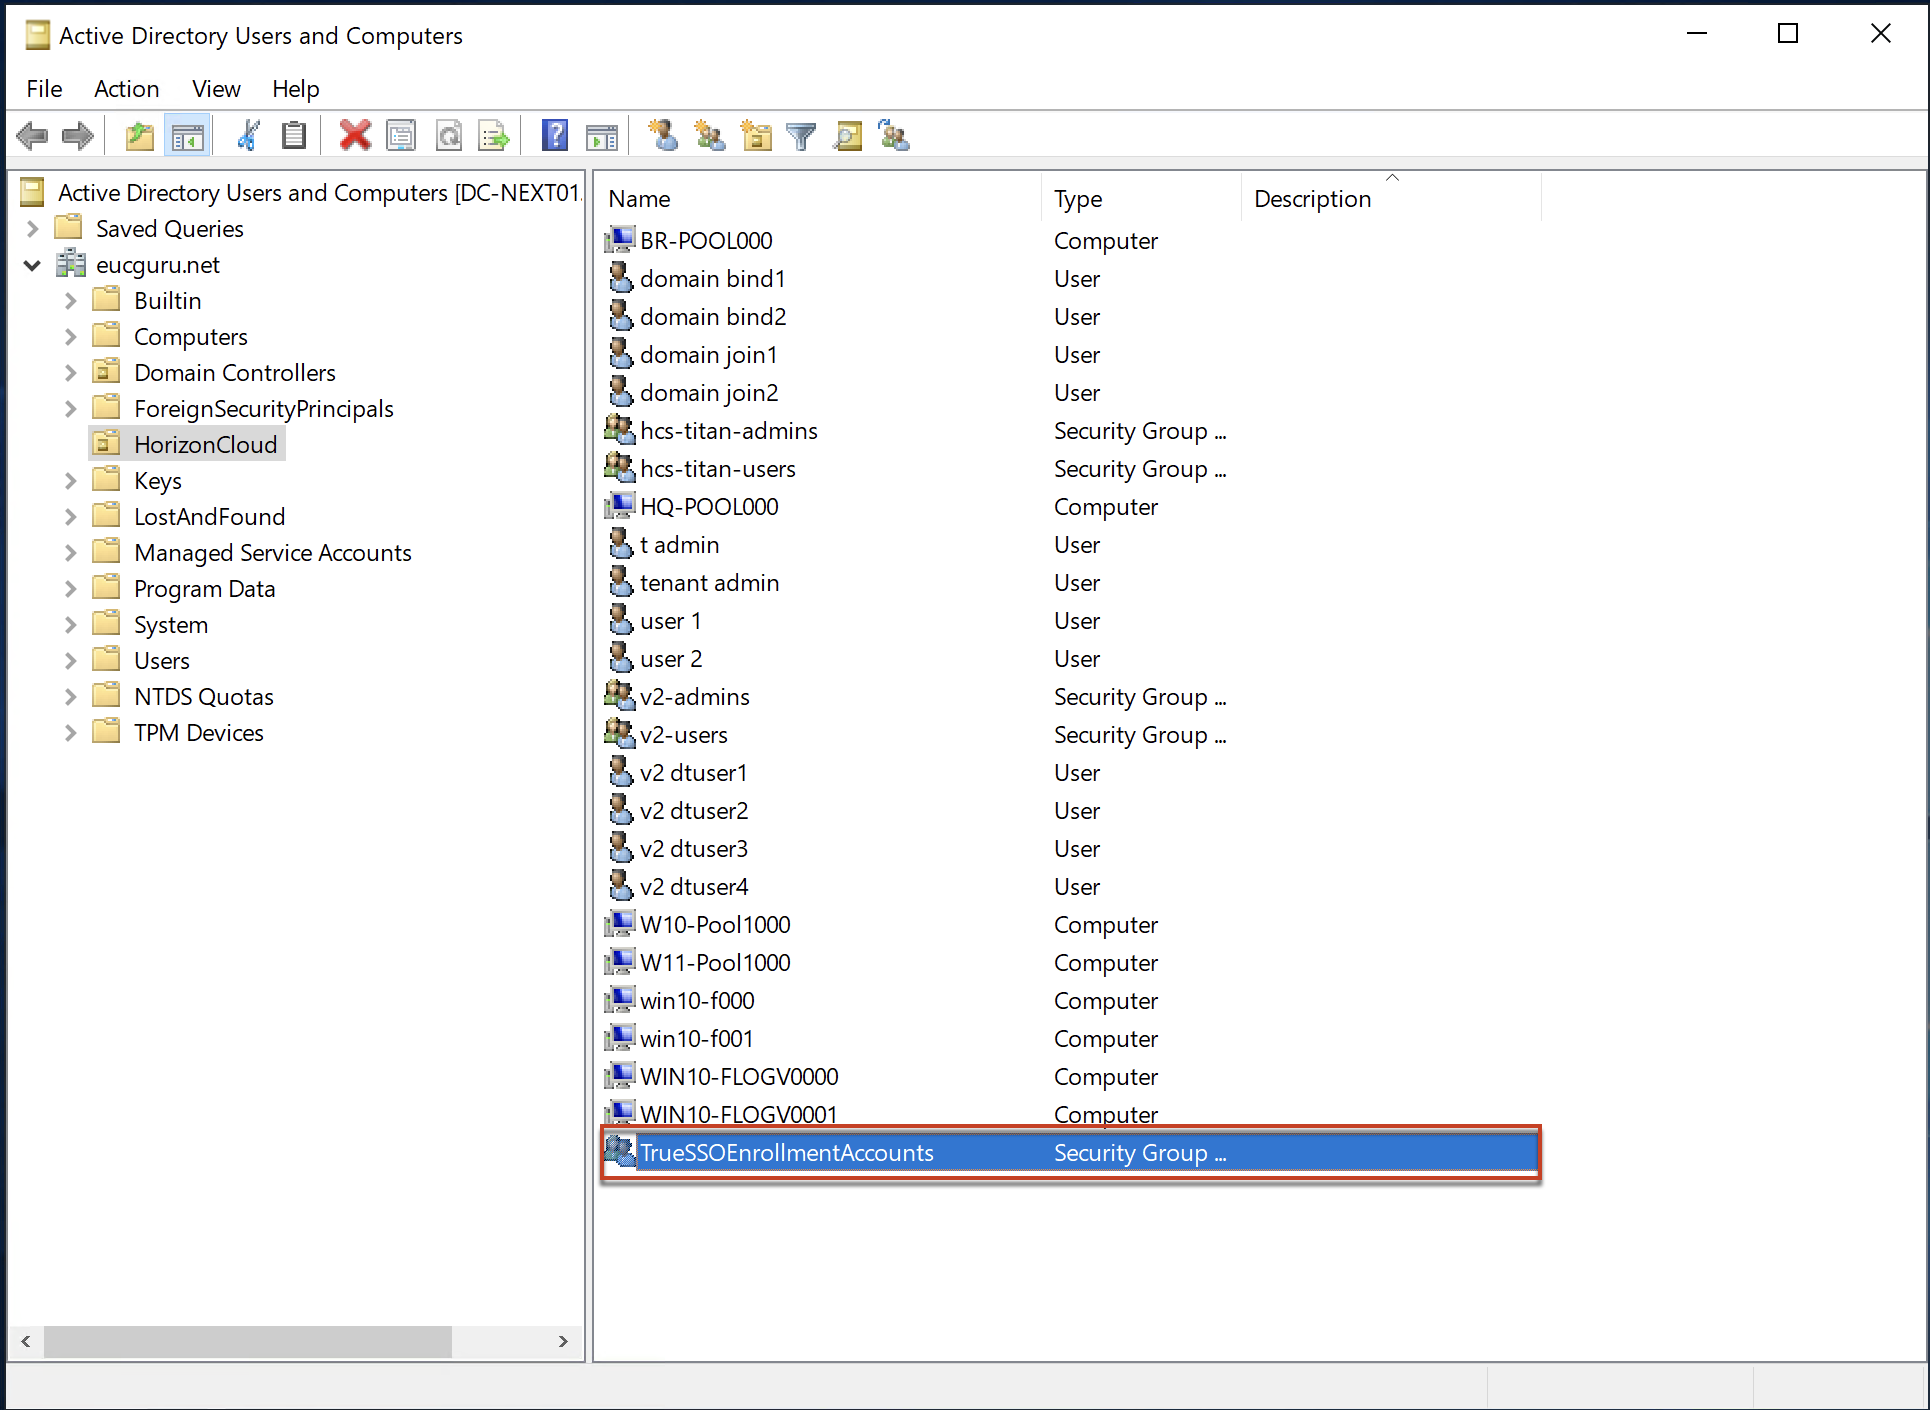
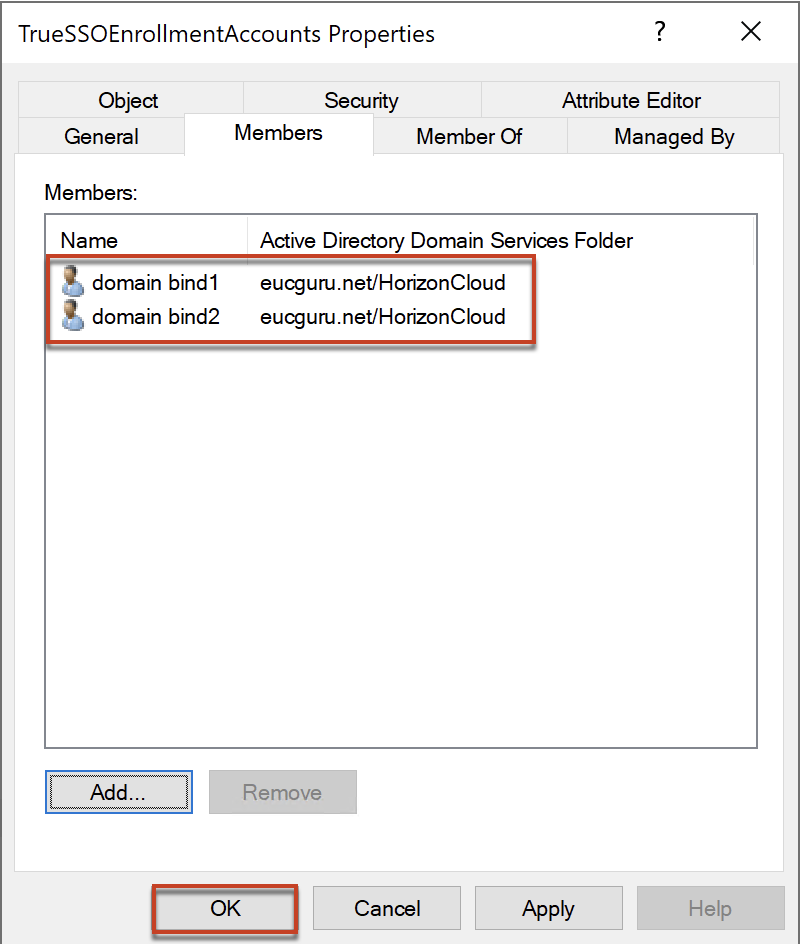
2. Open [Active Directory Users and Group] wizard in your AD server and create a security group with the group scope as “Universal” and group type as “Security”. You can name it with whatever the name of your choice. In my case, I name it as “TrueSSOEnrollmentAccounts”.
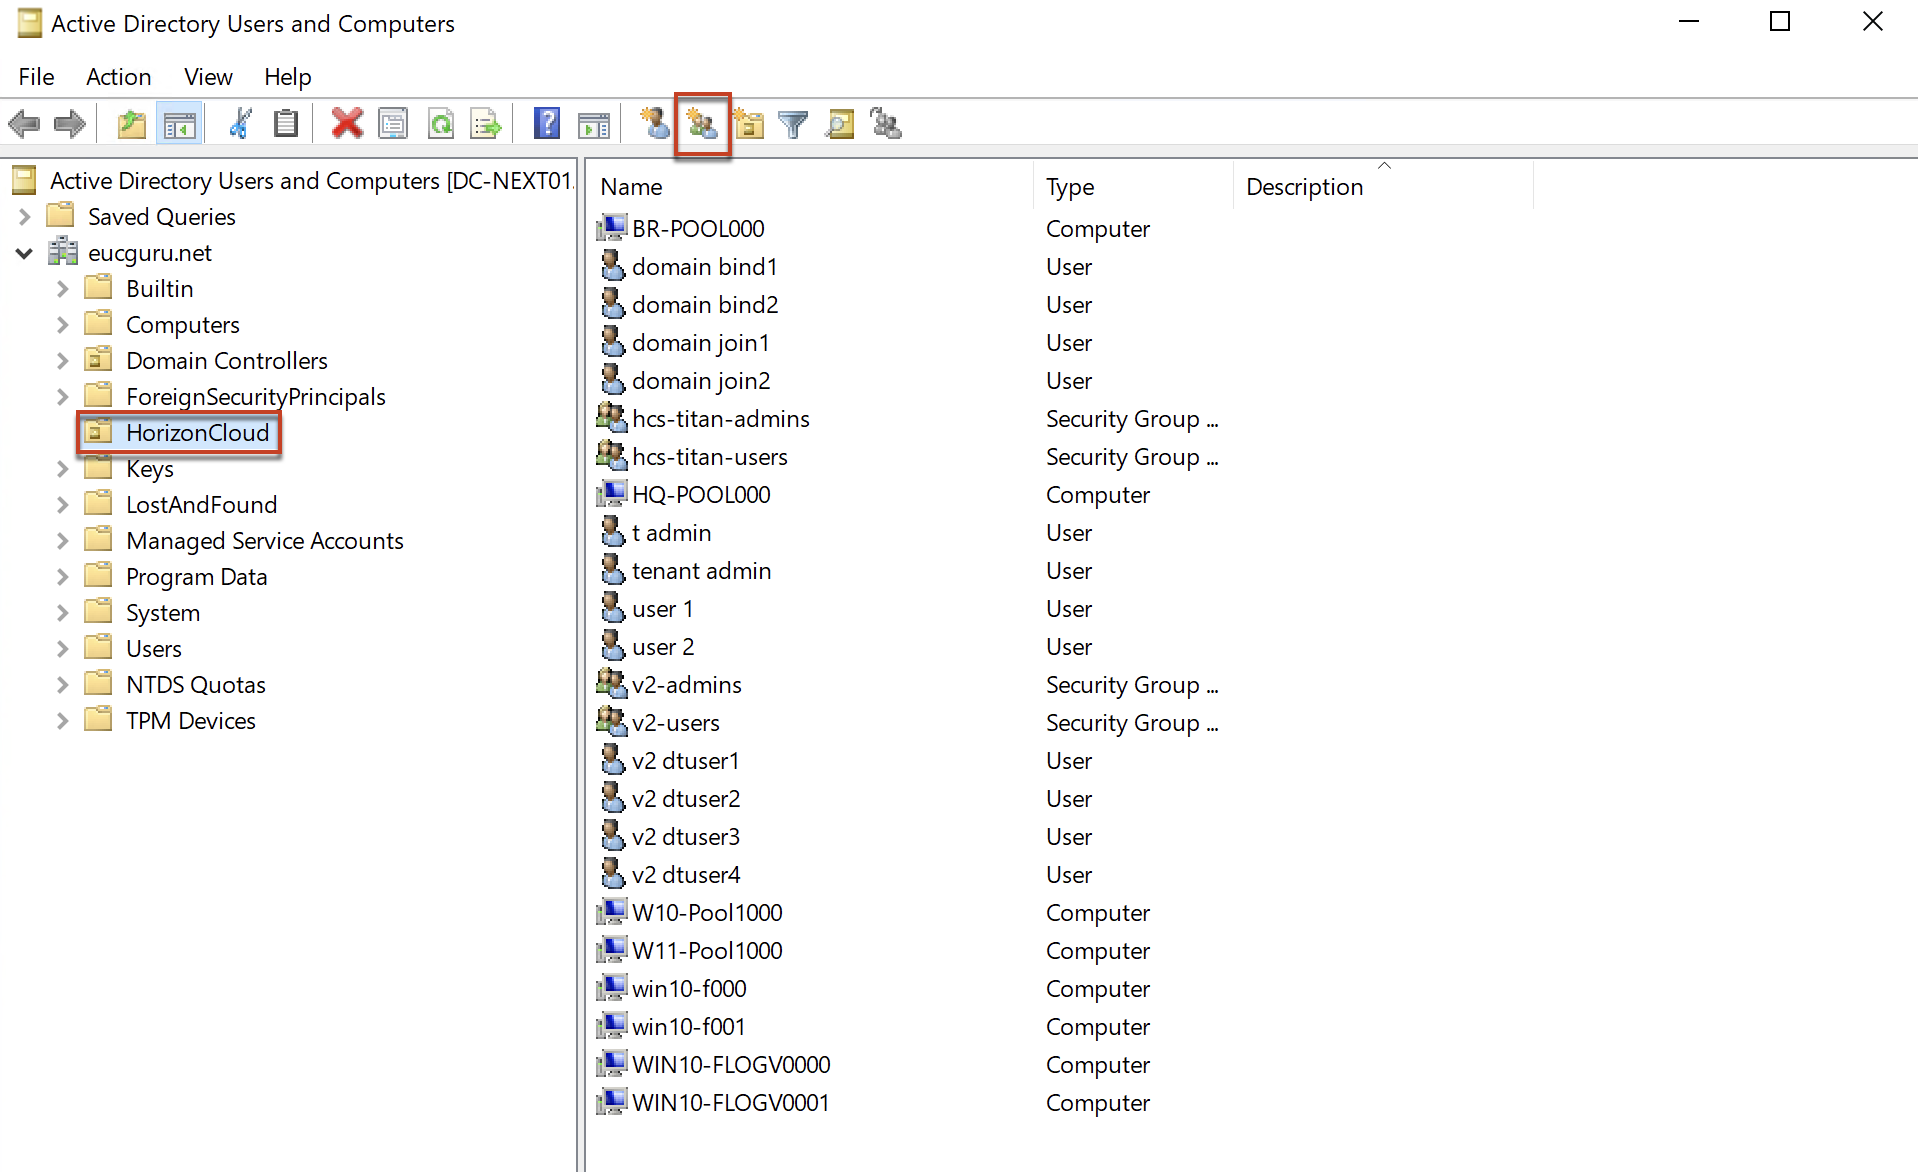
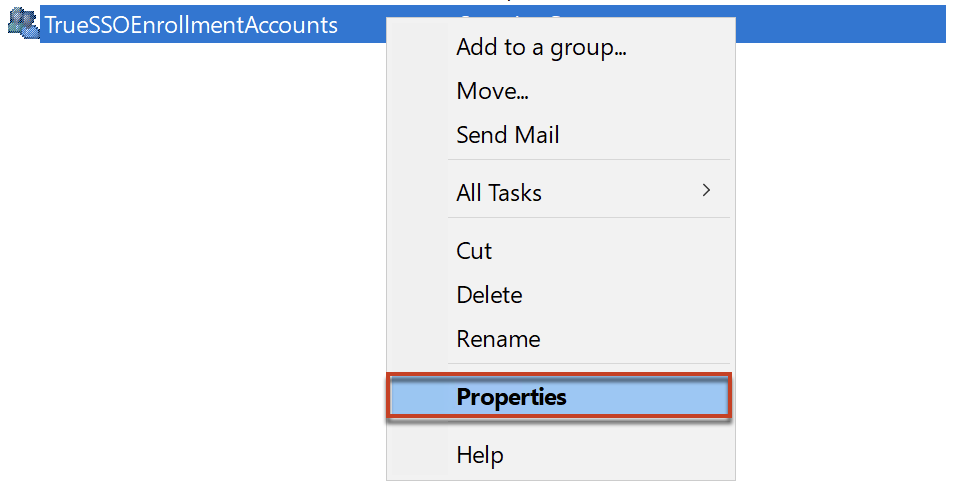
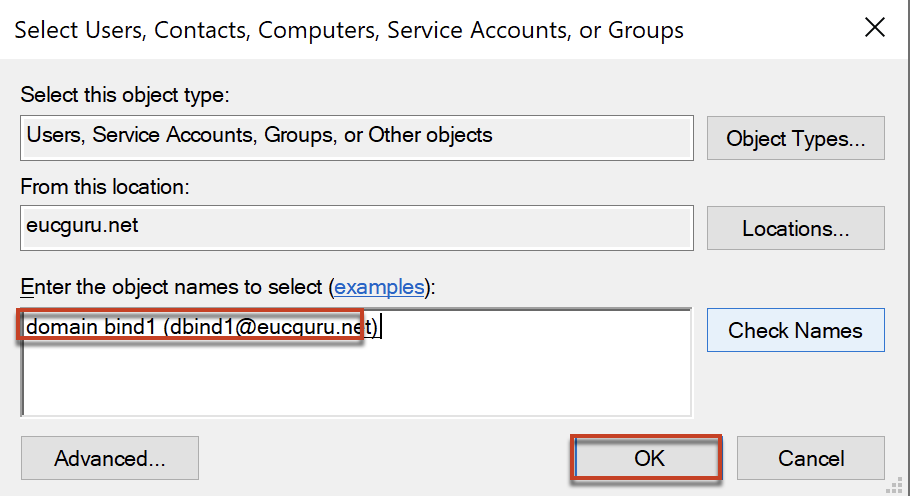
3. Add the service accounts as member of security group (created in step#2) which you have added as domain service account in step#1.

 .
.
C. Create TrueSSO certificate template.
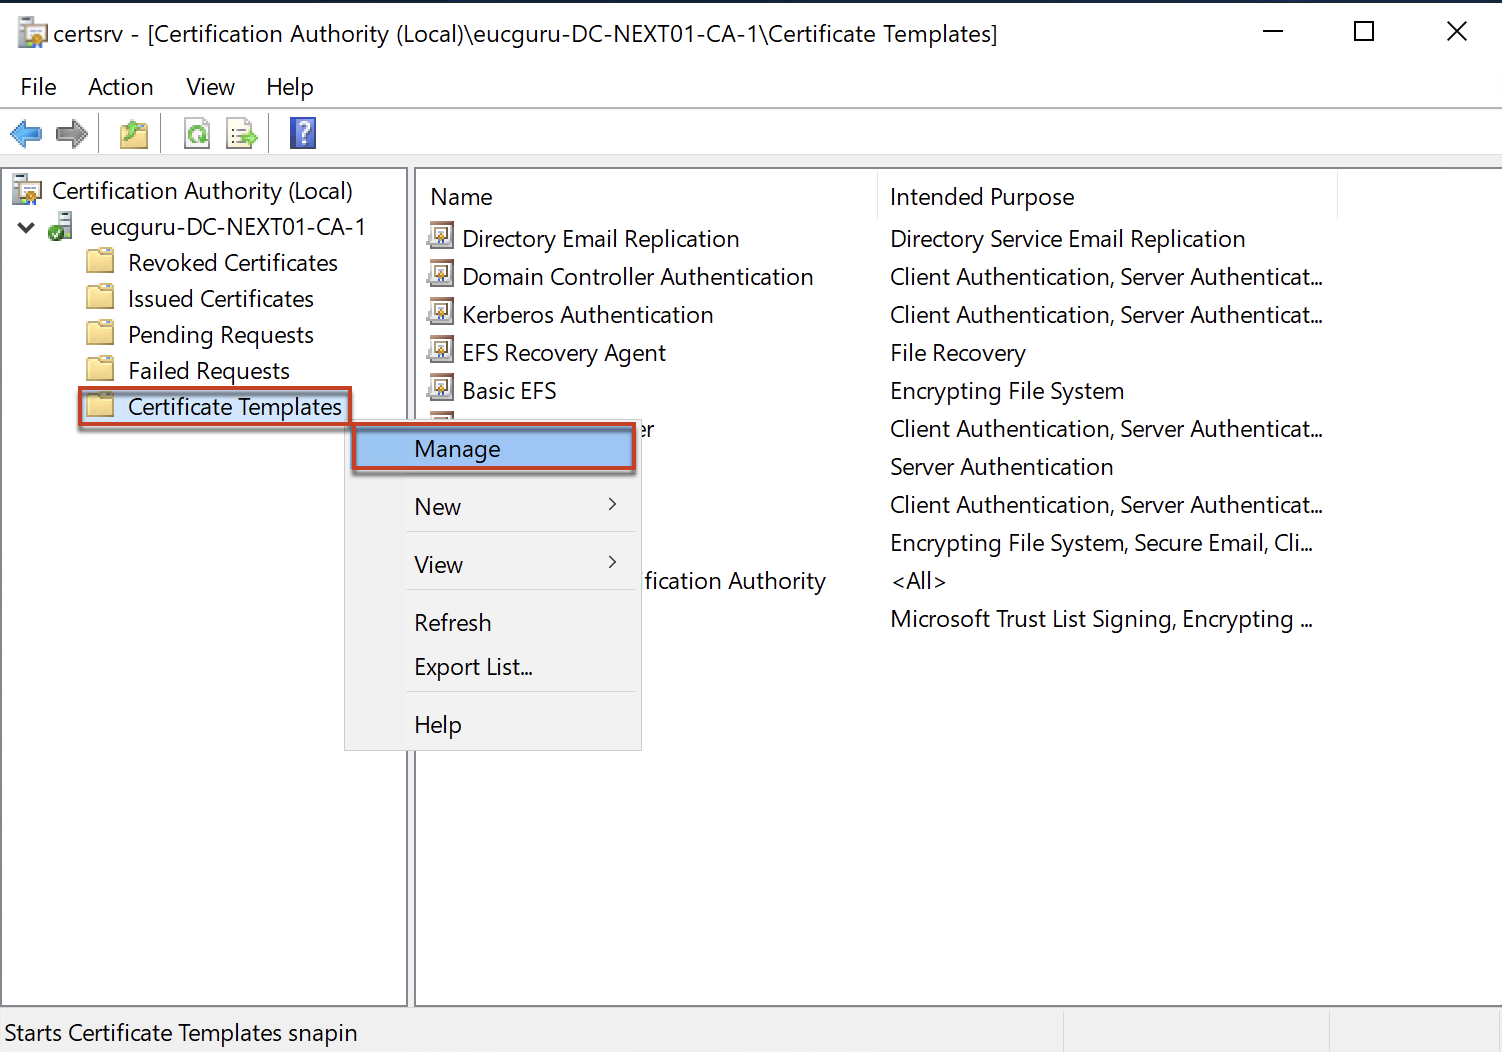
4. Open Certification Authority console and follow the steps to create certificate templates.
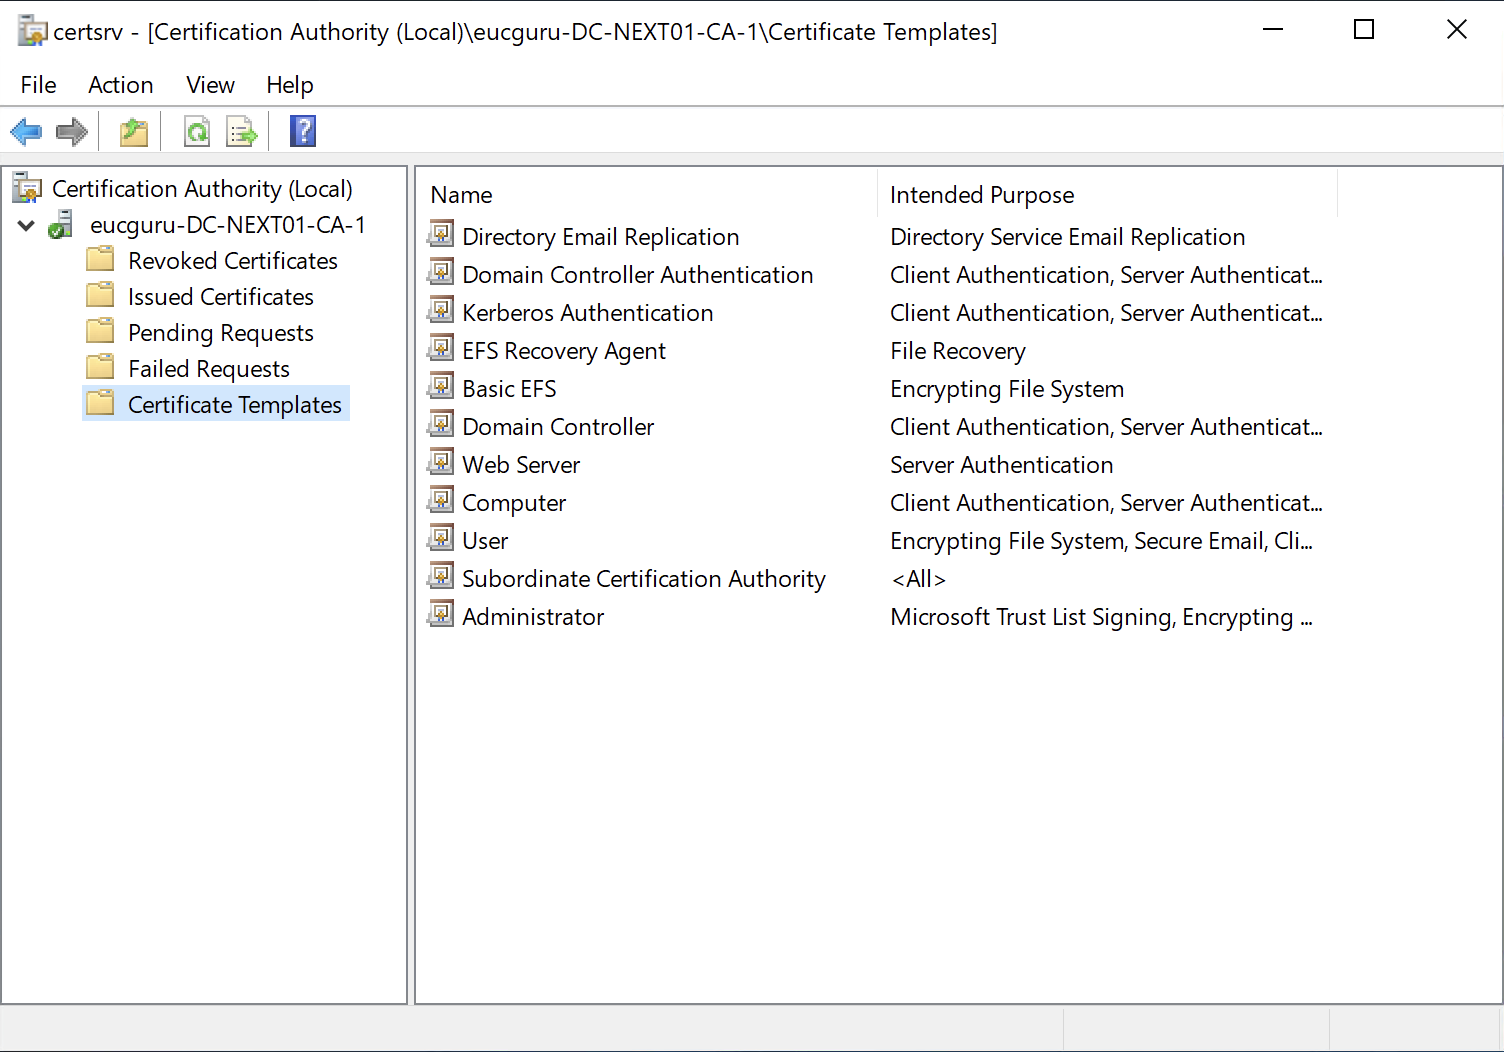
Right click on [Certificate Template] > select [Manage].
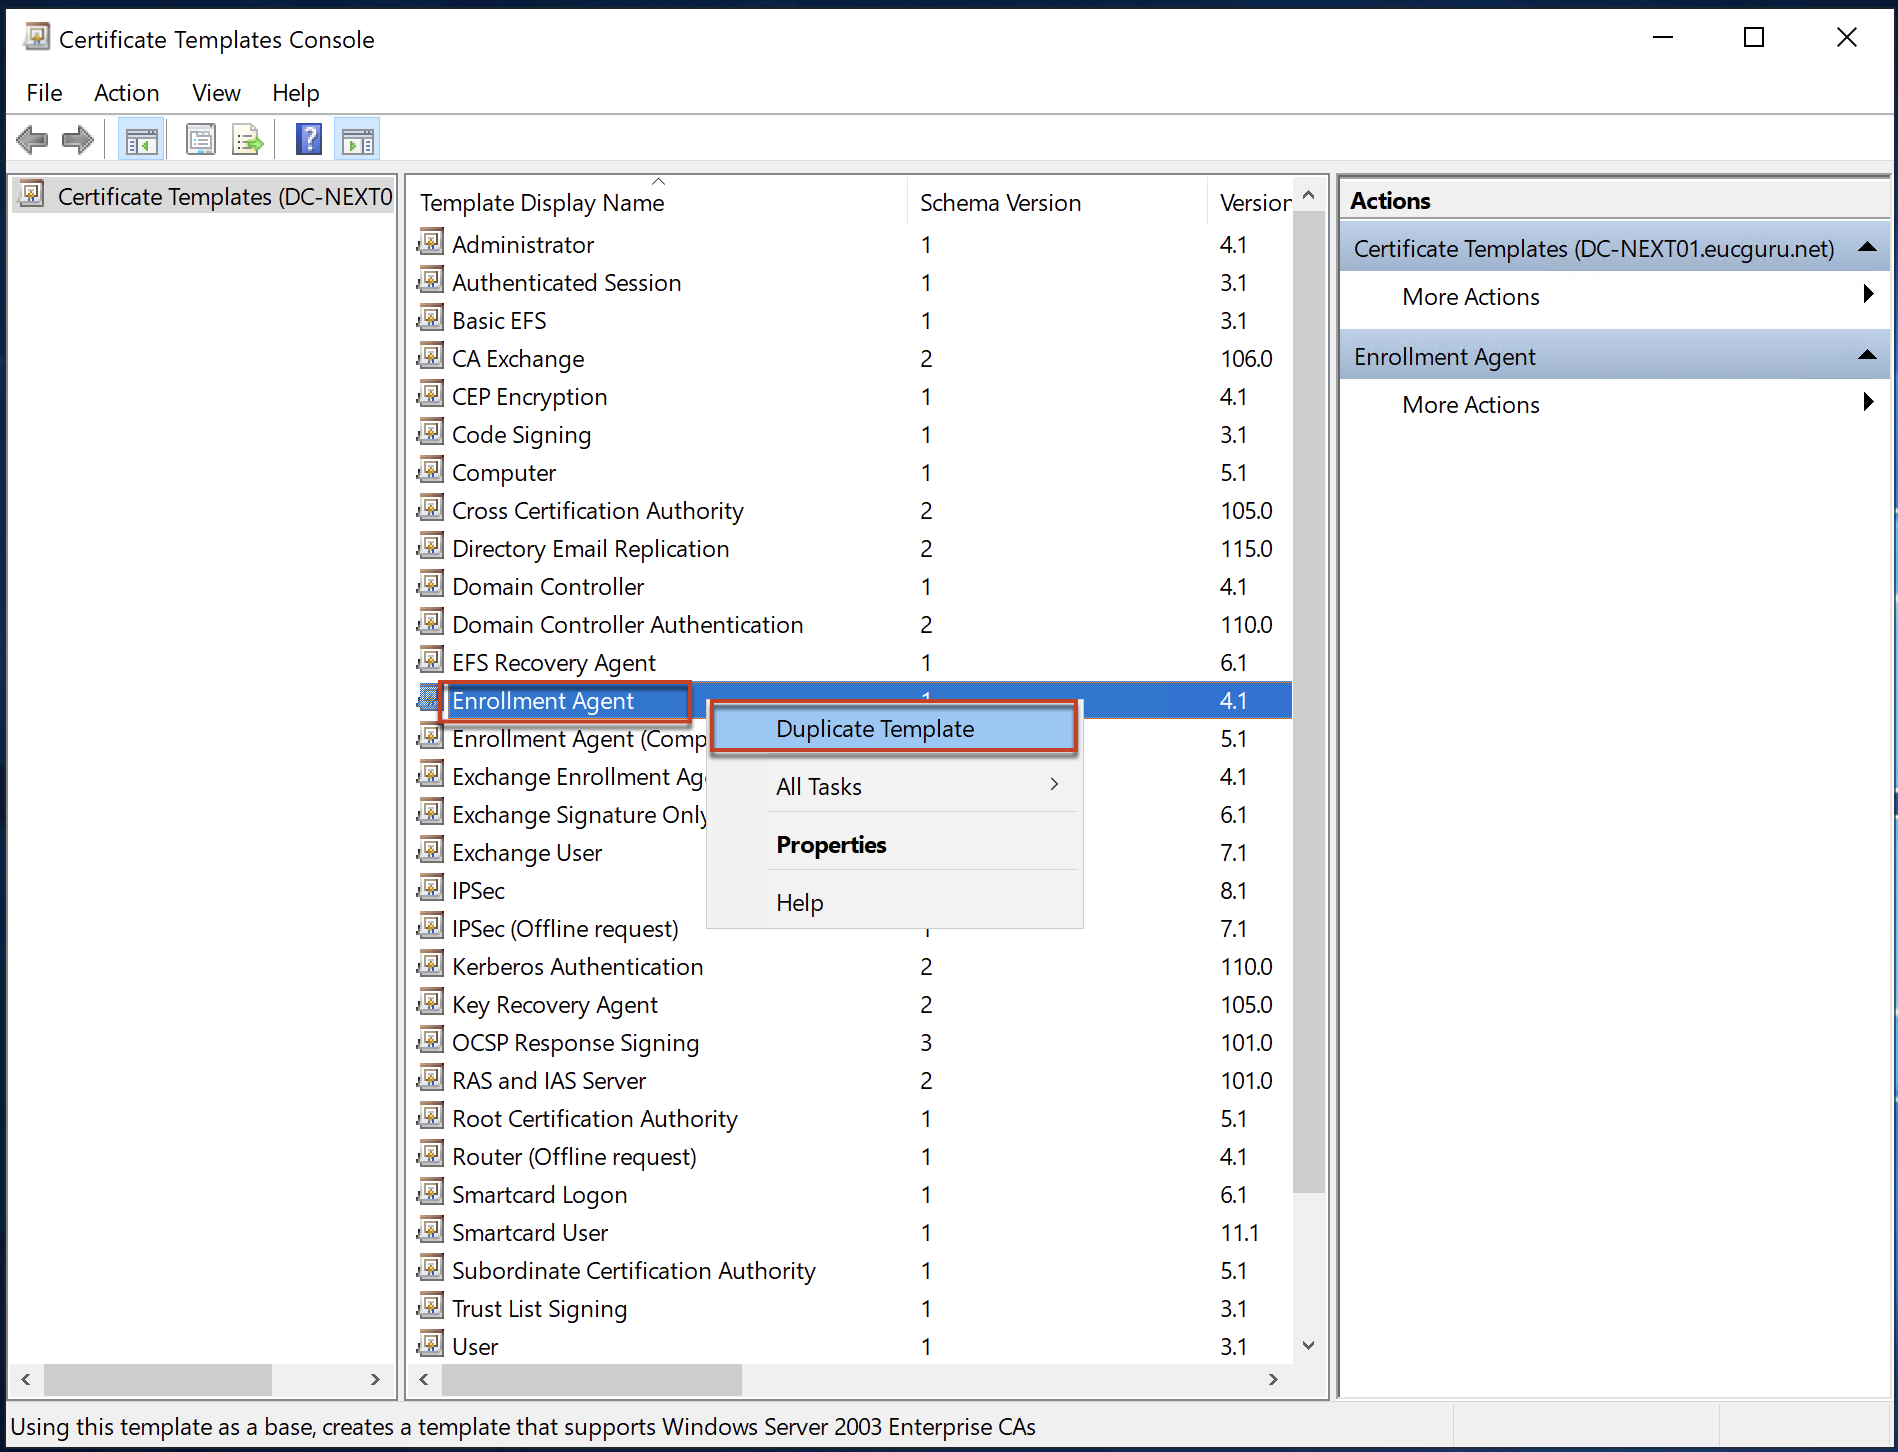
4.1 Create Enrollment Agent template.
Right click on [Enrollment Agent] > select [Duplicate template].
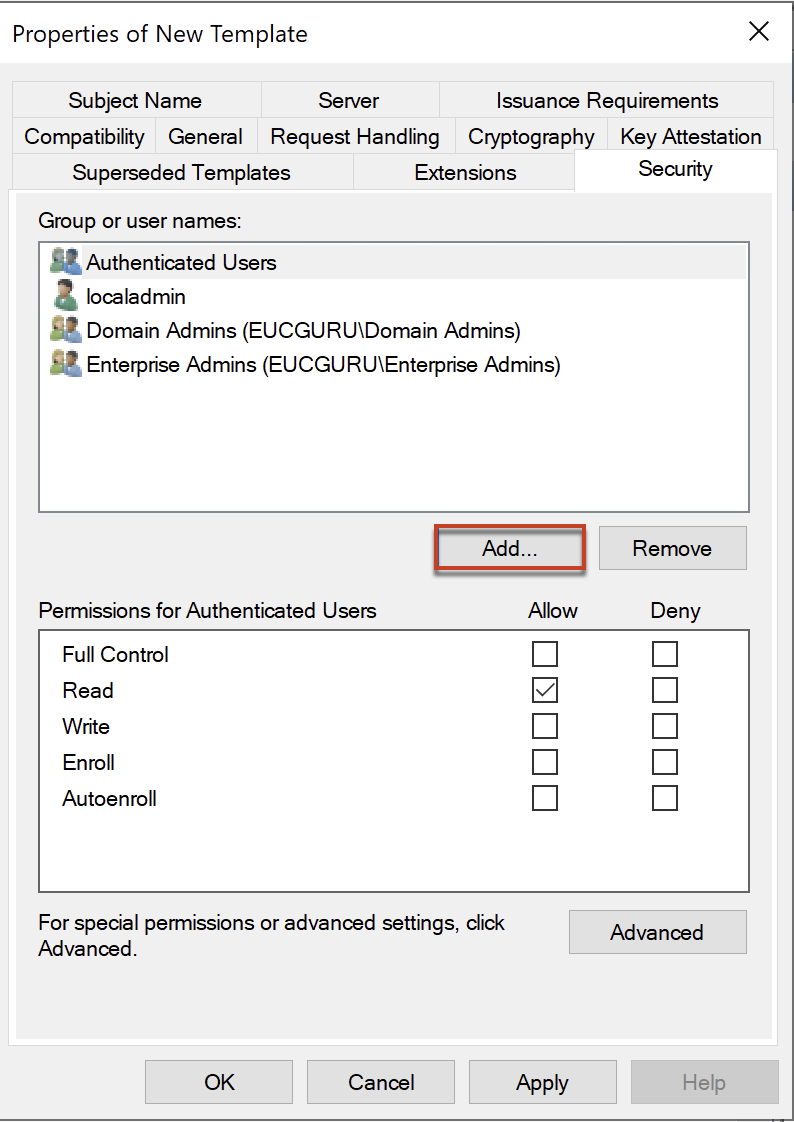
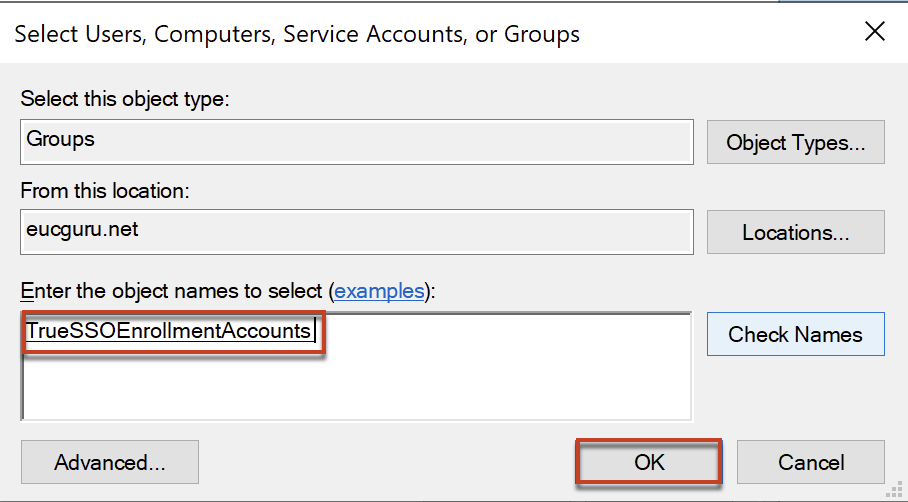
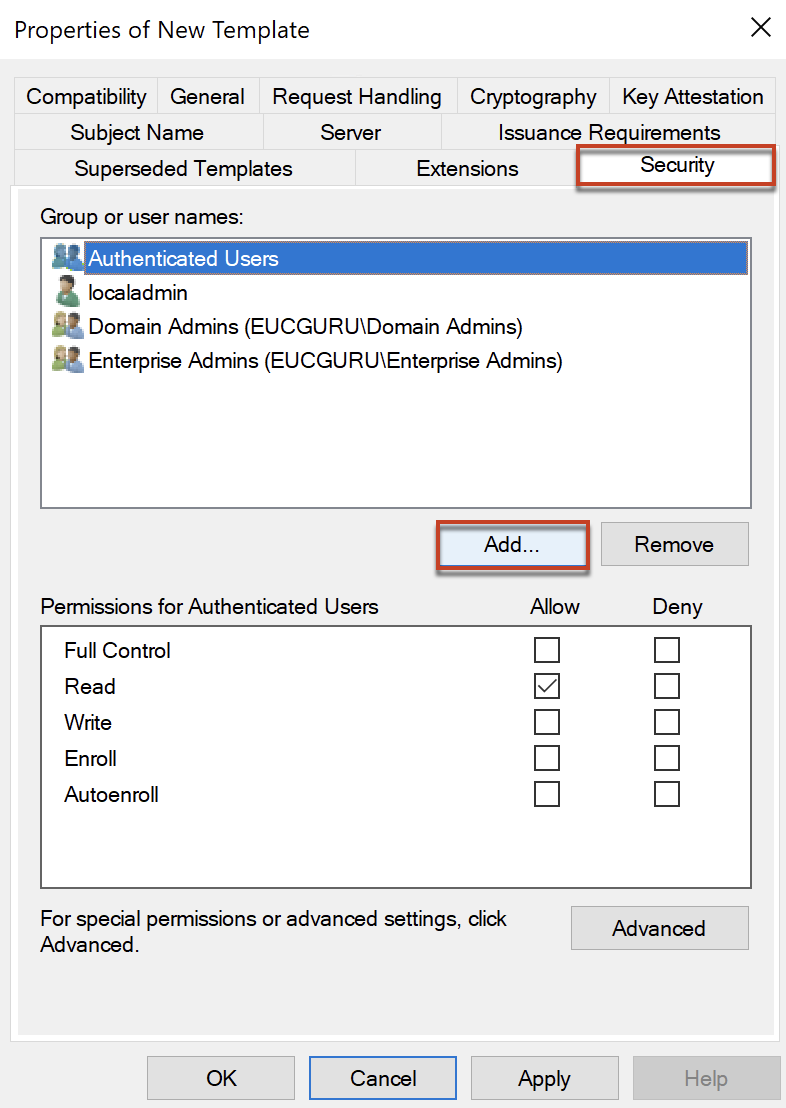
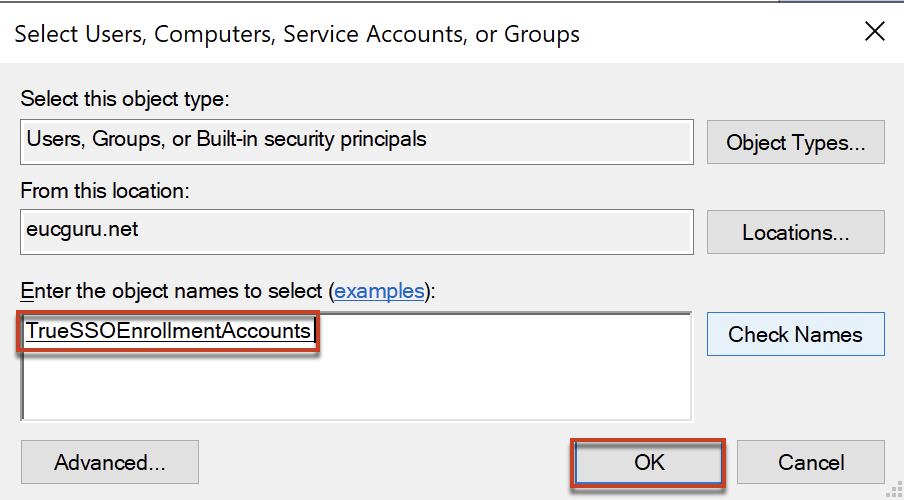
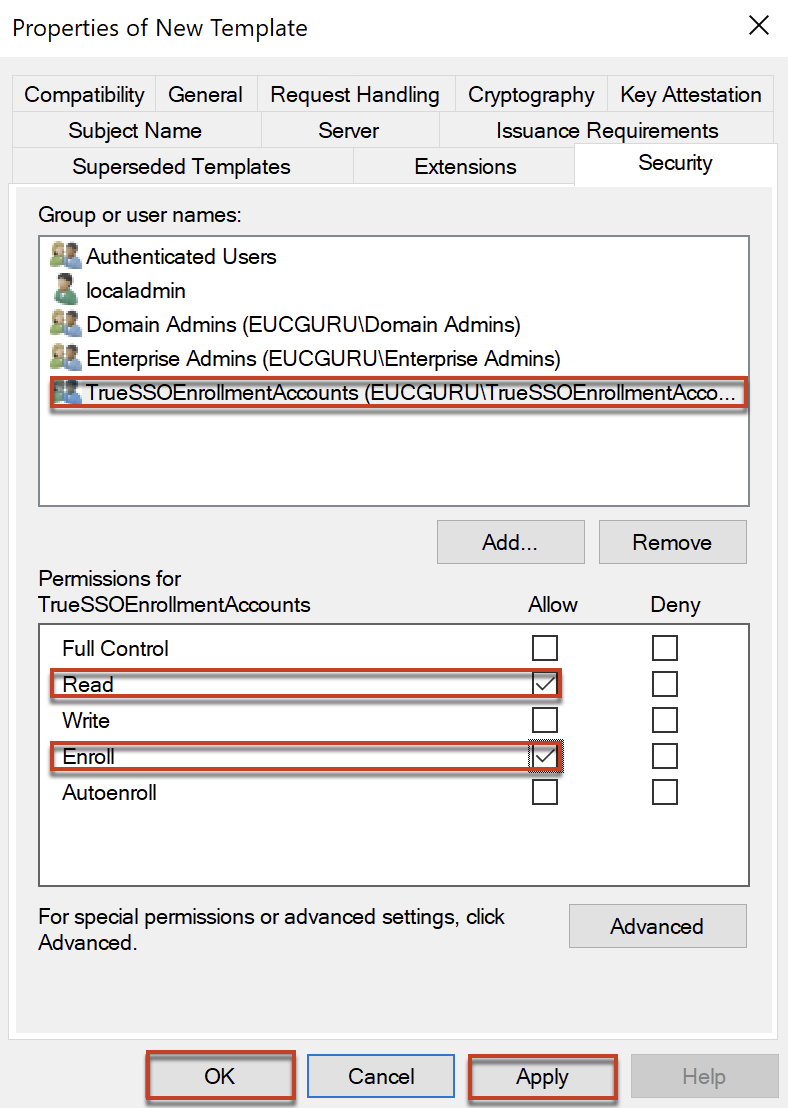
In properties window, go to [Security] tab and [Add] > find the group which you have created in your Active Directory server for TrueSSO purpose > [OK]
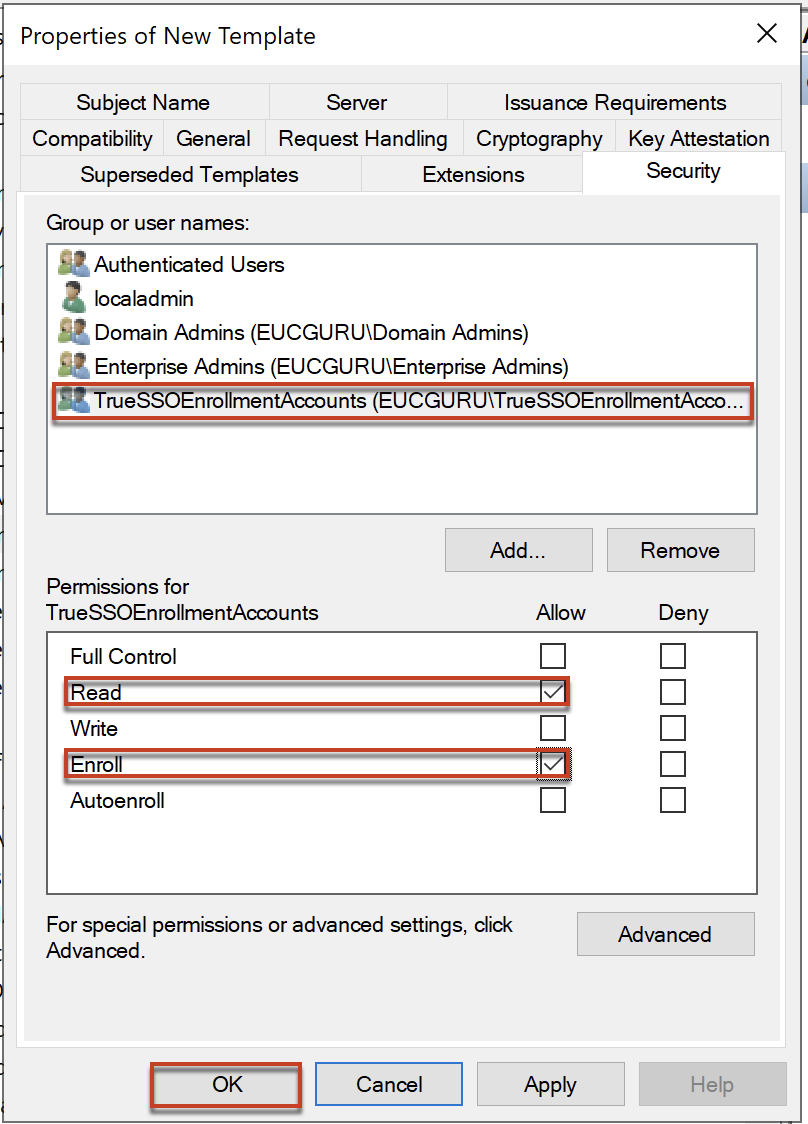
Select the group name you added and in permission section put the check in [Read] and [Enroll] > select [OK].
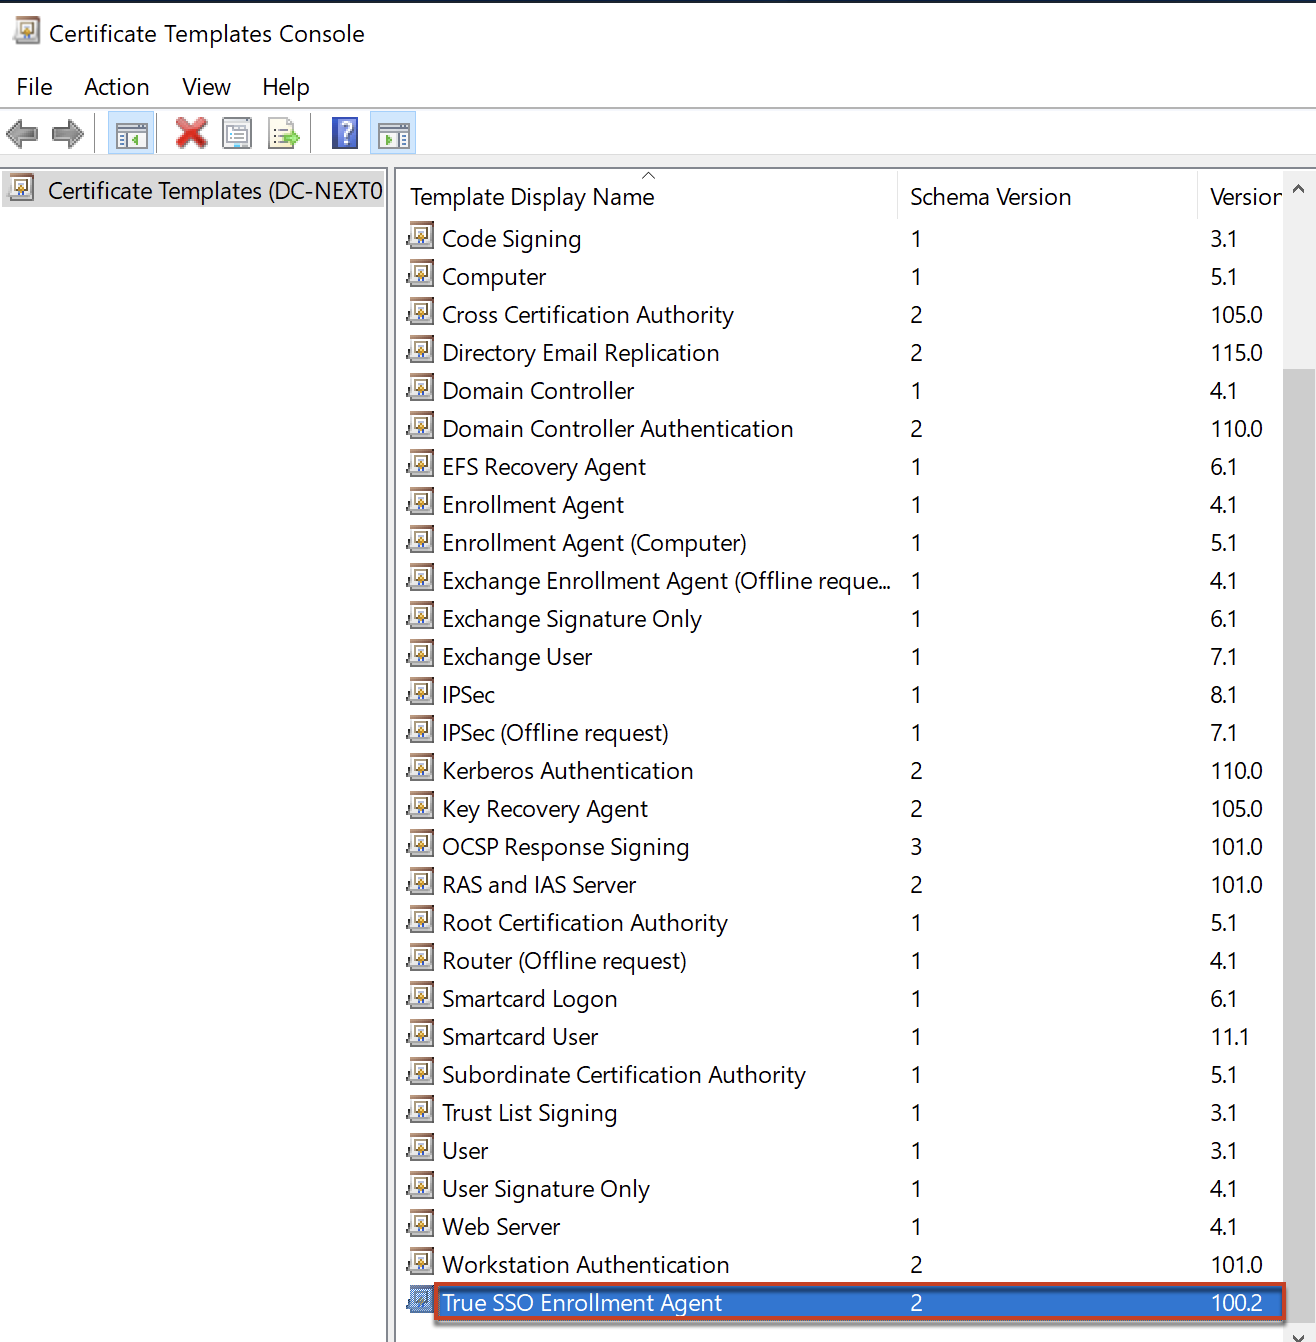
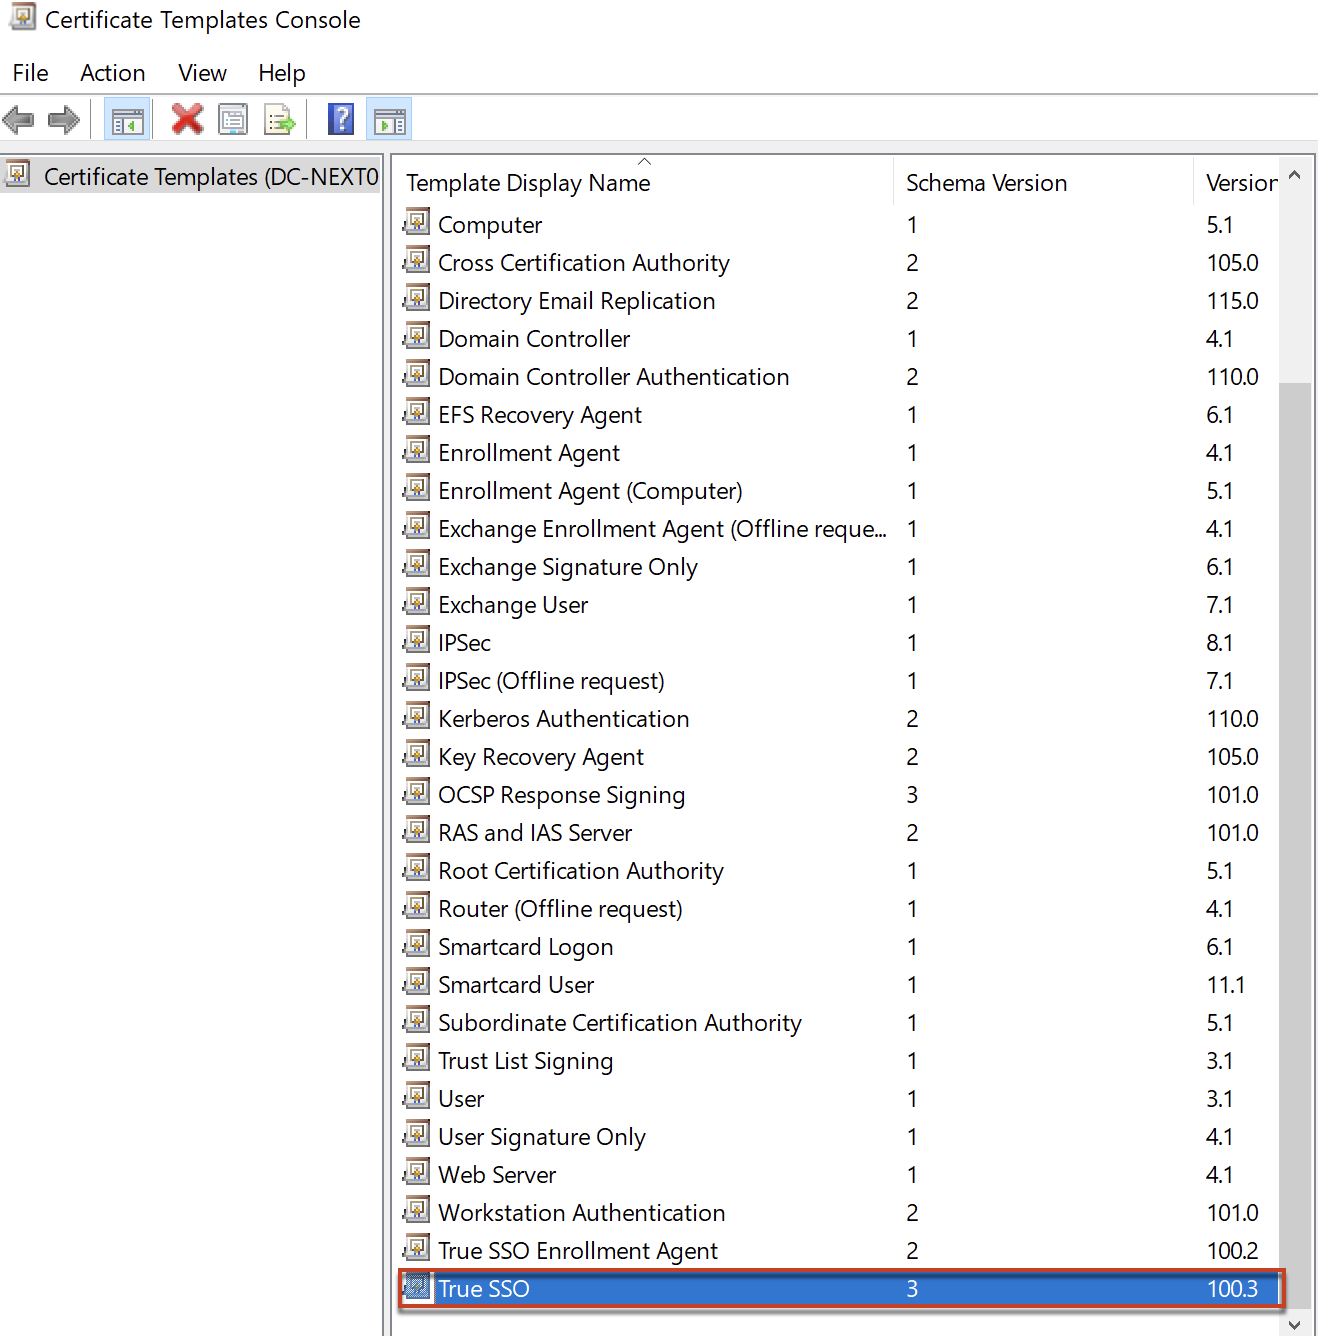
Confirm that your Enrollment Agent template is in the list now.
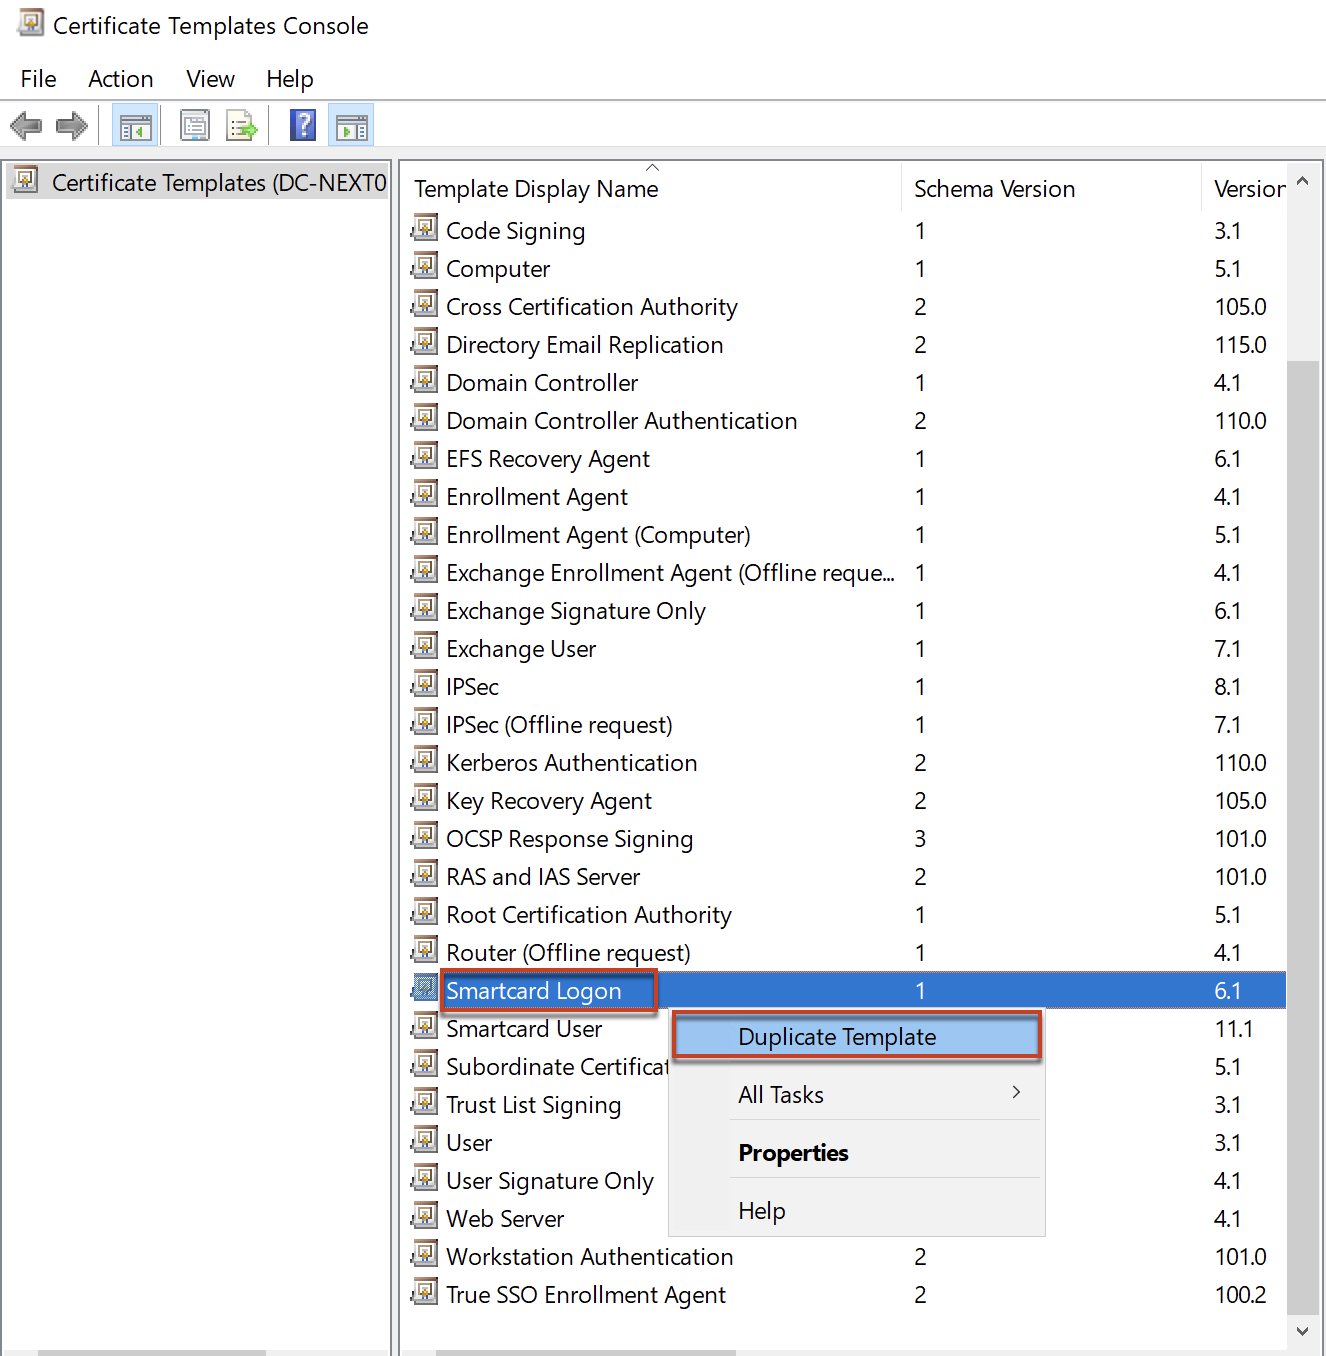
4.2 Create Smart Logon template.
Right click on [Smart Logon] template > select [Duplicate Template].
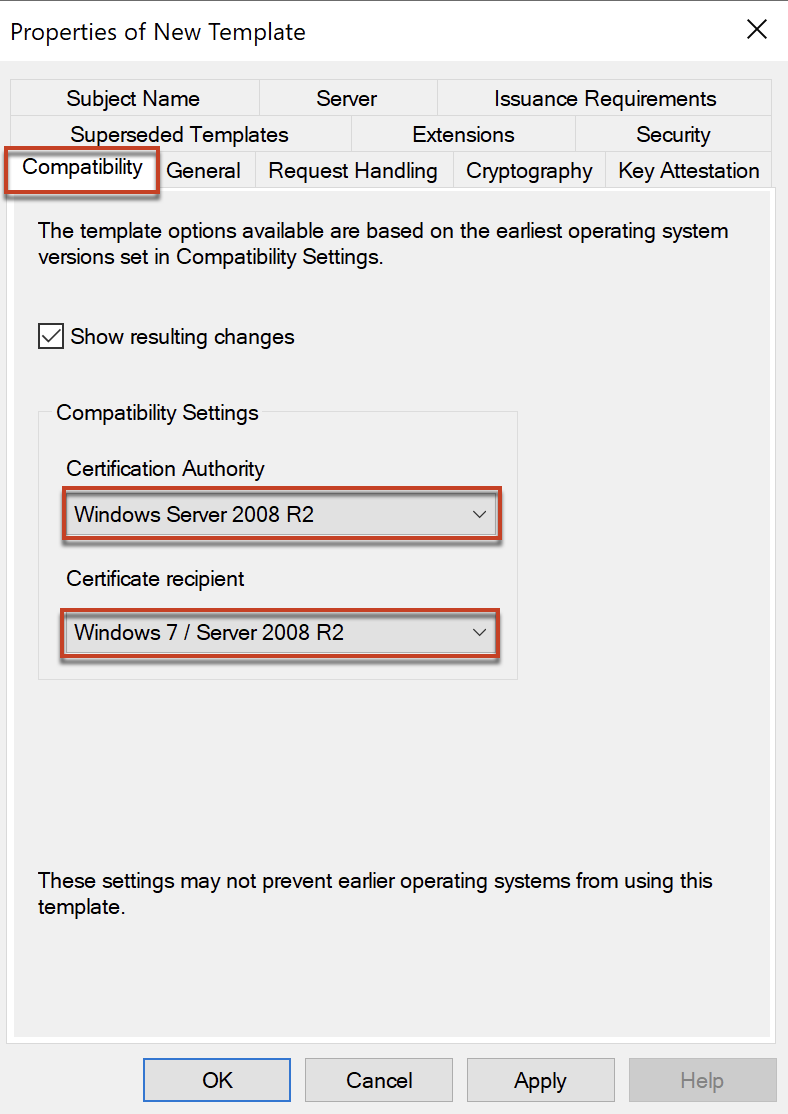
Navigate to [Compatibility] tab > in compatibility settings, select [Windows Server 2008 R2] as Certification Authority and [Windows7 / Server 2008 R2] as Certificate recipient.
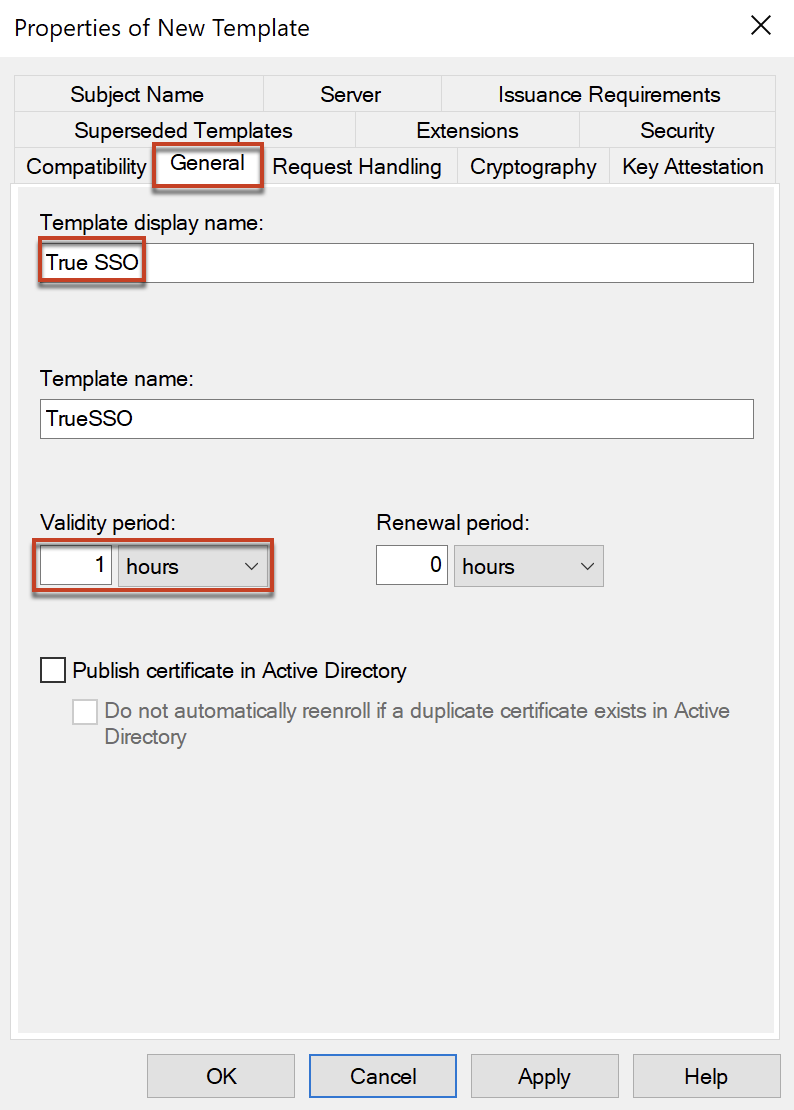
In [General] tab, give the name of your choice to you template and set validity period as [1 hour].
In [Cryptography], configure as below

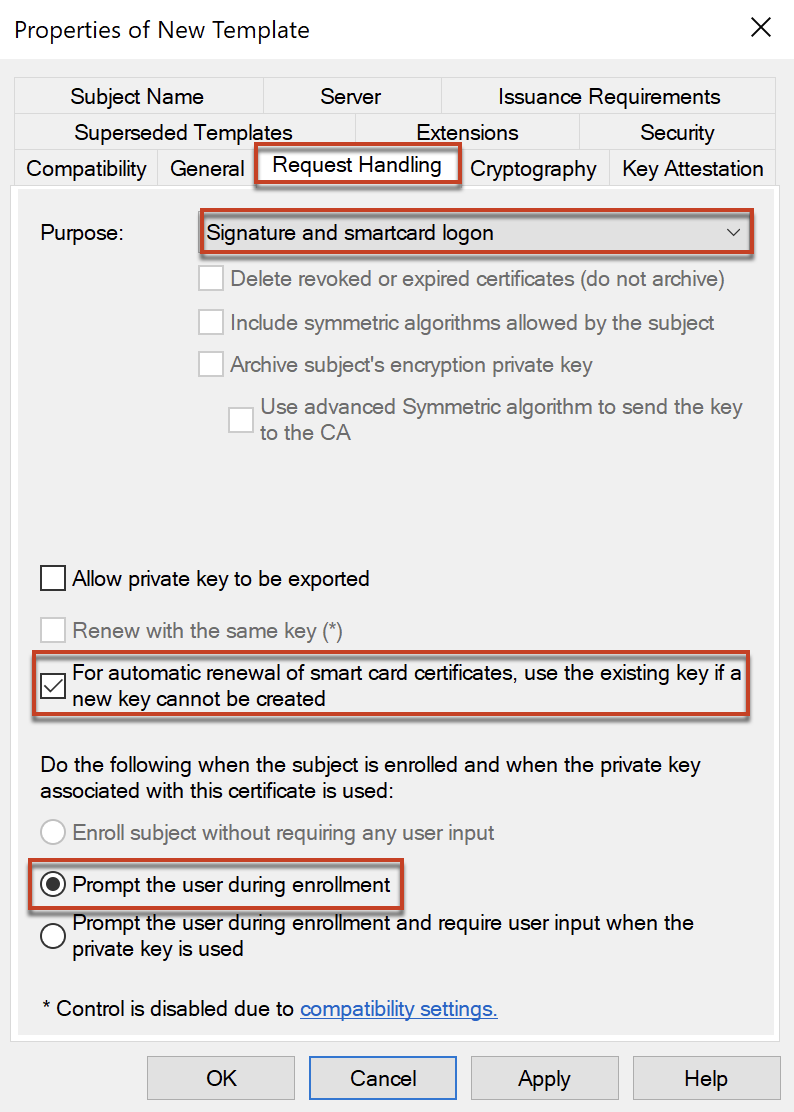
In [Request Handling], configure as below
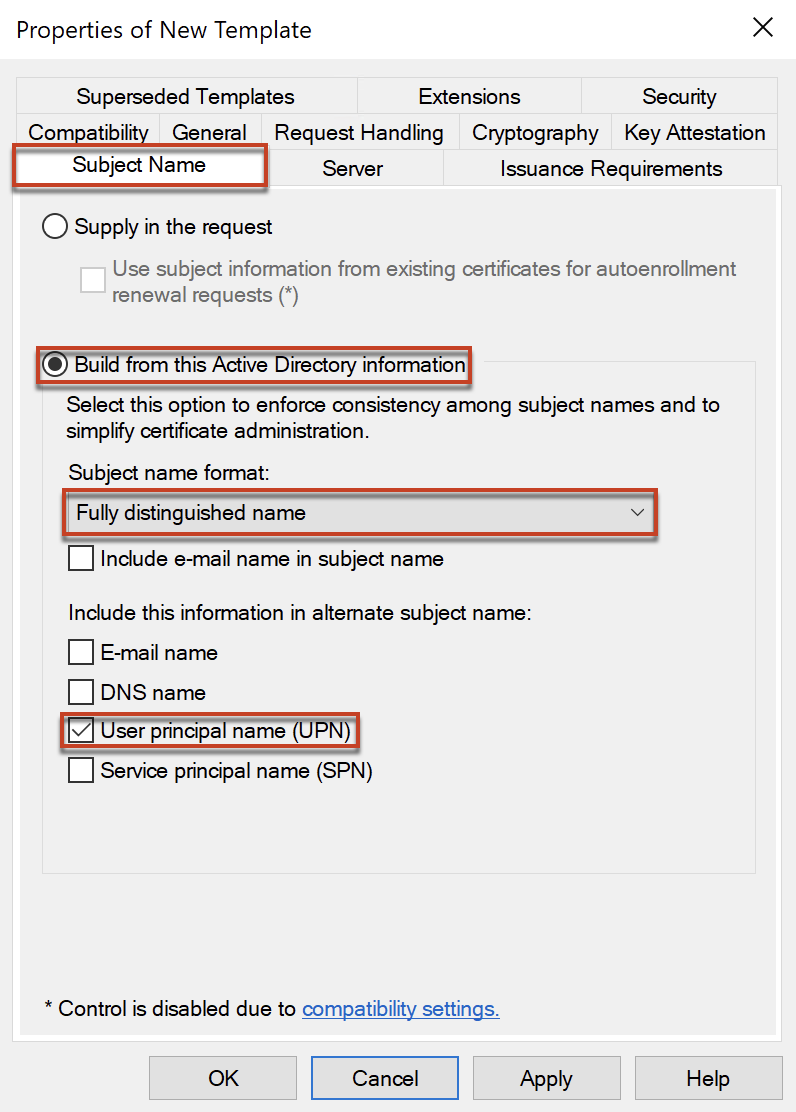
In [Subject Name], configure as below
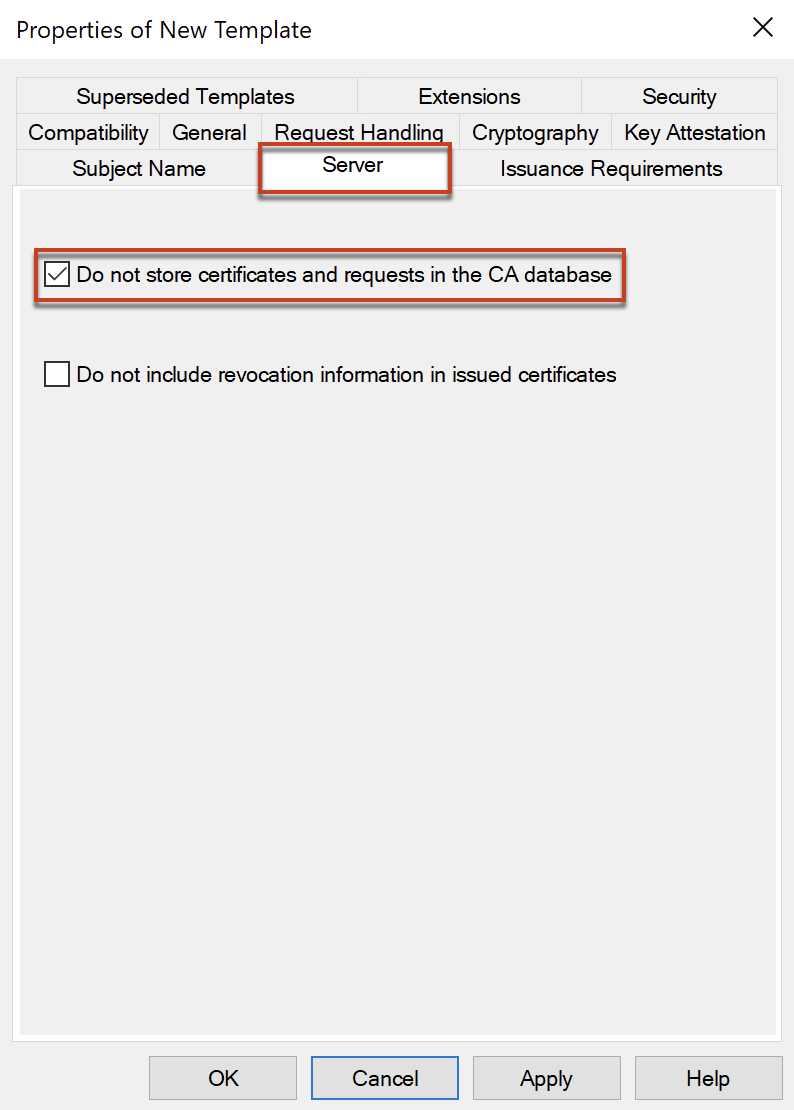
In [Server] tab, configure as below.
In [Issuance Requirements], configure as below.

In [Security] tab, configure as below.
Note: Add the same AD security group which you have added for Enrollment Agent template and set the permission.
Confirm the template for TrueSSO Smartcard Logon is in the list now.
D. Issuance of templates for TrueSSO
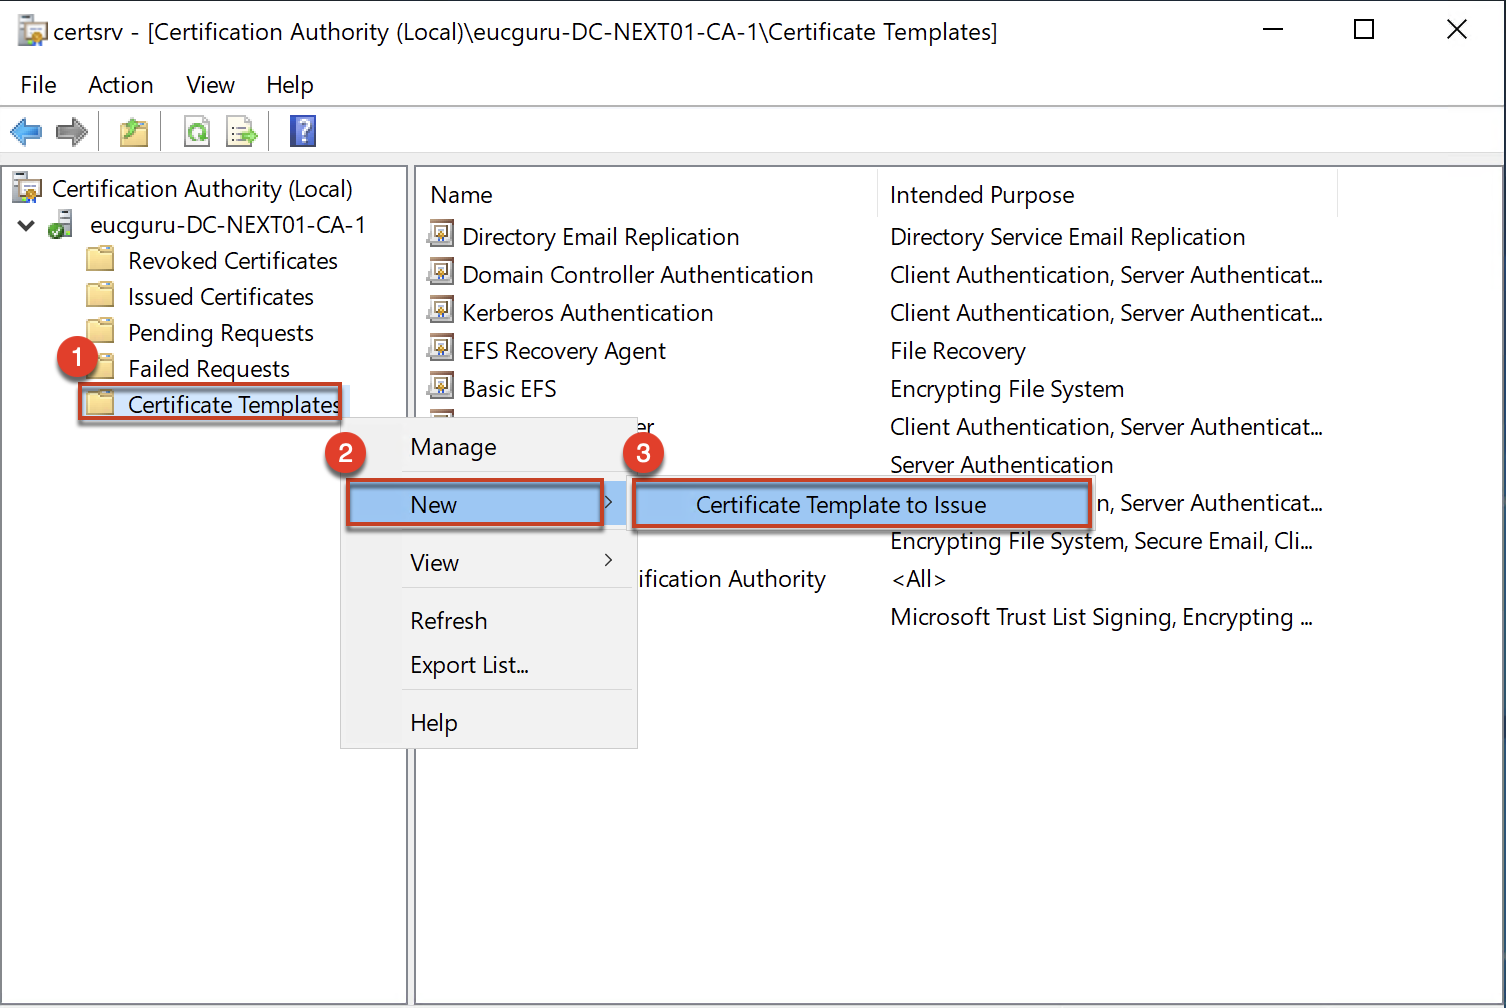
5. Follow the below steps to configure certificate template to issue. This need to be done for both Smartcard Logon and Enrollment Agent templates.

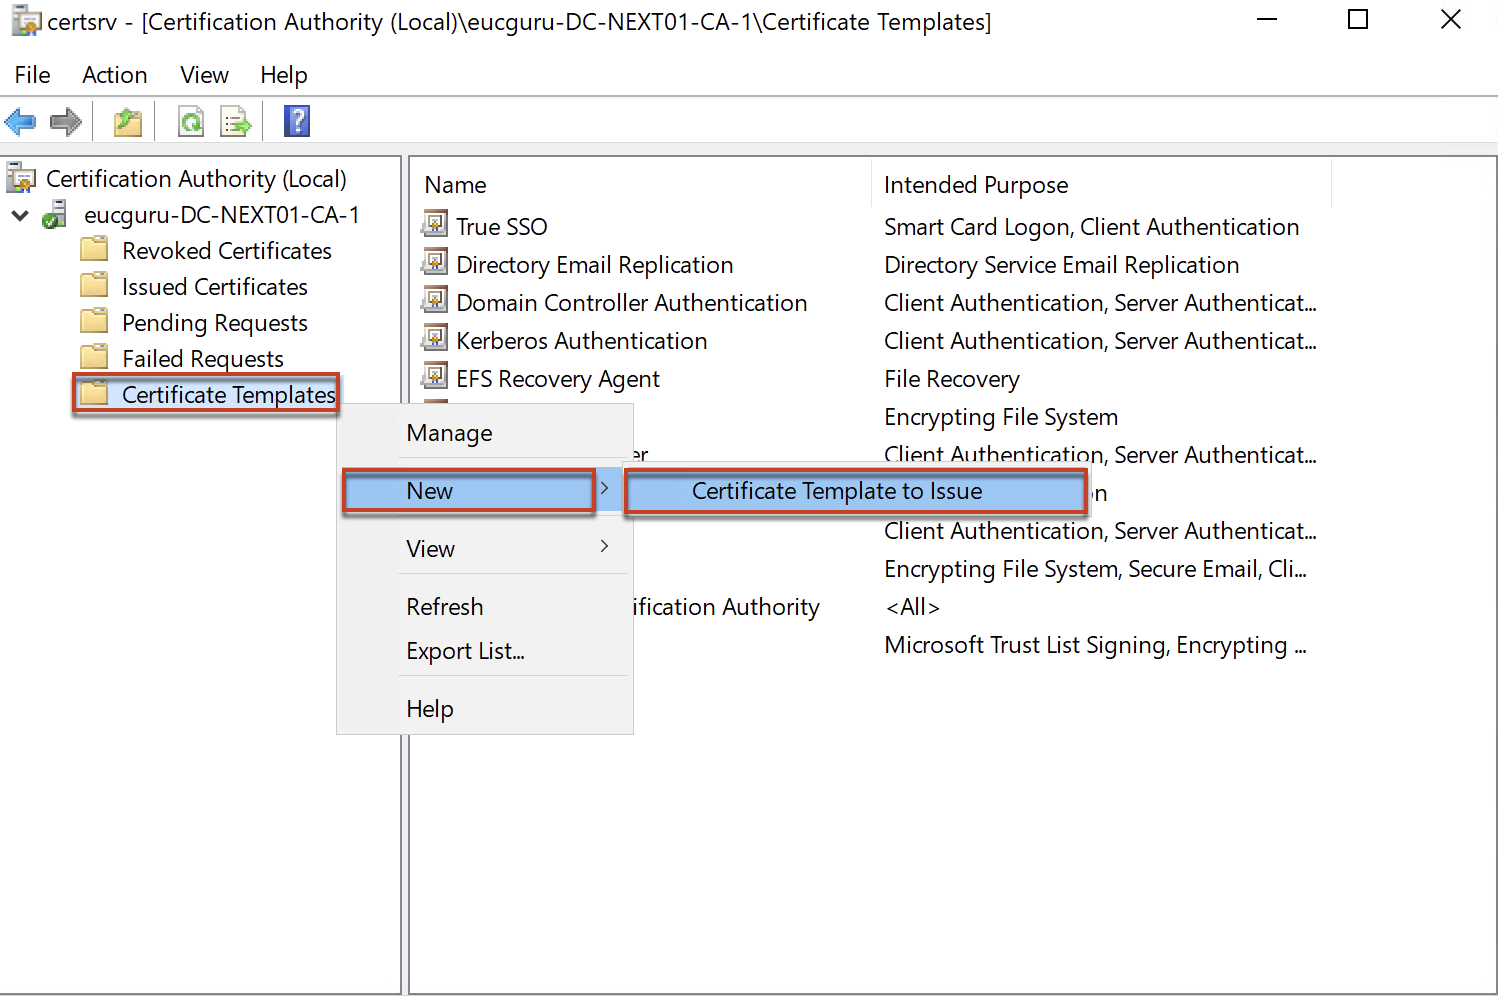
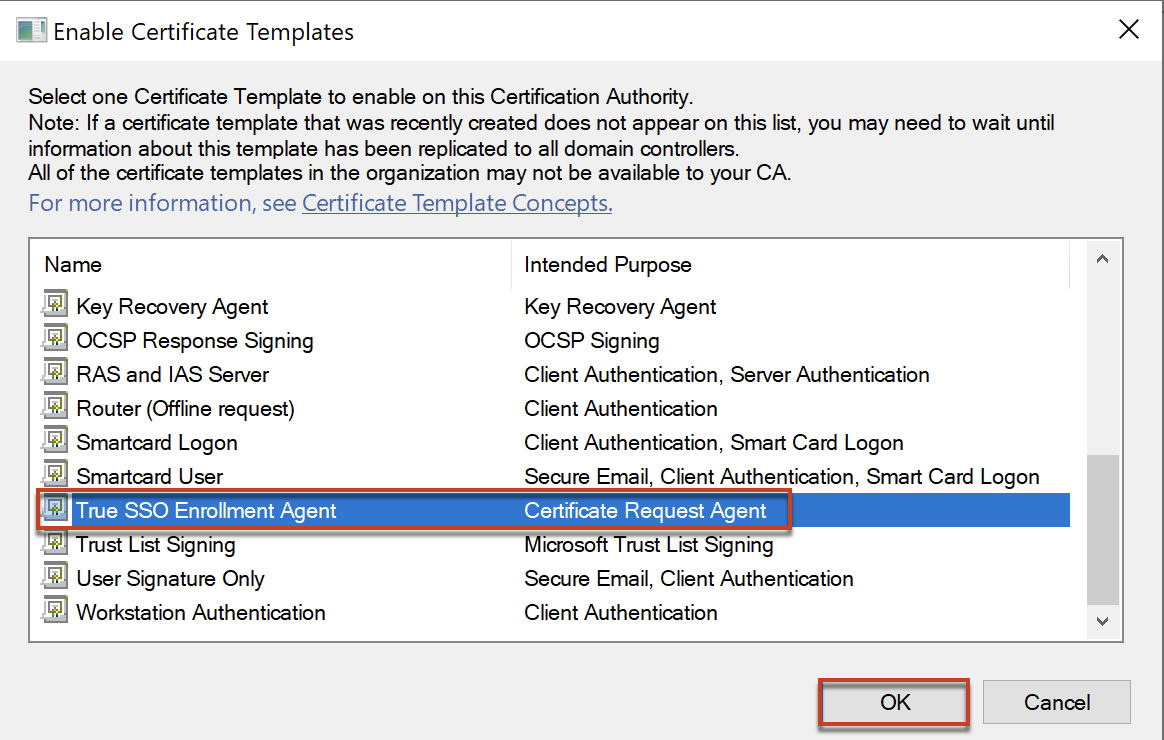
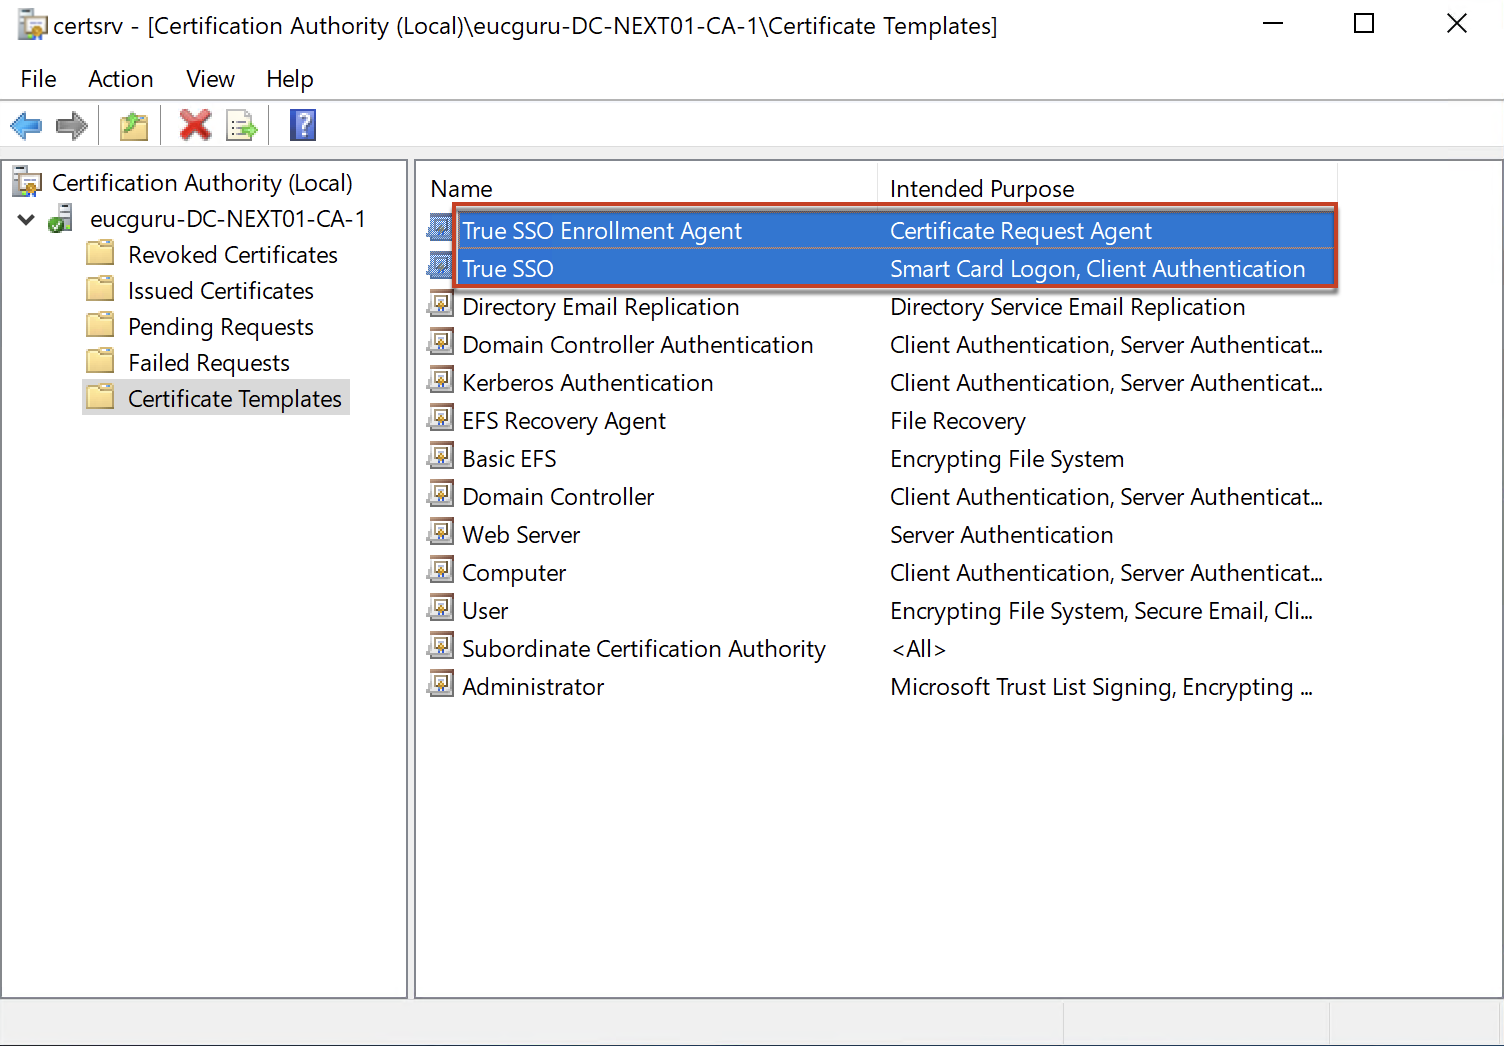
Confirm that you have configured both templates to issue.
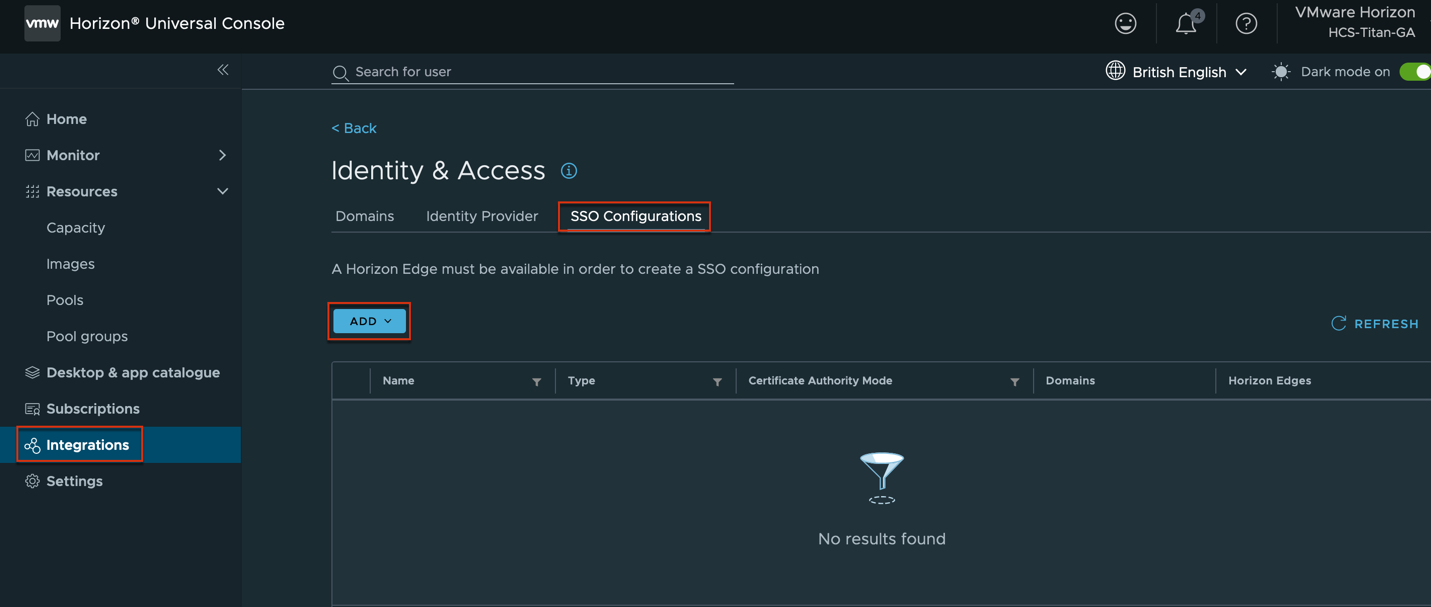
E. Configure SSO with Microsoft CA in Horizon Cloud universal console
6. Login to Horizon Cloud Service universal console > navigate to [Integrations] > [Manage]

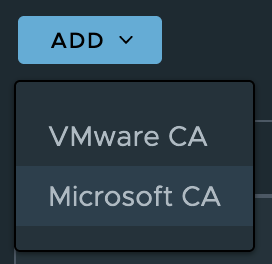
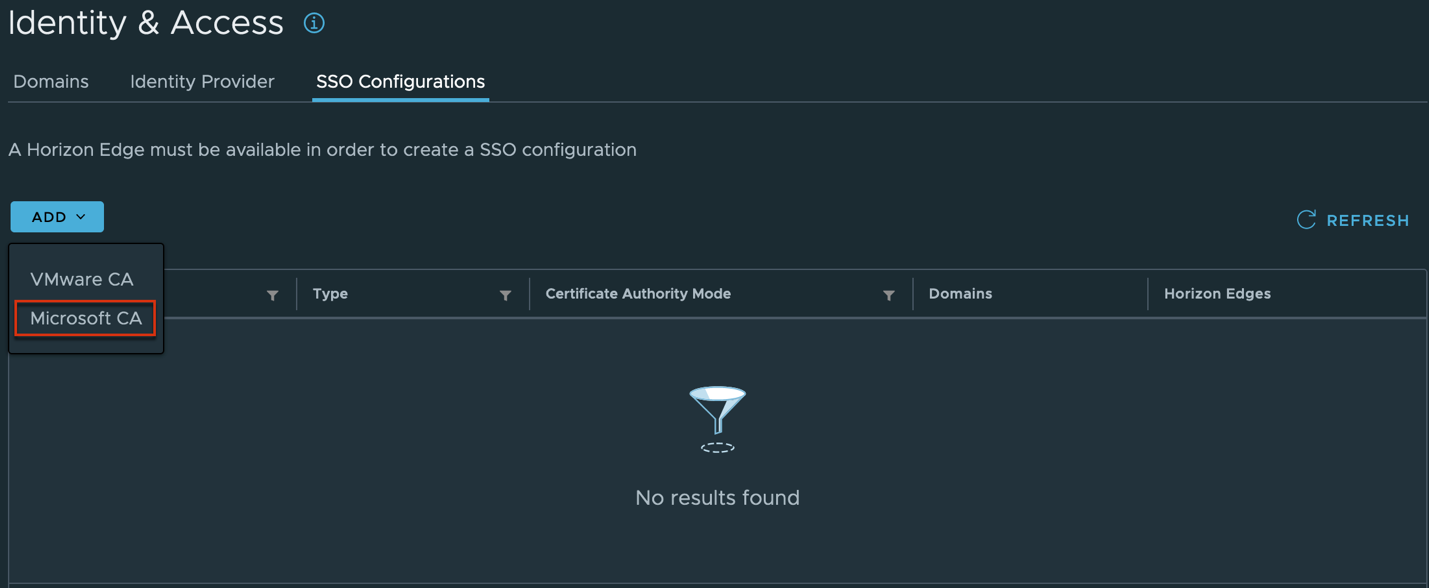
Select [SSO Configuration] > [Add] > [Microsoft CA]
Give the name of your choice to your TrueSSO configuration > Select the appropriate Horizon Edge which you want to apply the TrueSSO > Select the appropriate domain if you have multiple domains in your environment and select [DISCOVER].
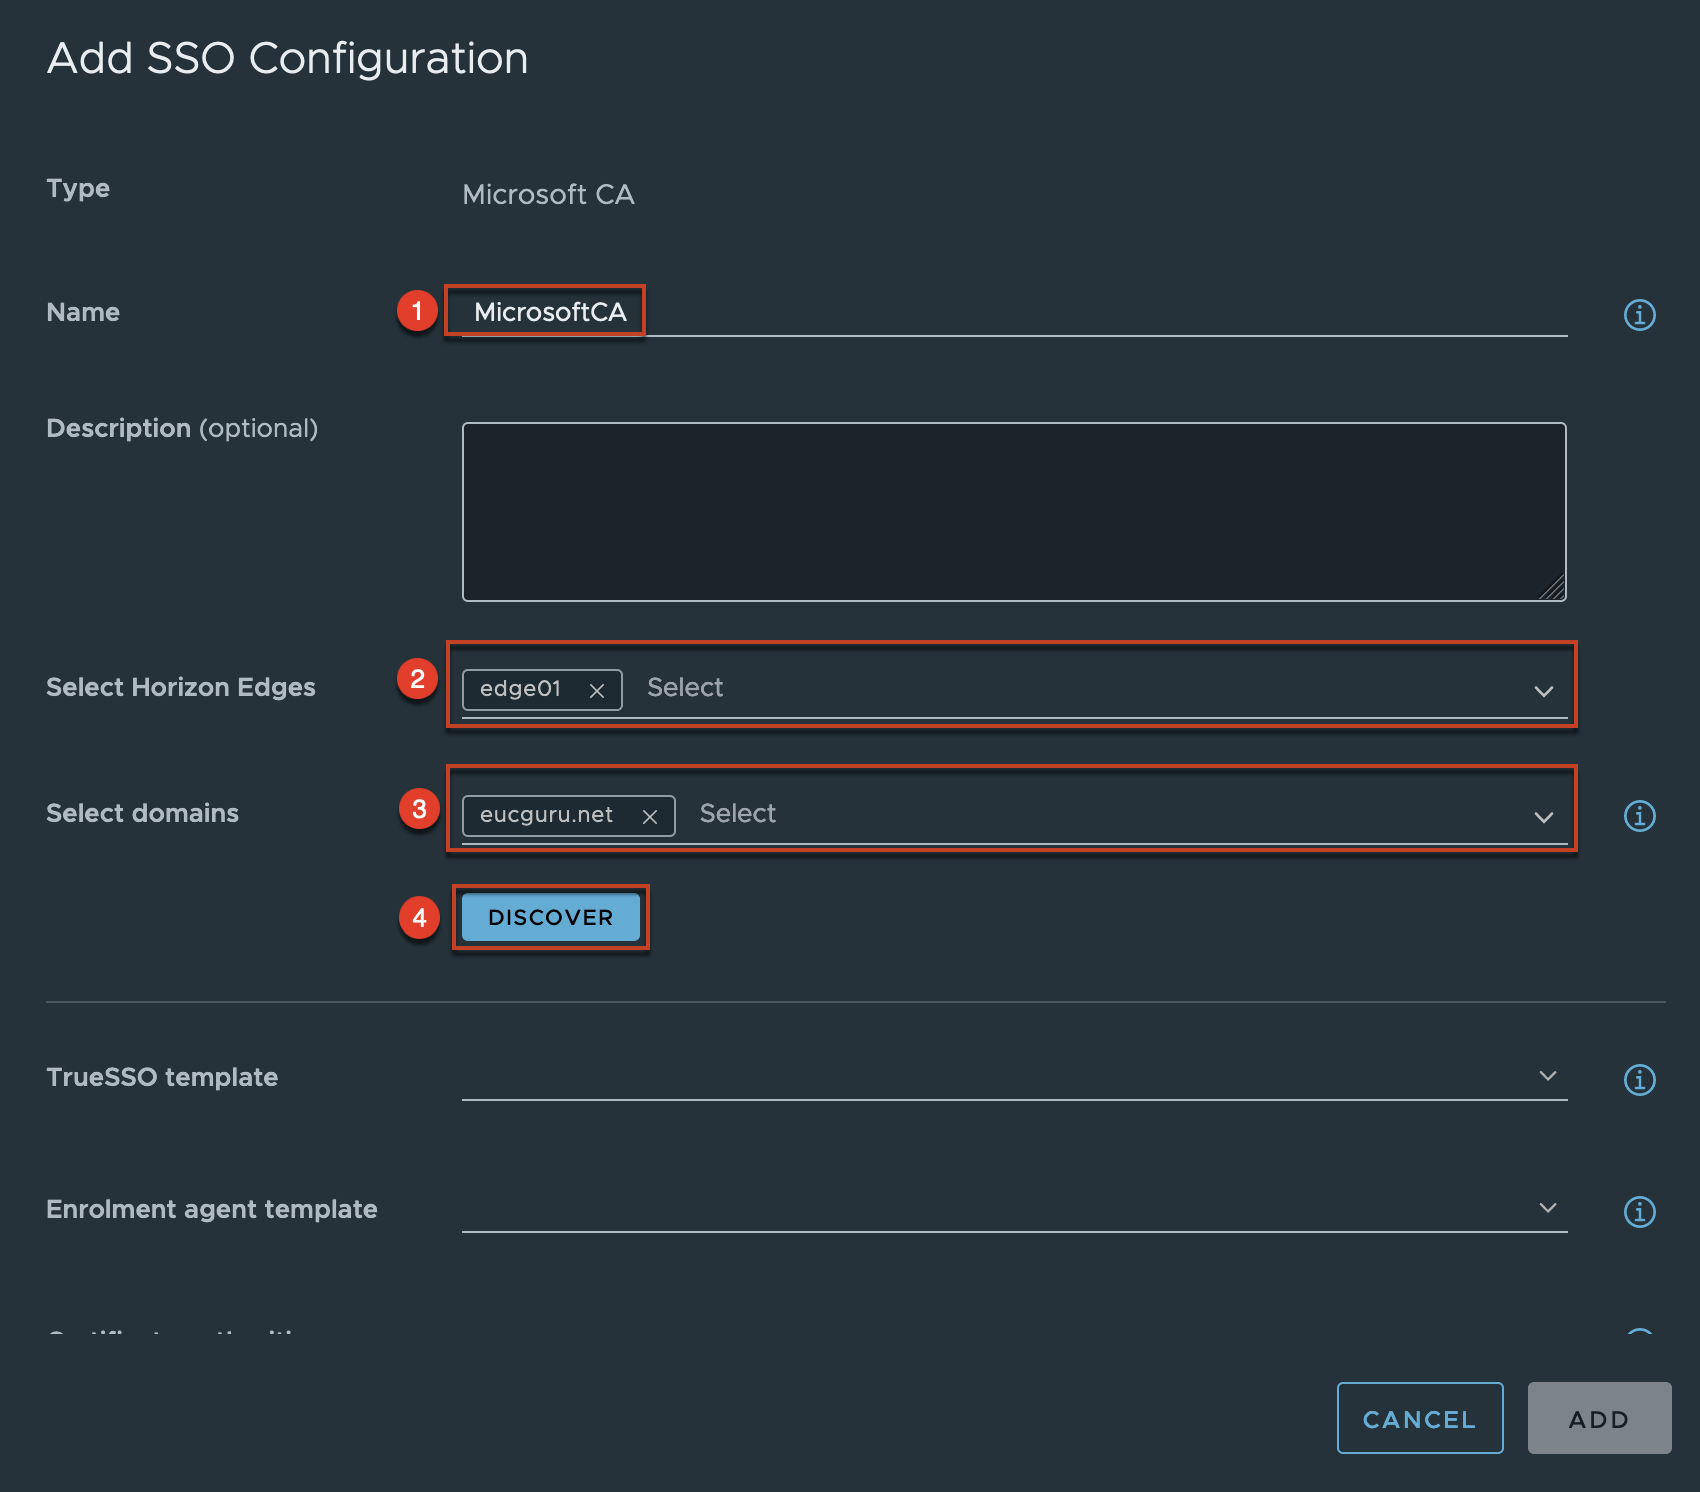
If you have configured the templates correctly, system automatically finds the templates and populate in UI as below. Select [ADD].

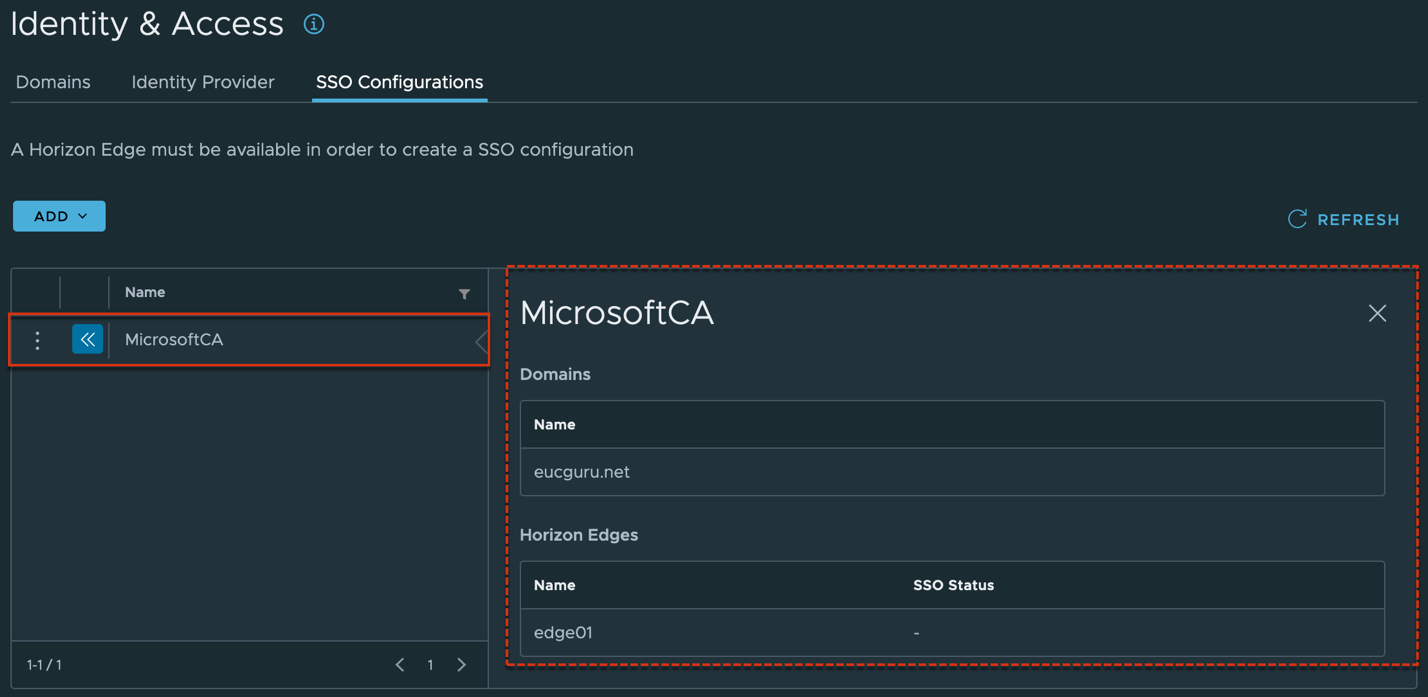
Confirm that you have configured the TrueSSO successfully.
[Identity & Access] > [SSO Configuration]
You can also confirm the SSO status from capacity in Edge detail page.
Navigate to [Capacity] > click in [Edge] name hyperlink > [SSO Configuration] section and confirm the SSO status as [Ready] with green ticked.

![]()