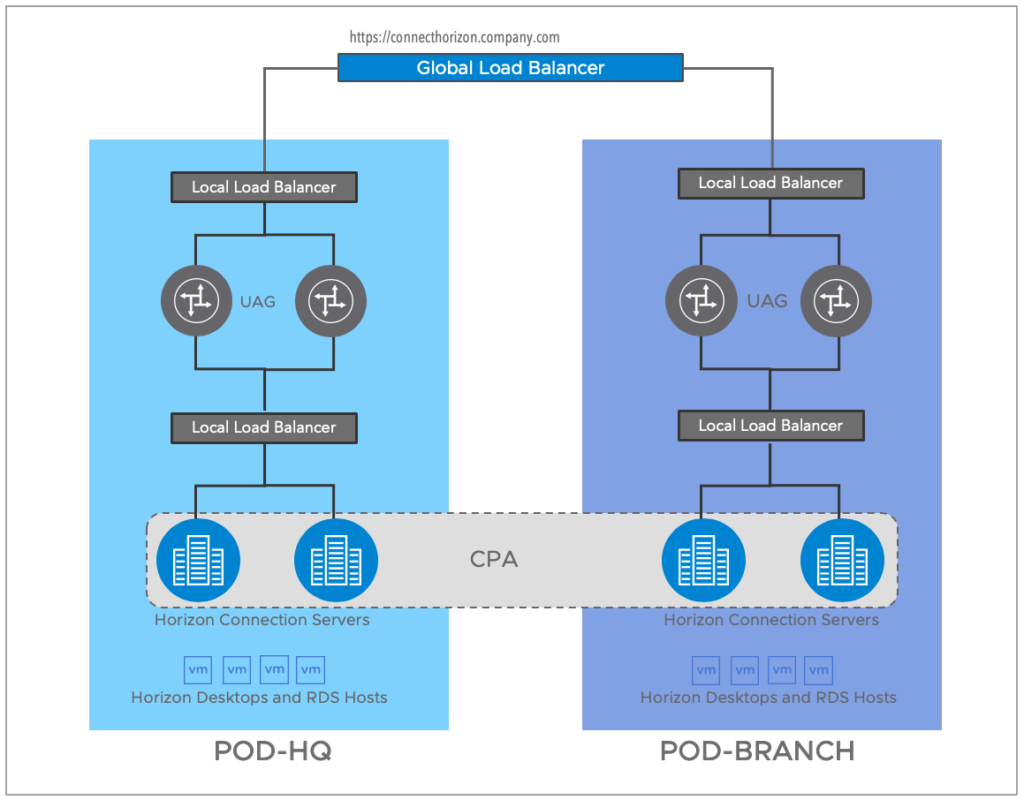
Horizon Cloud Pod Architecture (CPA) feature enables the capability to link together multiple Horizon pods to provide a single large desktop and application brokering and management environment.
A horizon pod is a set of Connection Server instances, shared storage, a database server, and the vSphere and network infrastructures required to host desktop and application pools. In traditional Horizon implementation, each pod needed to be managed independently. With CPA you can link together multiple pods to form a single horizon implementation called a pod federation, which hugely helps to administrator to make the management of large-scale horizon deployment easier.
In this post, I’m sharing step by step guidance on configuring CPA to link the multiple horizon pods.
Planning
- Horizon POD
- POD-HQ
- POD-Branch
- Sites
- HQ-Site
- Branch-Site
- POD Federation Name = Cloud POD Federation
- Global Entitlement = CPA_ENABLED_ENTITLEMENT
- Local Desktop Assignment
- POD-HQ = POD1-IC-POOL
- POD-BRANCH = POD2-IC-POOL
- Global loadbalancer FQDN –
Architecure Diagram
Enable Cloud Pod Architecture Feature
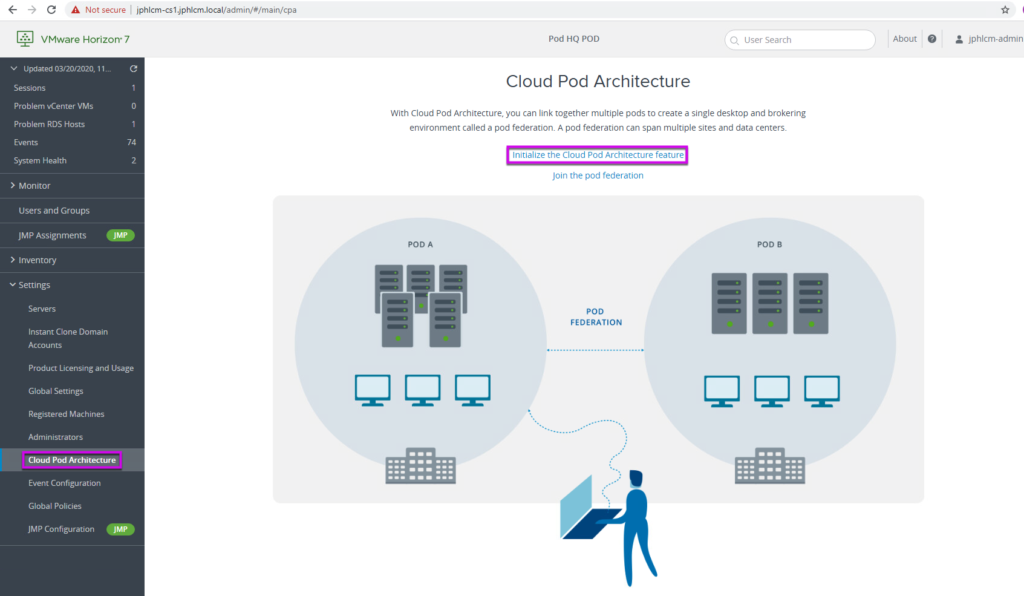
1. Log into Horizon admin console of main POD > [Settings] > [Cloud Pod Architecture] and select [Initiate the Cloud Pod Architecture Feature].
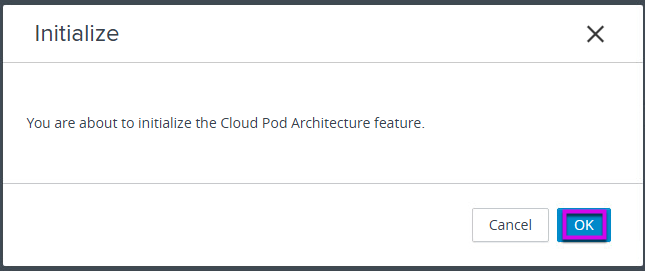
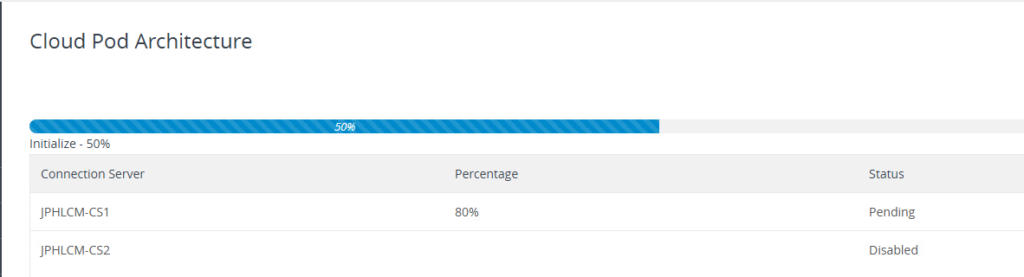
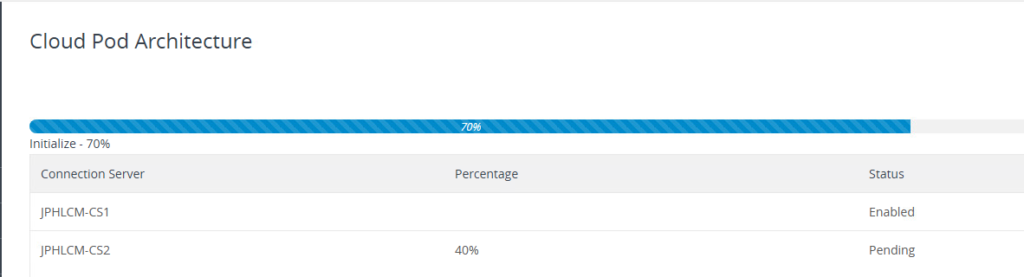
2. Select [OK] and wait until initialization completes. If you have multiple connection servers exist in a POD, CPA feature will be initialized in all the connection servers.
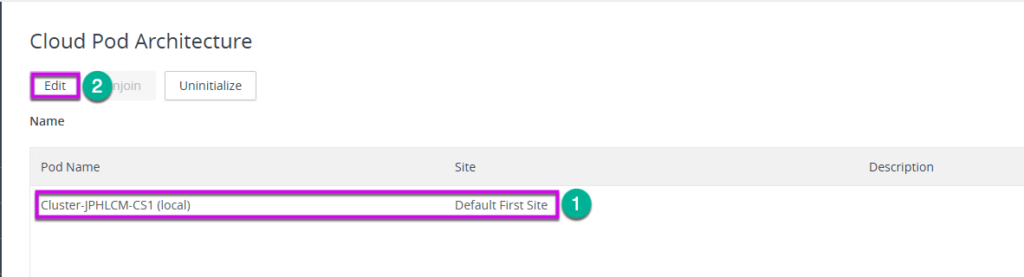
3. Once the CPA initialization is completed, you will see the default POD and Sites name as below. Select default POD from the list and click in [Edit].
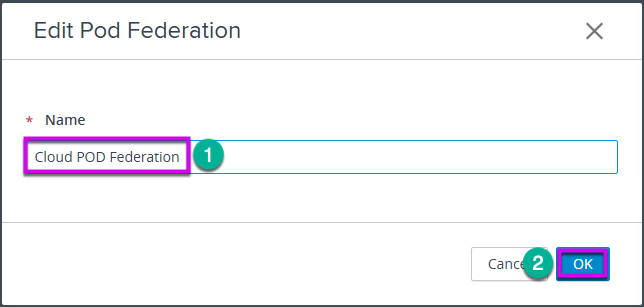
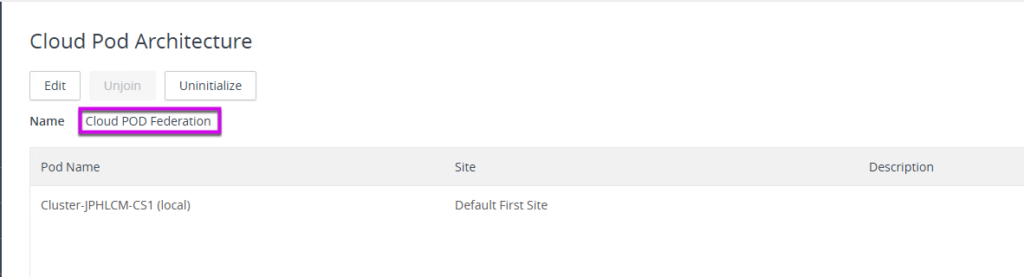
4. Give the name of your choice for POD Federation > Select [OK] and confirm the POD Federation name is saved properly.
Configure Sites
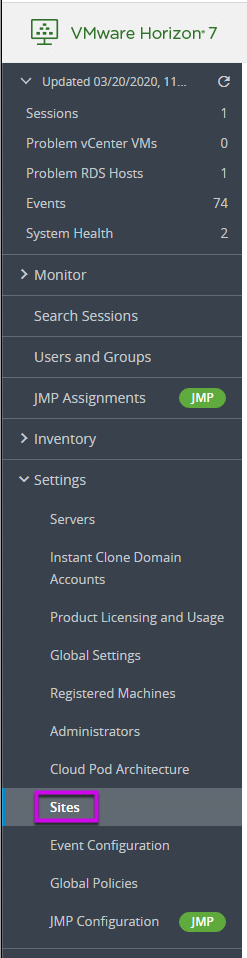
5. Select [Settings] > [Sites].
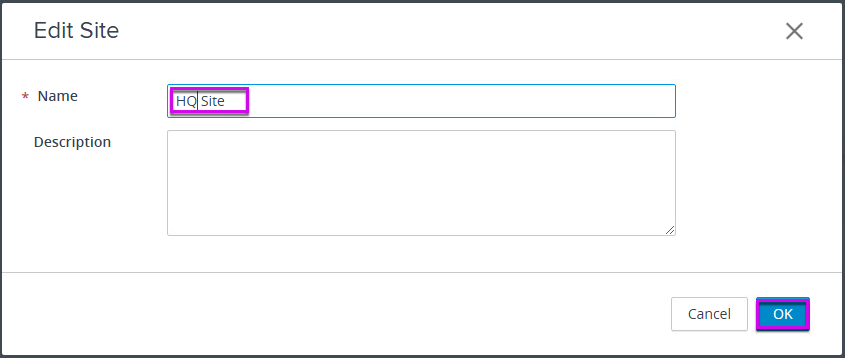
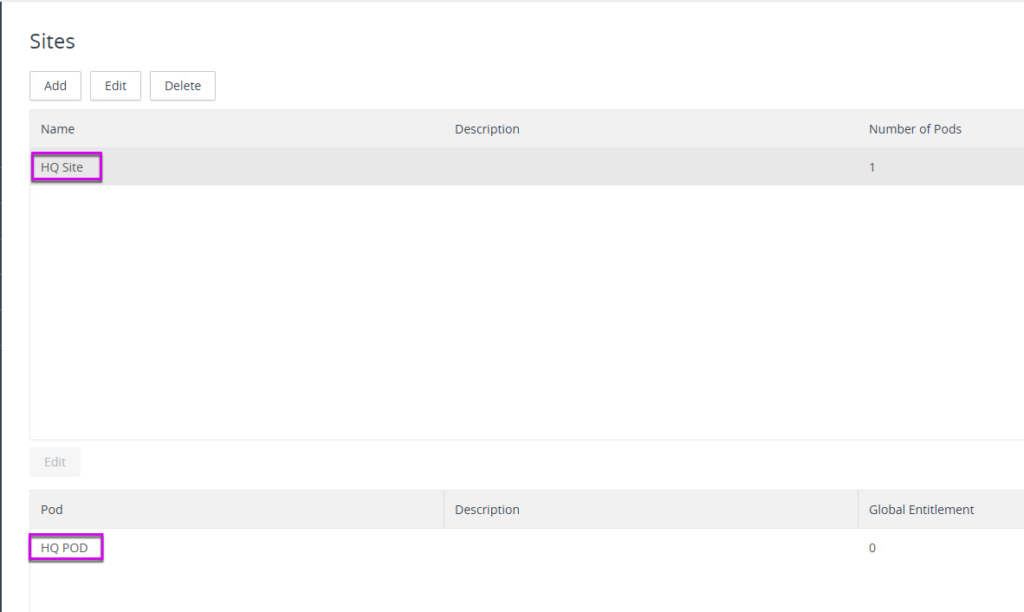
6. Select [Default First Site] > [Edit], give the name of your choice for first site (HQ-Site in my case) > [OK] to save.

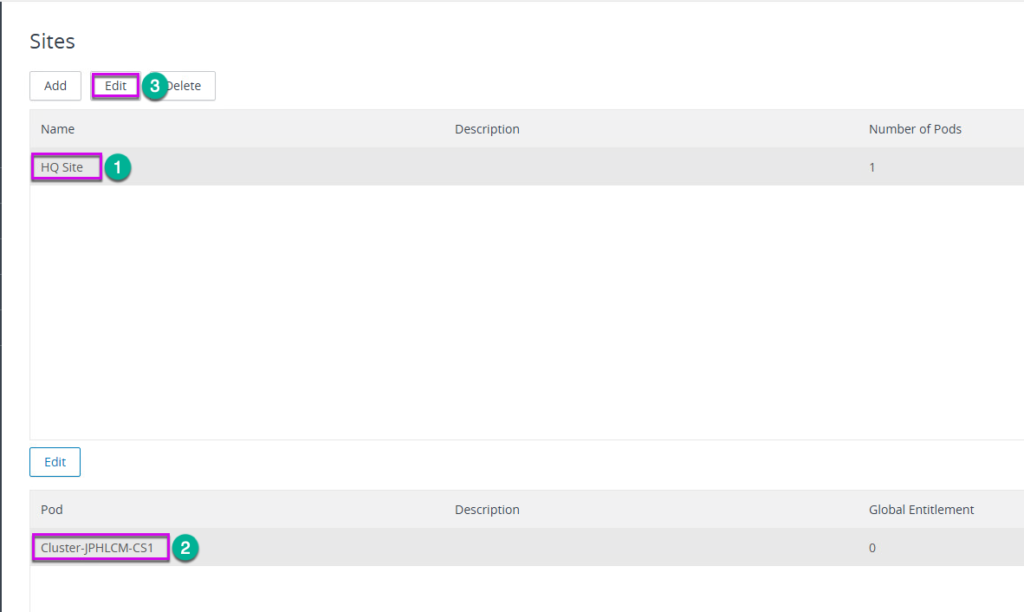
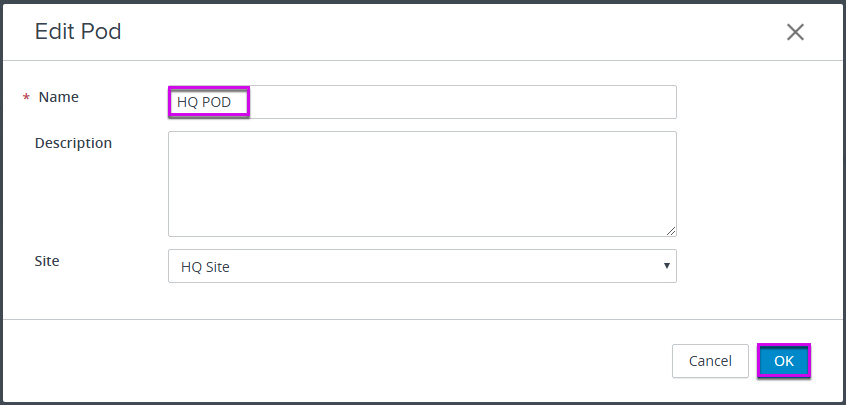
7. Select [Site Name] > select default [POD Name] > [Edit] > give the name of your choice to first POD (HQ-POD in my case) > [OK] to save and confirm the change has been saved.
Join the second POD in POD Federation
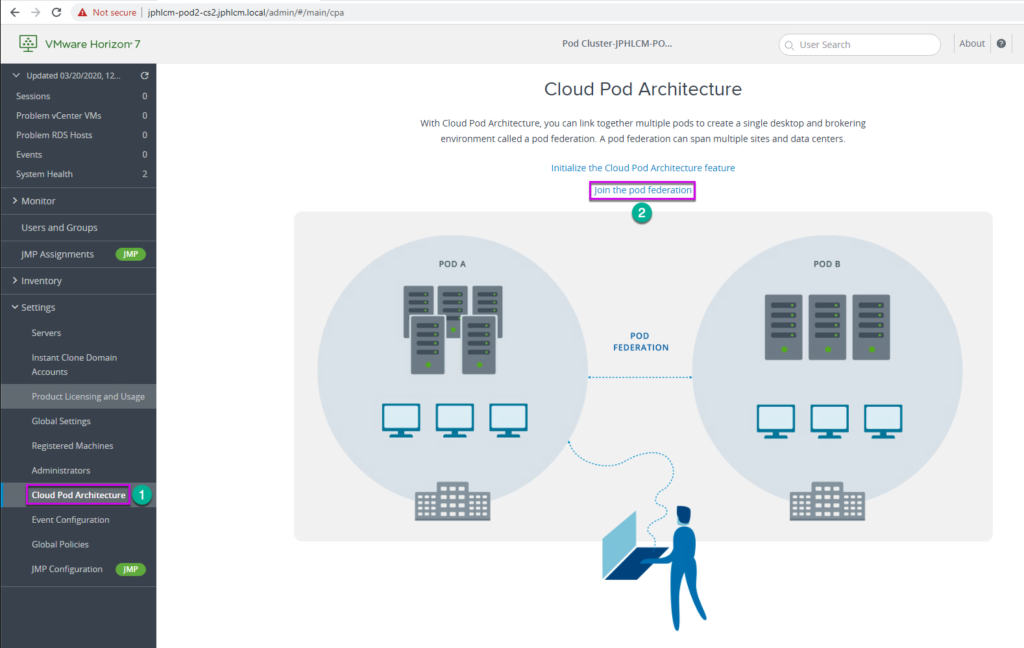
8. Log into Horizon admin console of second POD > [Settings] > [Cloud Pod Architecture] and select [Join the pod federation].
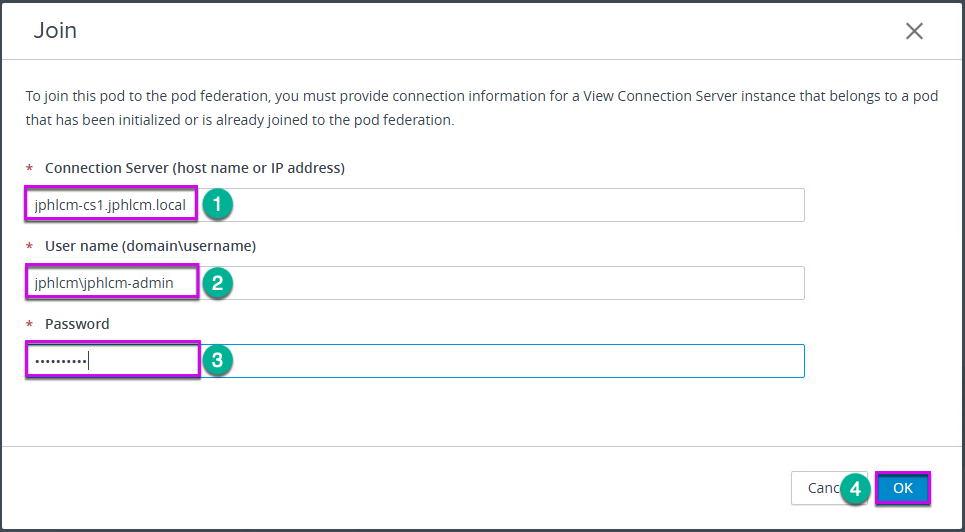
9. Enter the host name, user name and password of first POD > select [OK] to initialize the POD federation join.
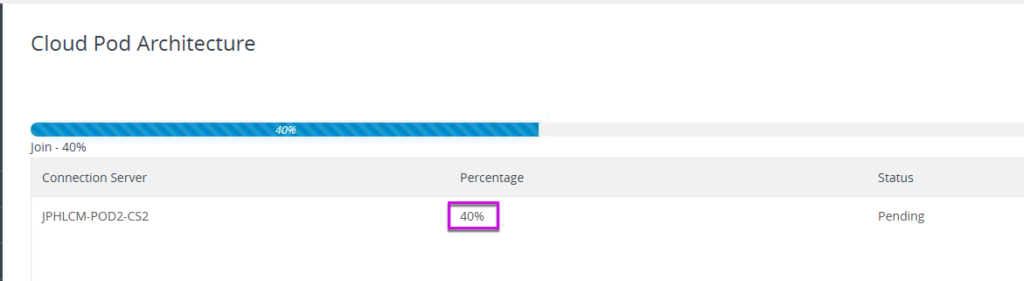
10. Wait until the POD federation join completes.
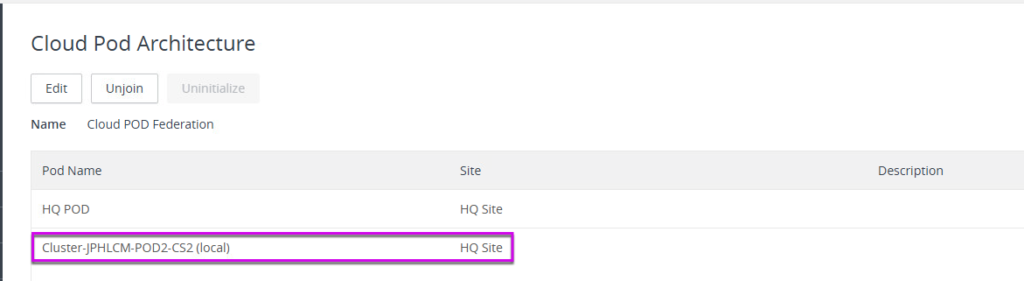
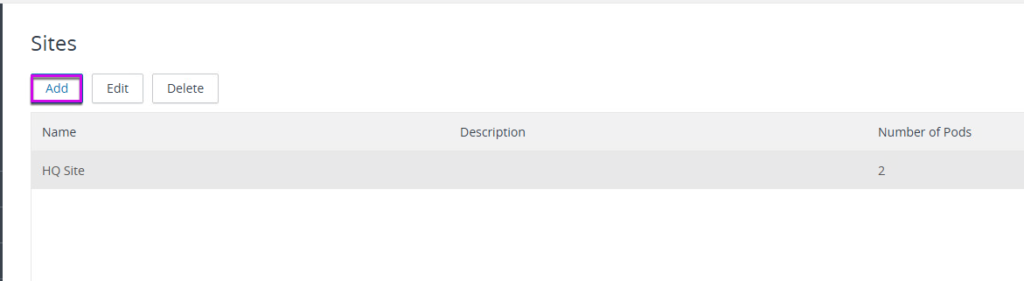
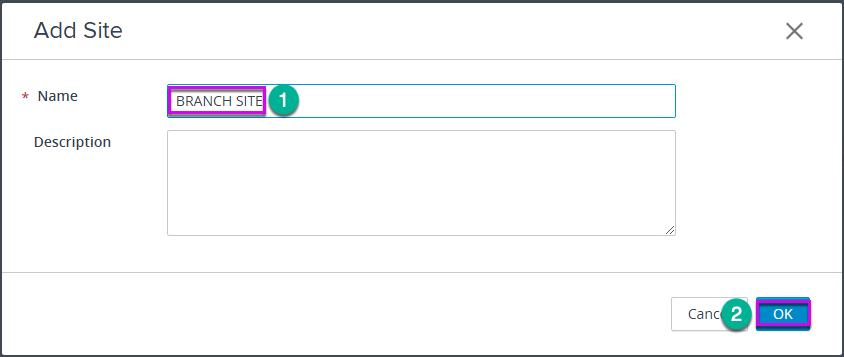
11. Go to [Settings] > [Sites] > select [Add] > give the name of your choice for second site (Branch Site in my case) > click [OK] to save.
12. Select first site (HQ Site in my case) under [Sites] list and select newly added second pod under [POD] list (cluster-JPHLCM-POD2-CS2 in my case) > [Edit].
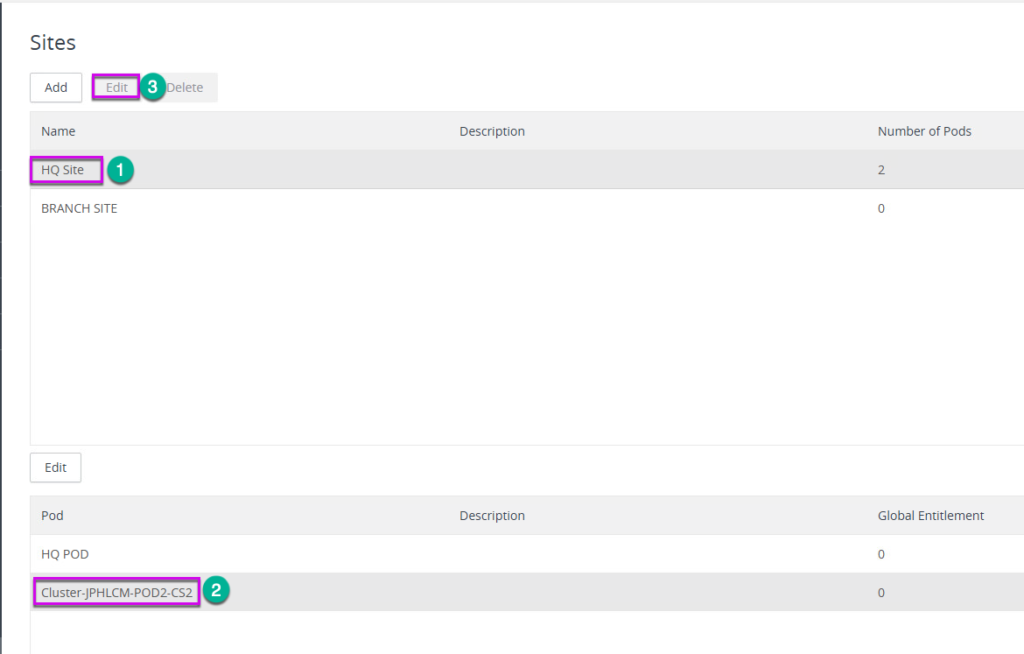
13. Give the name of your choice to second POD and select the site to be pointed from dropdown (Branch Site in my case) > [OK] to save.
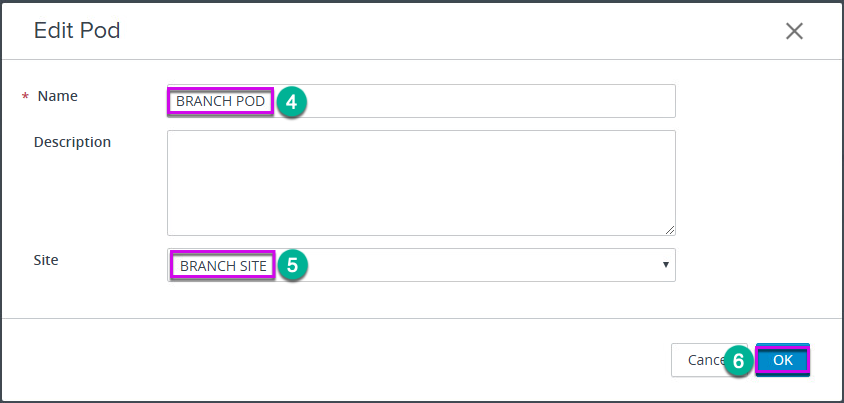
14. Confirm Site and POD are paired correctly.
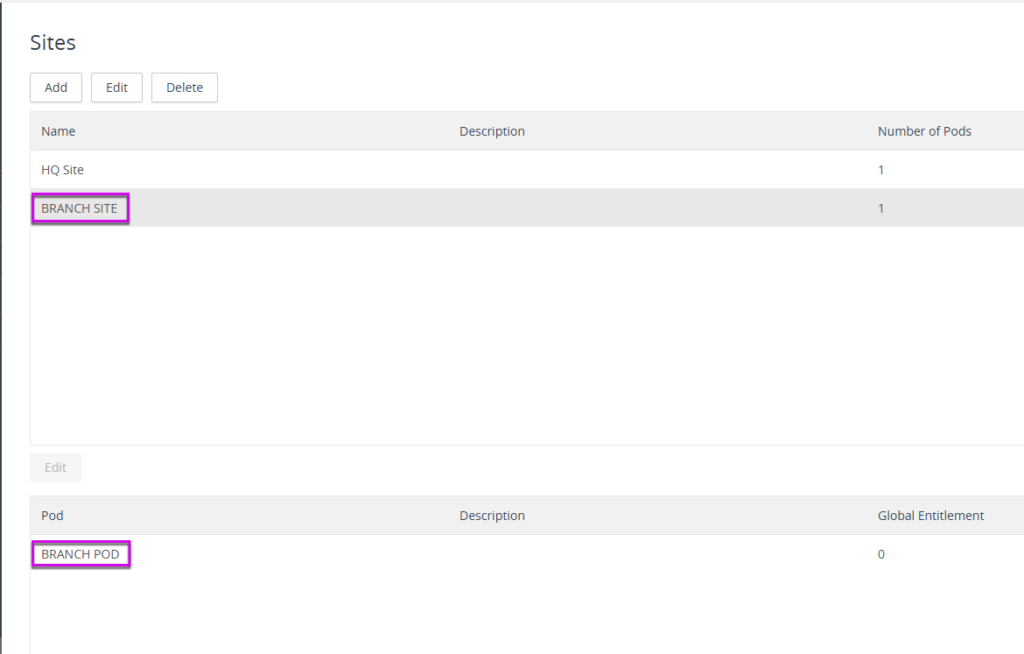
You have now completed Cloud Pod Architecture enablement and Sites settings. Next you need to create the Global Entitlement to make the desktops and pool available to targeted users or group of users.
Create Global Entitlement
Prior to creating global entitlement, make sure that you have atleast 1 local desktops or applications entitlement in each POD.
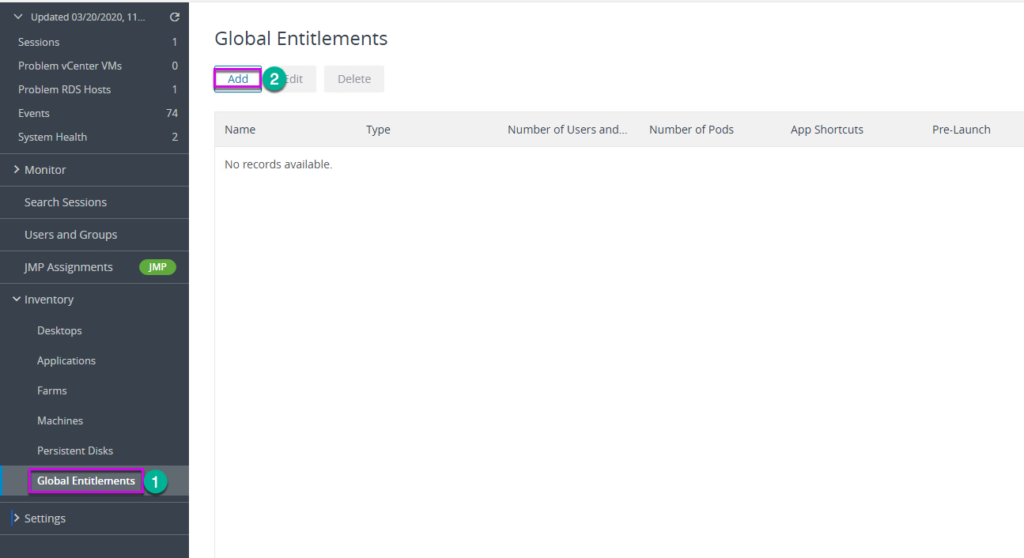
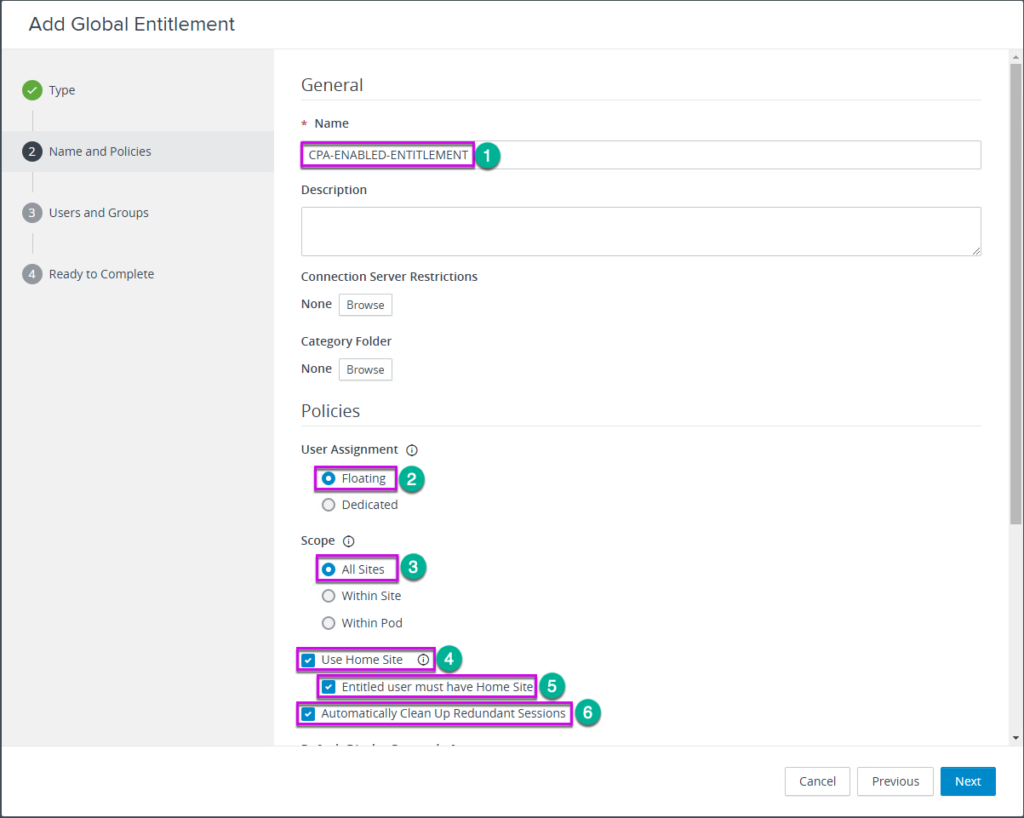
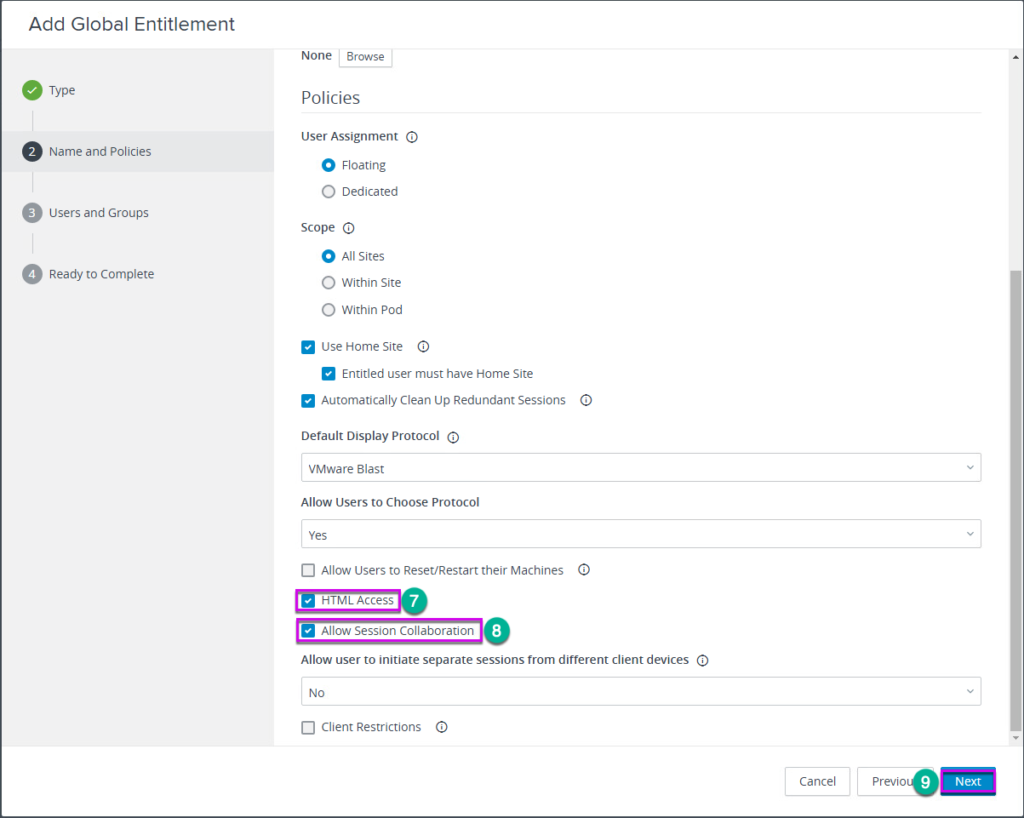
15. Log into the Horizon admin console > [Inventory] > [Global Entitlements] > [Add] and follow the on-screen instruction.


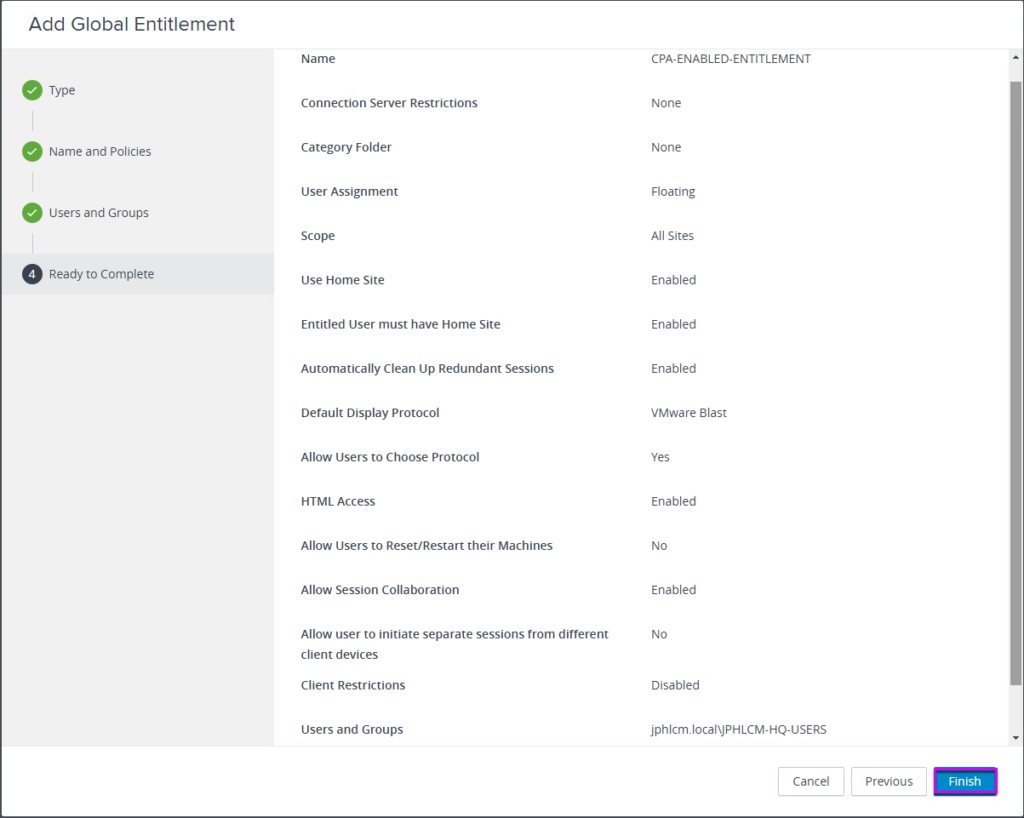
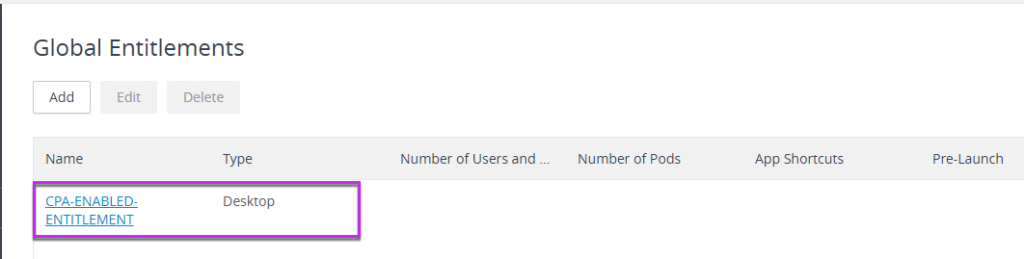
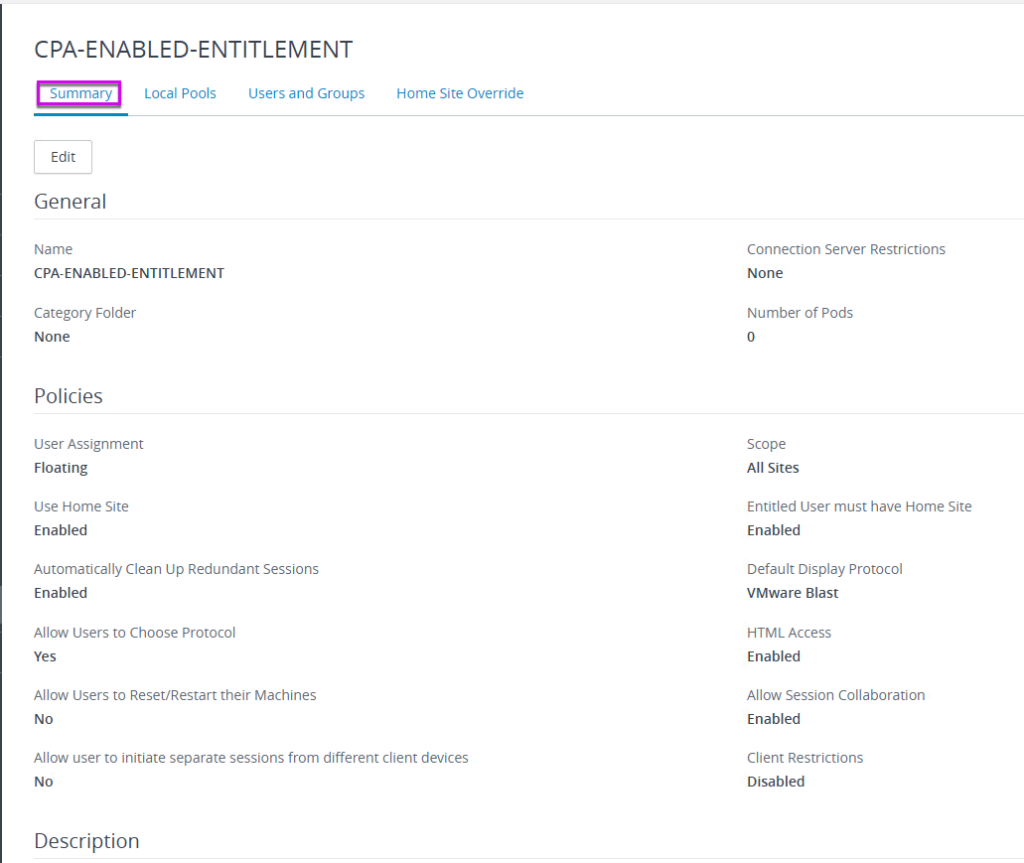
16. Confirm the global entitlement is configured properly.
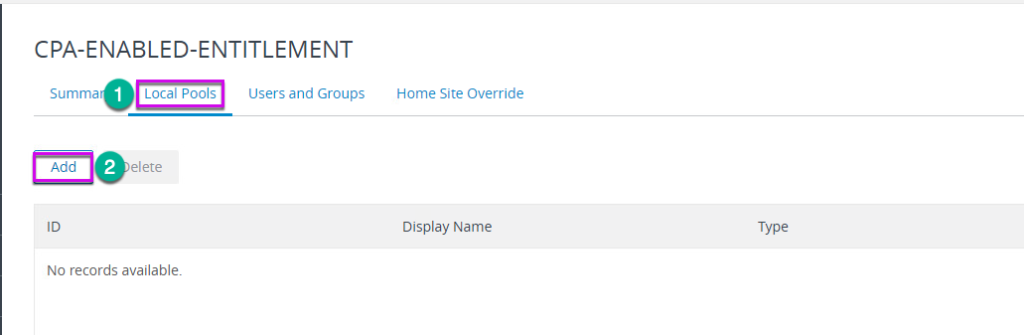
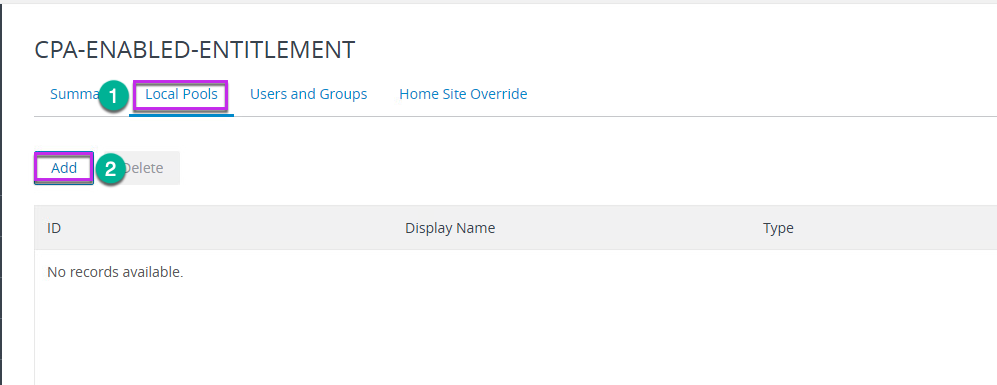
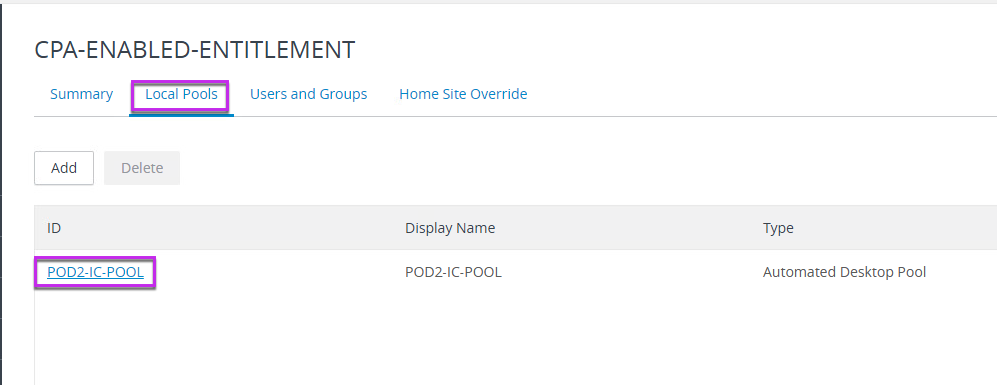
17. Select [Local Pools] tab > [Add].
18. Select the local assignment which need to be the part of global entitlement > [Add].
HQ-POD
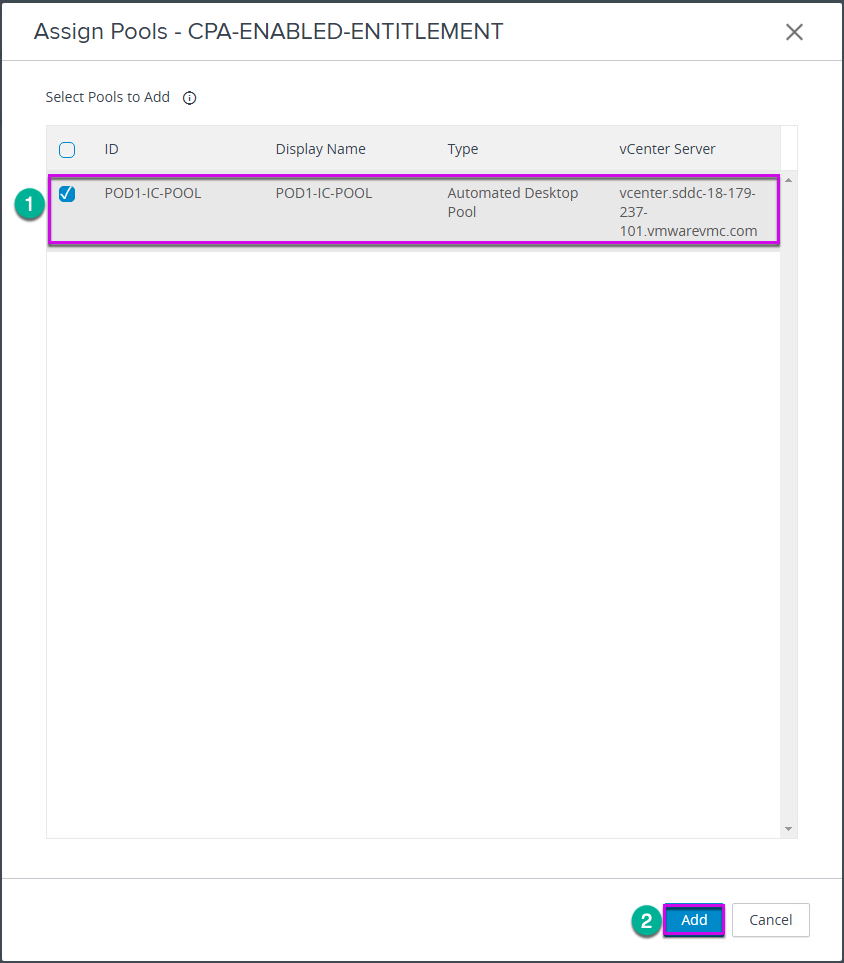
BRANCH-POD

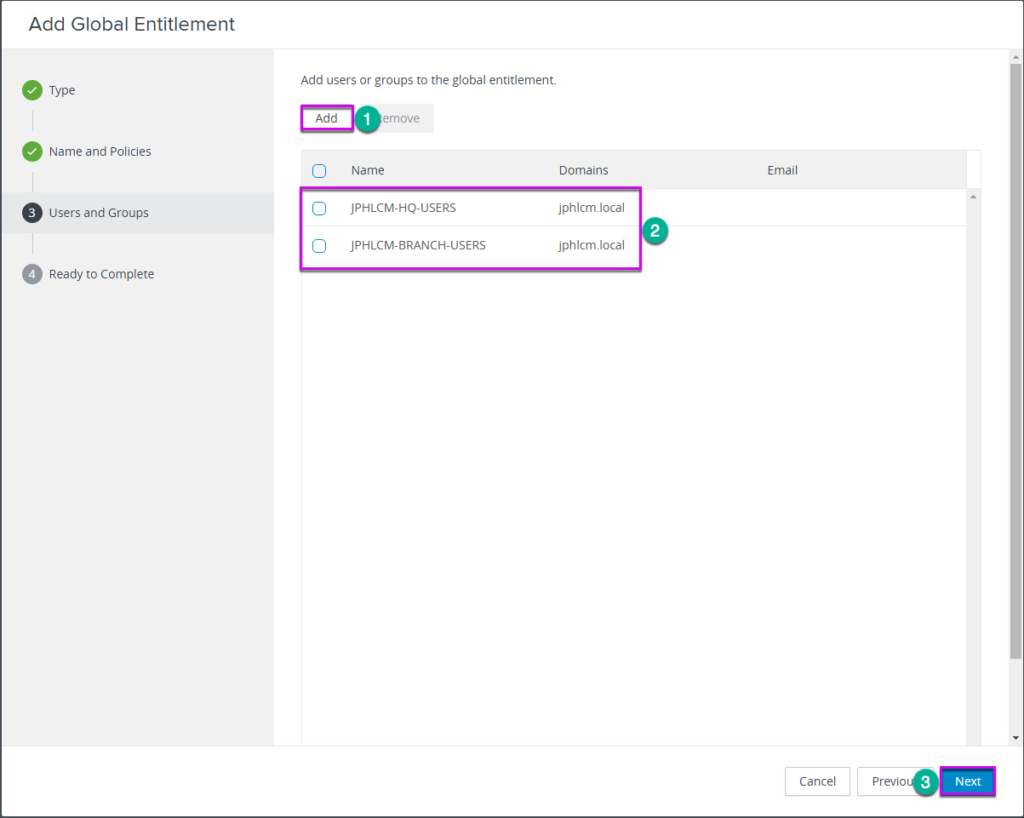
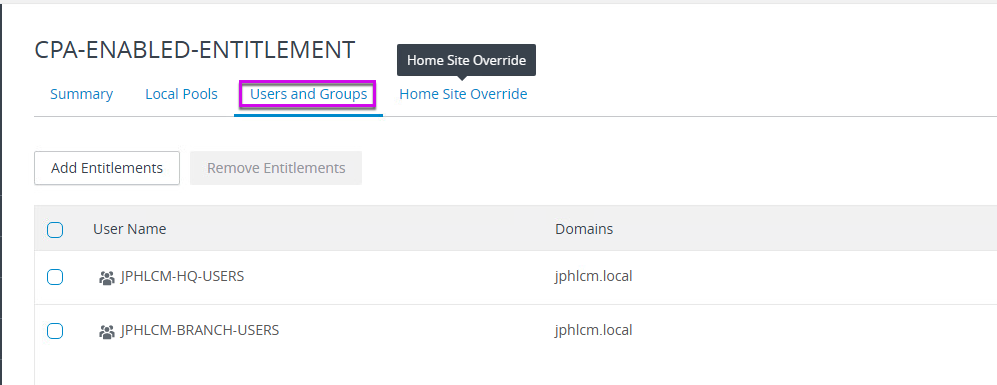
19. Move to [User and Groups] tab and add the users/groups of users who need to access the desktops/applications from the global entitlement. In my case I have separated the users group as HQ-Users and Branch-Users and adding both groups are entitled to global entitlement.
Note: this task can be performed while creating Global Entitlement as well.

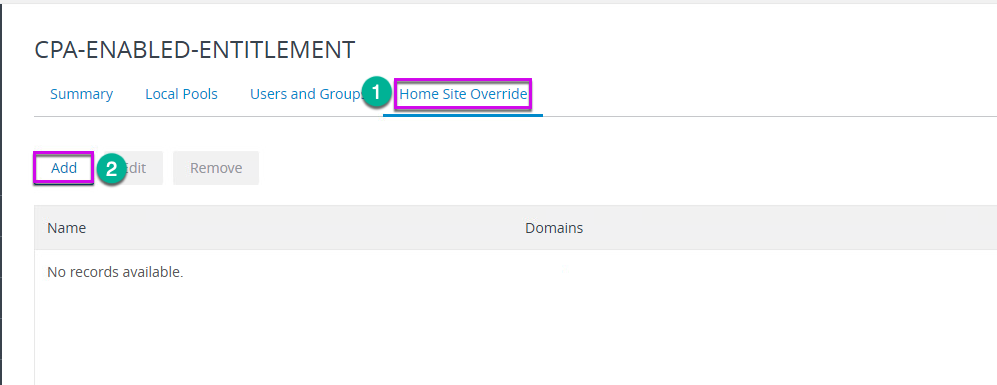
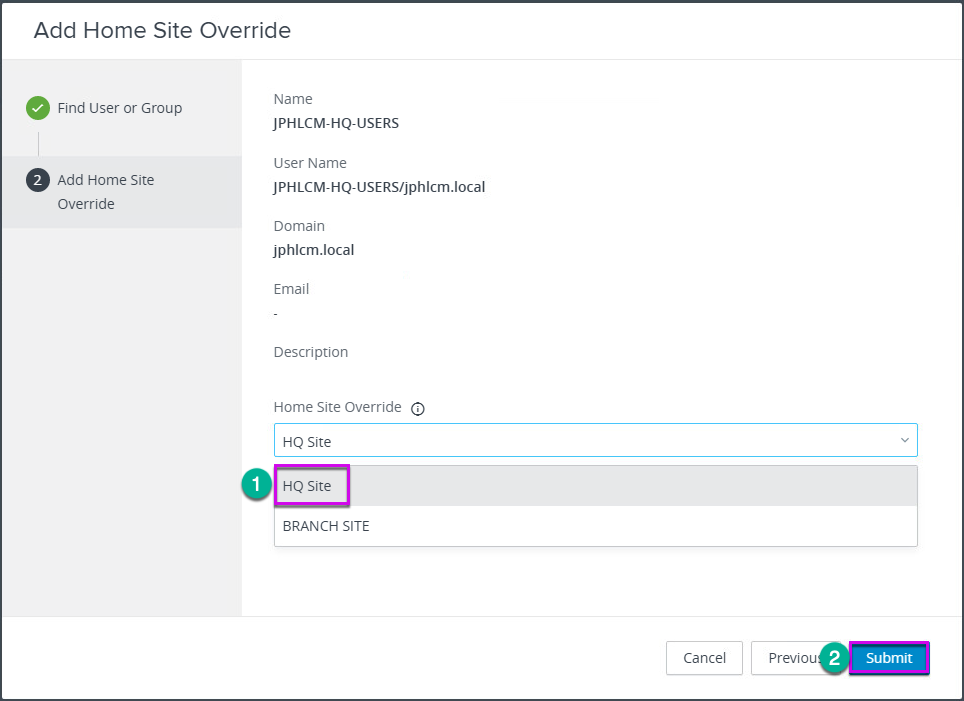
20. Move to [Home Site Override] tab and add the users/group of users who need to use the POD as home site. In my case, “HQ-POD” will be the home site for “HQ-Users” group and “BRANCH-POD” will be the home site for “Branch-Users” group.
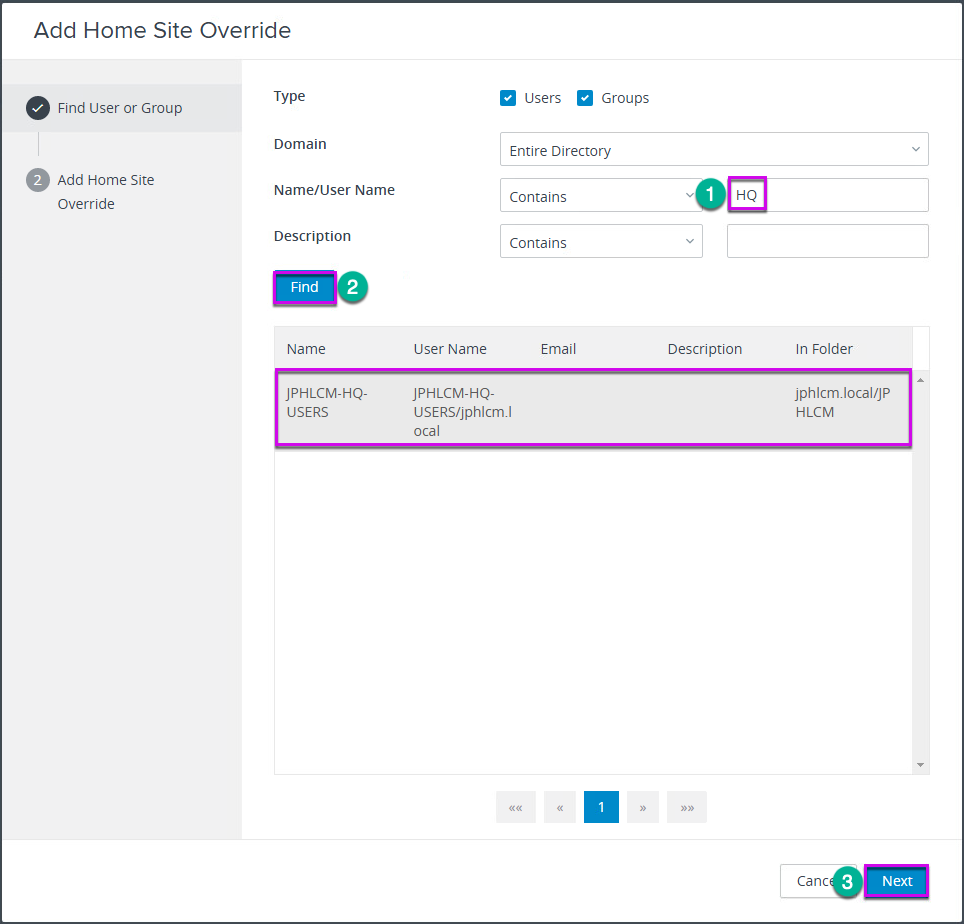
21. Select the home site from dropdown > select [Submit].
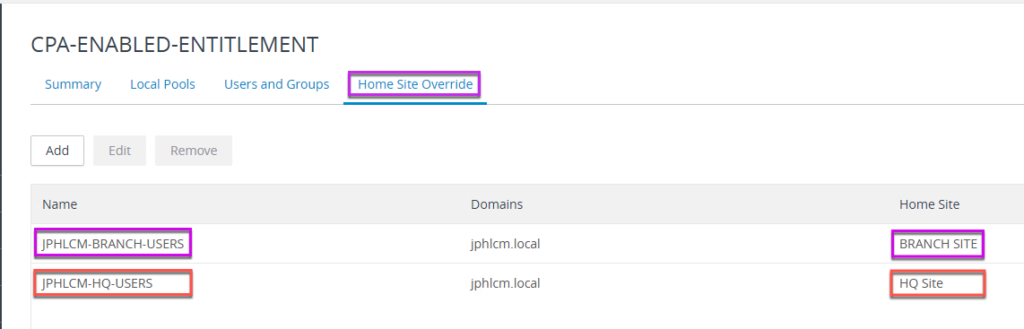
21. Repeat steps 20-21 for remaining POD as well and confirm that the Home Site override is configured properly.
You are now all set with Cloud Pod Architecture configuration. Next, you will validate if the CPA is working as you expected.
Cloud Pod Architecture Validation
22. Log into horizon client or horizon HTML5 portal with a user resides on “HQ-Users” group. In my case “jphlcm-user2” which is member of “HQ-Users” security group in AD server.
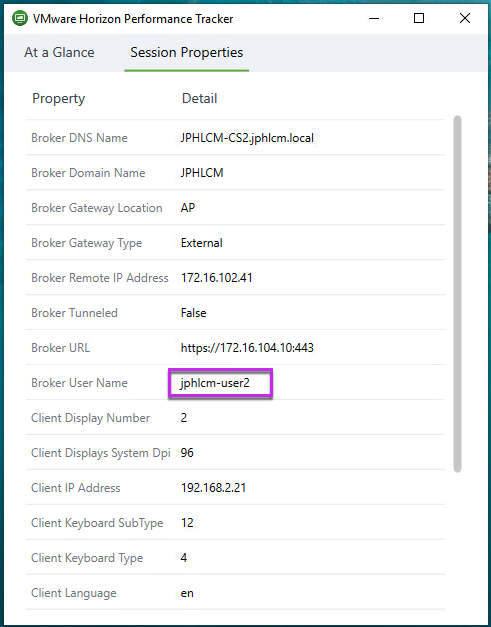
23. Confirm user session is in HQ-POD (POD1-IC-POOL) as connected state.

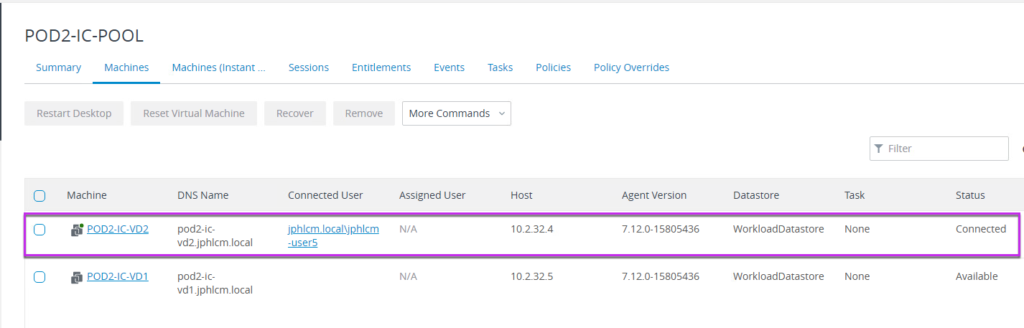
24. Log into horizon client or horizon HTML5 portal with a user resides on “Branch-Users” group. In my case “jphlcm-user5” which is member of “HQ-Users” security group in AD server.
25. Confirm user session is in HQ-POD (POD2-IC-POOL) as connected state.
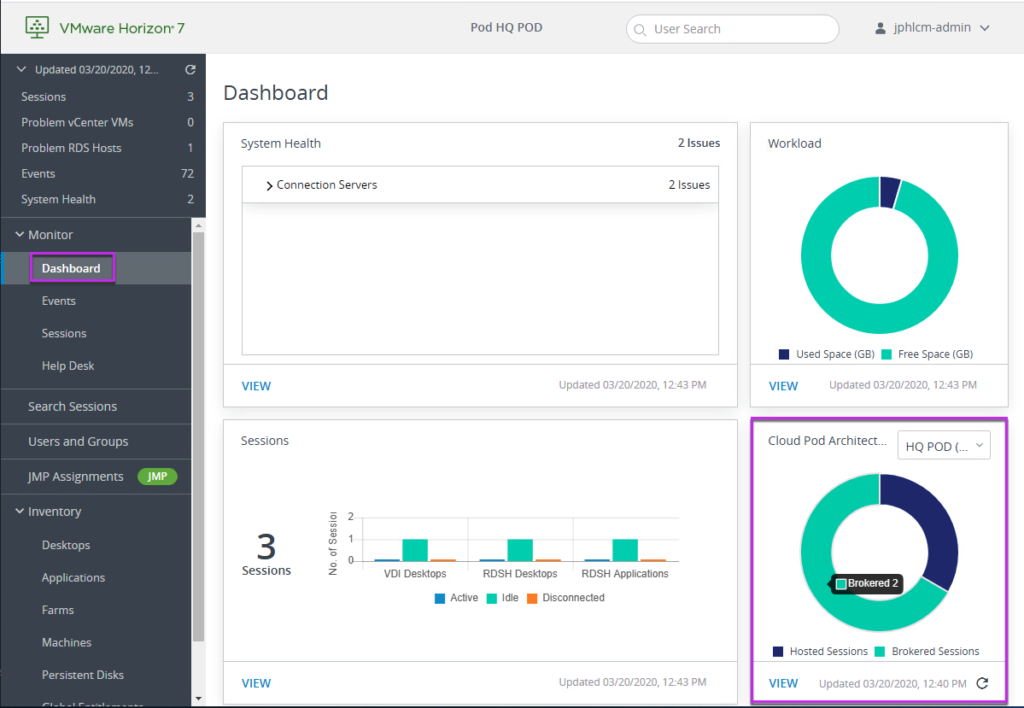
Horion Dashboard
In Horizon 7.12 release, Cloud Pod Architecture view is added in main dashboard. You can easily view the number of active sessions in respective PODs.
![]()