Introduction
By default, horizon universal console comes with 2 steps authentication. The first authentication is based on myvmware account and the second is active directory (AD) which is registered to Horizon Cloud POD.
As per July 9, 2020 update, Horizon Cloud supports both single sign-on (SSO) and multi-factor authentication (MFA), providing enhanced security for administrators accessing the horizon universal console. Authentication is enabled using VMware Cloud Services federated identity management also know as enterprise federation. See below video to understand how the authentication is different with and without enterprise federation.
As per your requirement you can use both legacy 2 steps authentication and federated identity authentication at a same time. However, it is also possible to completely block the legacy authentication.
Note: The federated identity management feature is in Limited Availability as of August 2021. VMware enables the feature to Horizon Cloud tenant in request base.
Logical architecture
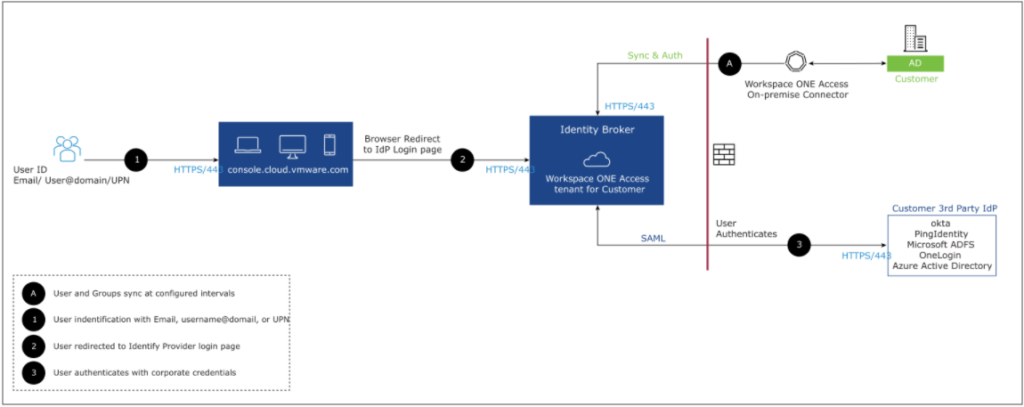
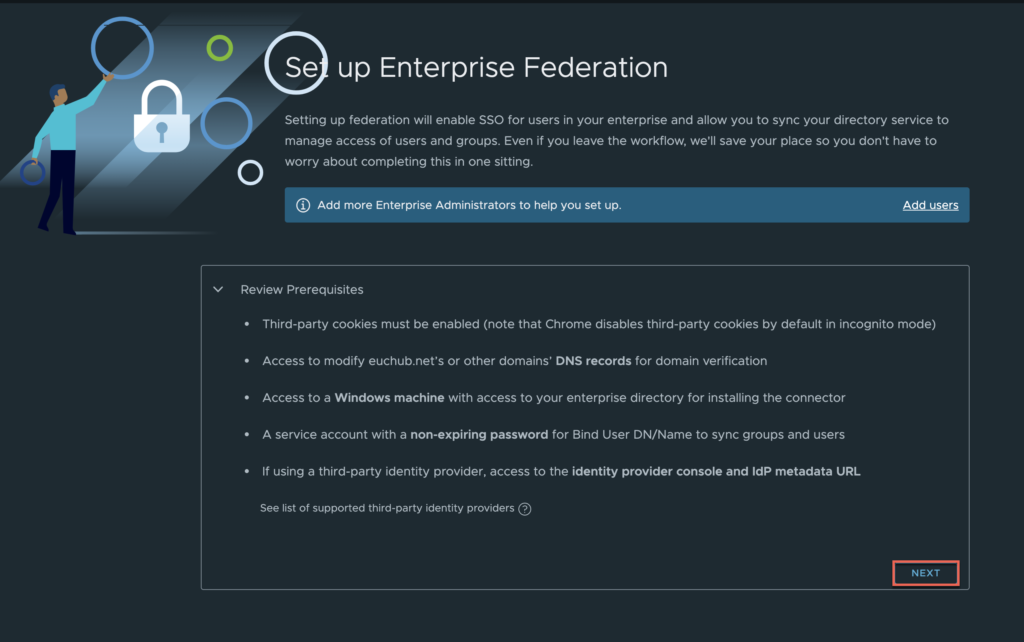
Prerequisites
- Horizon Cloud tenant/POD version 20.3 (manifest 2298.0) or later
- A windows machine for Workspace ONE connector
- Connector machine needs the reachability to internet
- Connector machine need to be domain joined
- Public domain
- As part of federation, TXT record need to be added in domain
- An email address associated to public domain, which need to be registered as myvmware account.
- 3rd party identity provider for single sign-on i.e. Azure AD, Okta etc. ( optional)
The further detail about prerequisite and procedure of enterprise federation can be found here.
Setting up enterprise federation for your corporate domain is now a self-service process that involves multiple steps, users, and roles. After setup completes successfully, enterprise federation becomes available to all groups/users (which are sync`d to CSP federation directory) from your corporate domain and applies to all services across all organizations.
! Important Note: If you are already using VMware Cloud Service for the services other than Horizon Cloud, the new configuration may affect to existing services. In that case, please consult with VMware representative beforehand.
From here, I will provide the step by step guidance on enterprise federation with Azure AD single sign-on and Horizon Cloud on Azure POD.
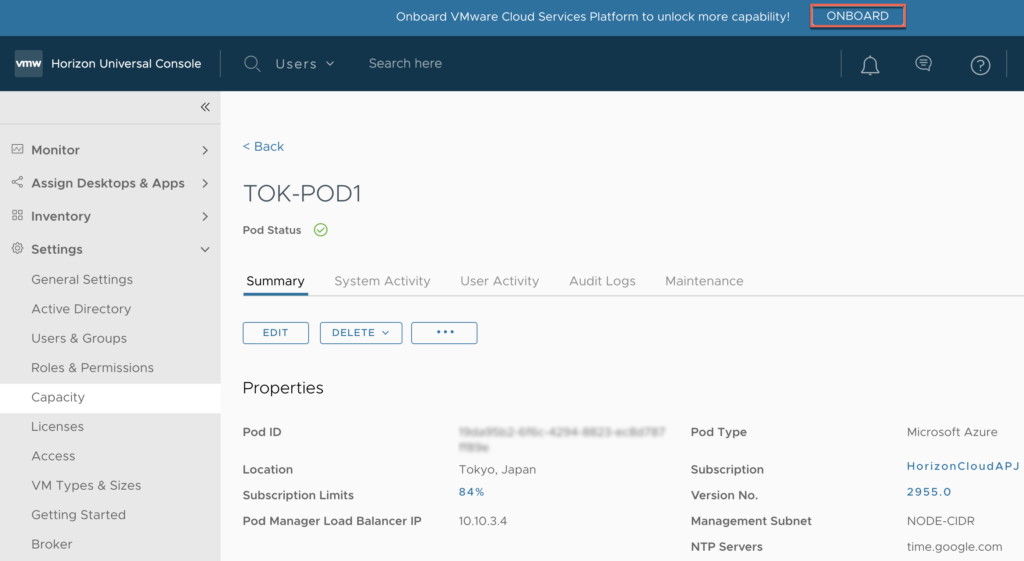
1. A banner “Onboard VMware Cloud Services Platform (CSP) to unlock more capability! ONBOARD” appears on top of horizon universal console once VMware enables the enterprise federation feature to the Horizon Cloud tenant. CSP is required to enable the “Horizon Infrastructure Monitoring” as well.
Click in [ONBOARD] hyperlink.
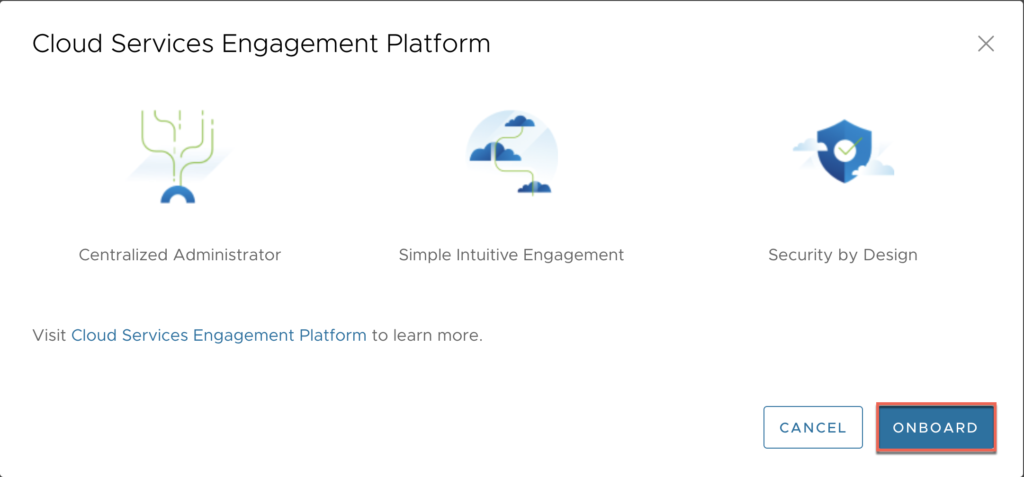
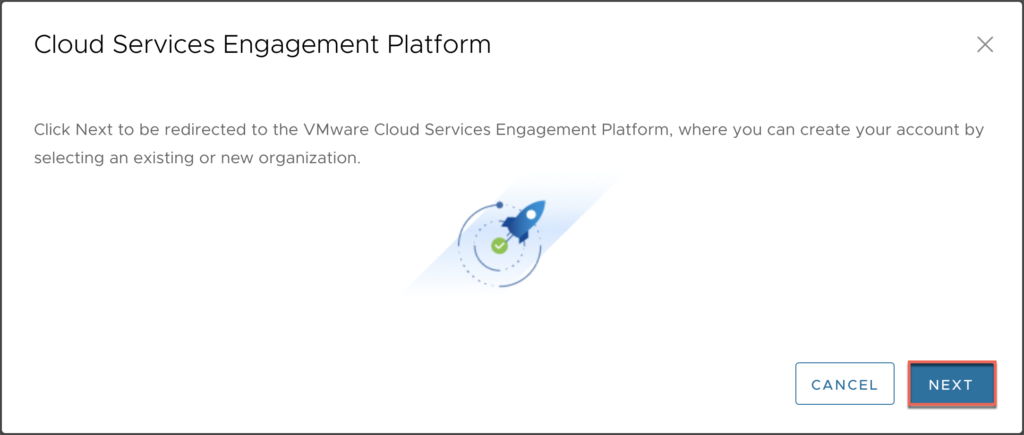
2. A new “Cloud Services Engagement Platform” onboarding windows pops up. Click in [ONBOARD] > [NEXT].
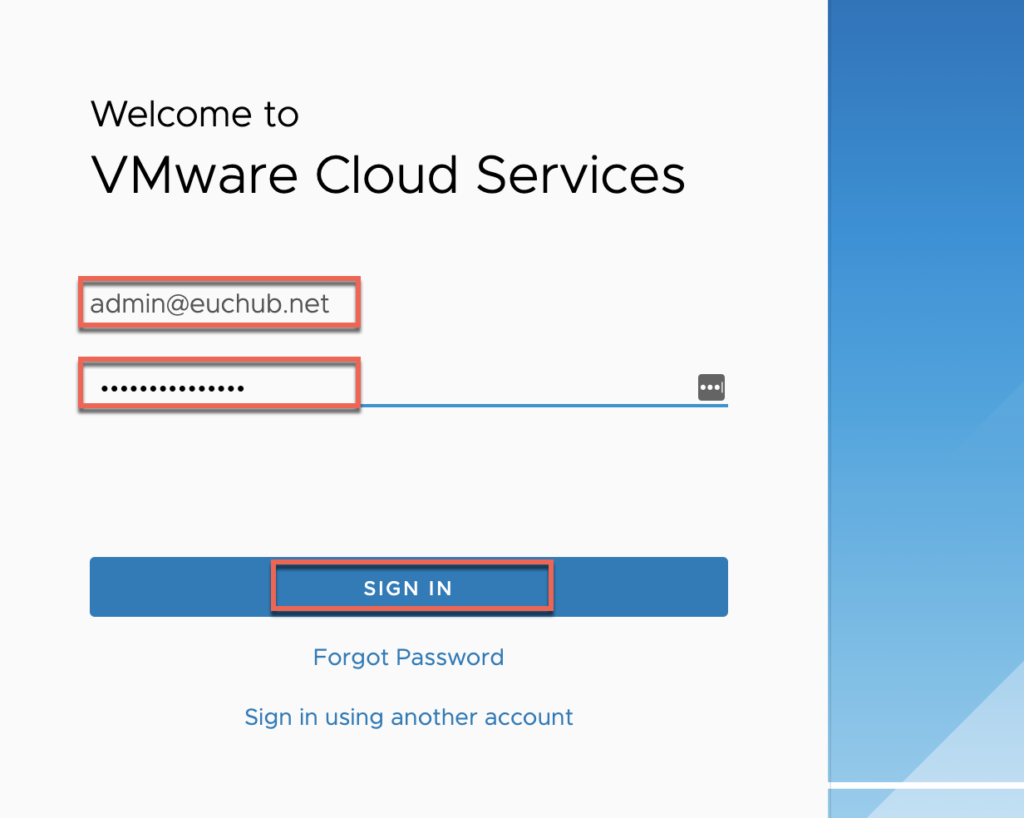
3. You will be redirected to VMware Cloud Services page, [SIGN IN] with myvmware credential which you use to login horizon universal console.
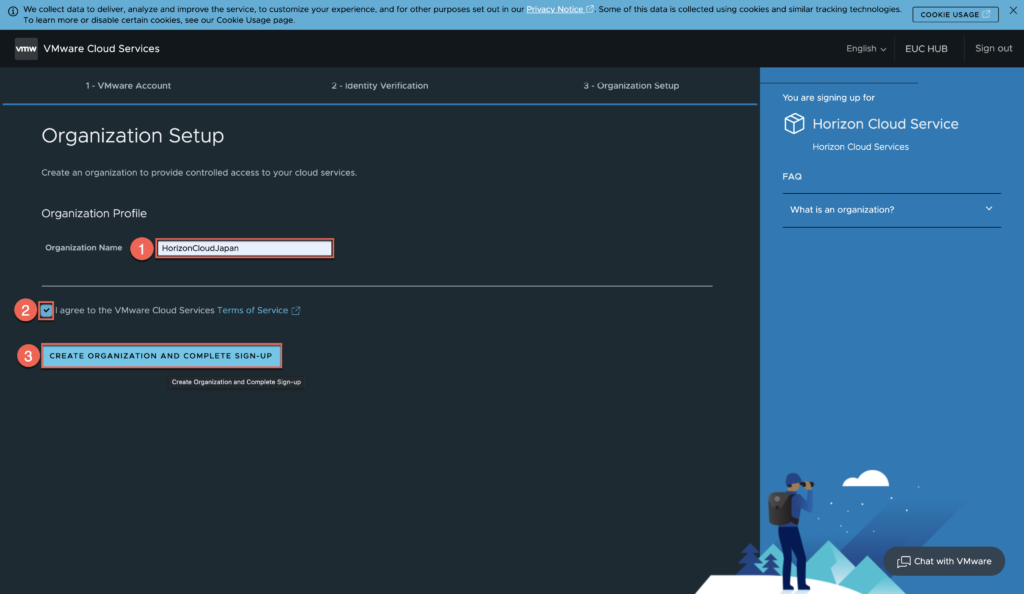
4. Give the name of your choice to organization > accept [Terms of Service] > click in [CREATE ORGANIZATION AND COMPLETE SING-UP].
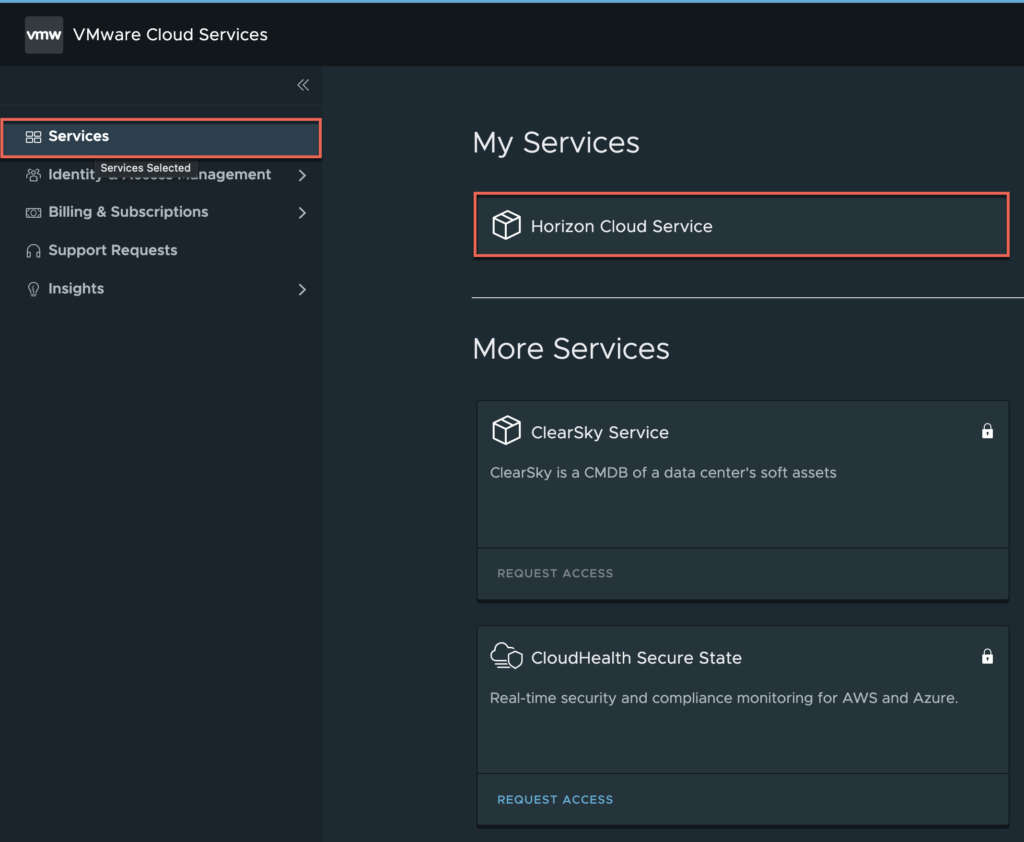
5. Confirm “Horizon Cloud Service” tile under my services in services section.
In horizon universal console, confirm Cloud Service Provider showing as [Completed] under [Settings] > [General Settings].
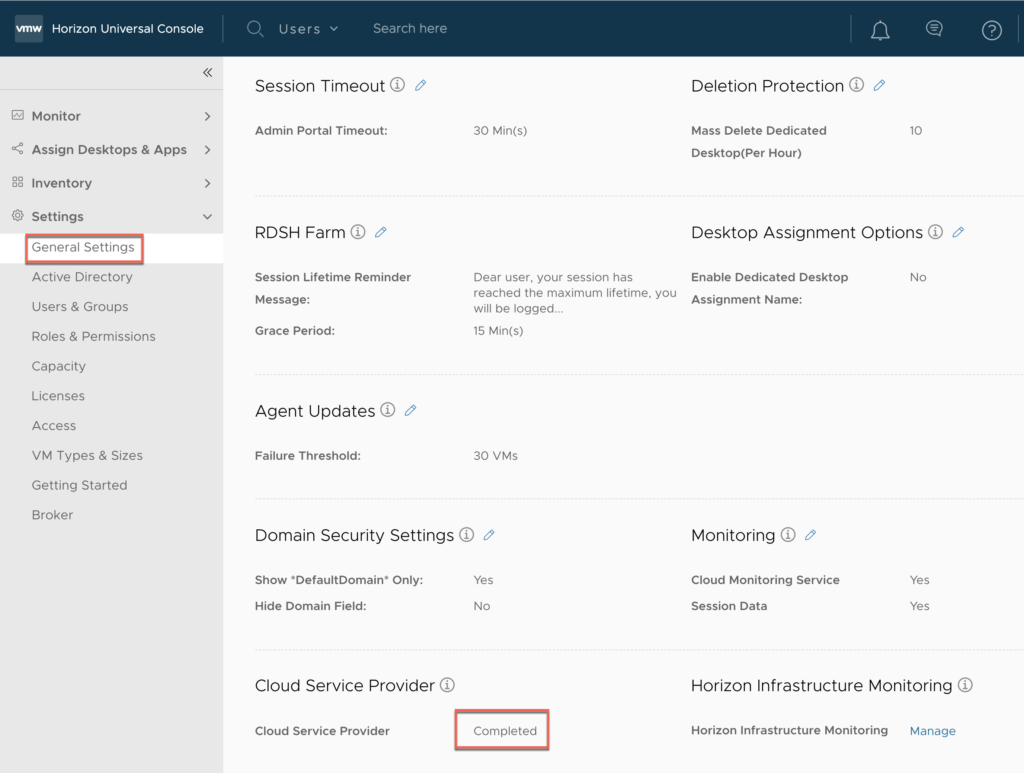
Note: With this, you have signed up for VMware Cloud Service Provider. You can now enable horizon infrastructure monitoring from horizon universal console > [Settings] > [General Settings] . The further steps below from here are to enable the Azure AD single sign-on for horizon universal console login.
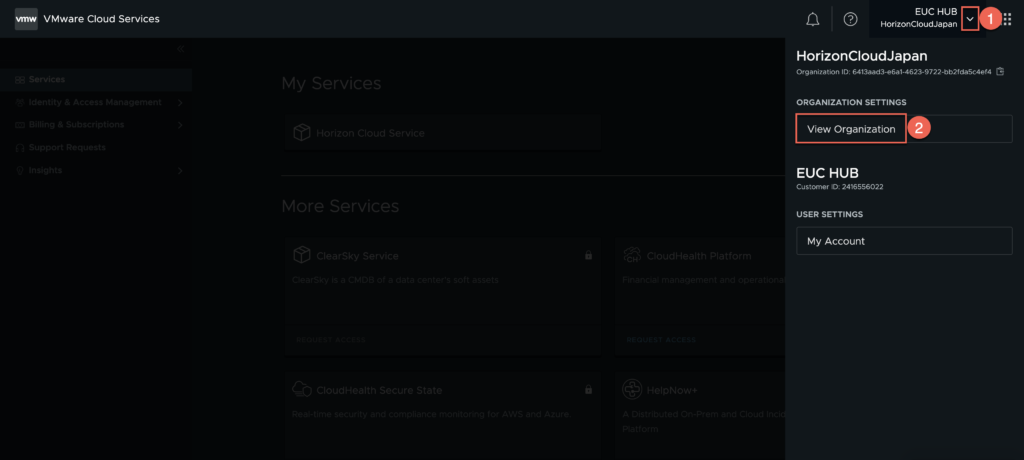
6. Select drop down menu next to your organization name > [View Organization].
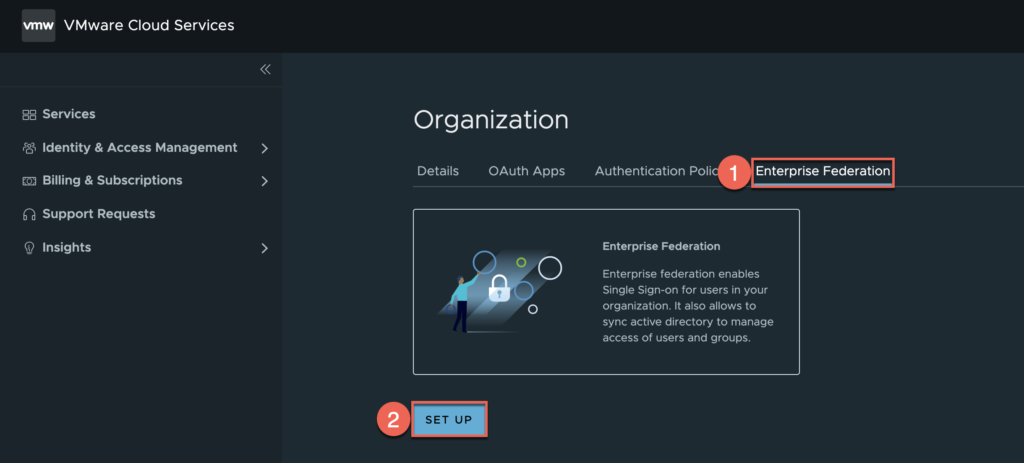
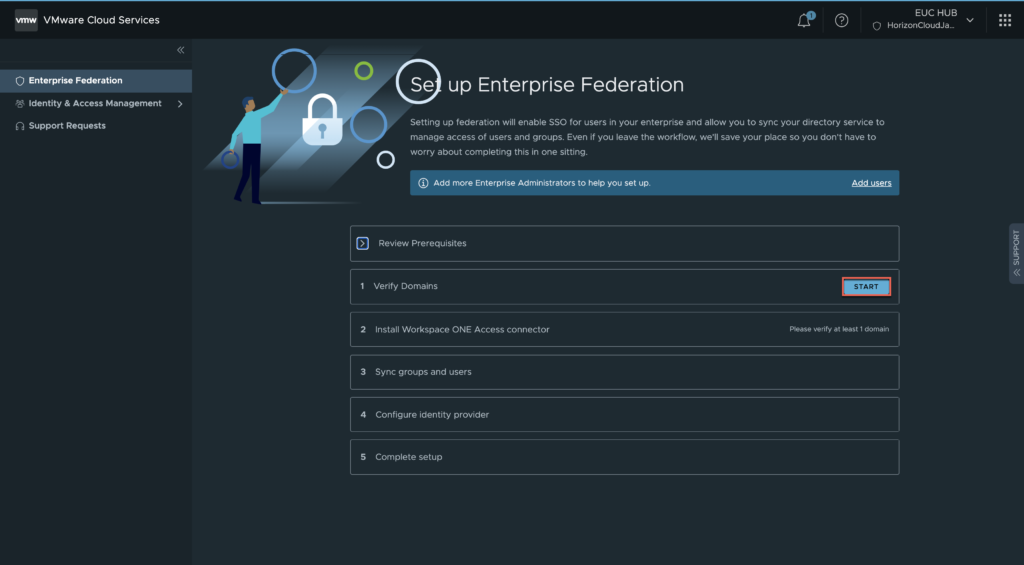
7. Under the organization, select [Enterprise Federation] > [SET UP].
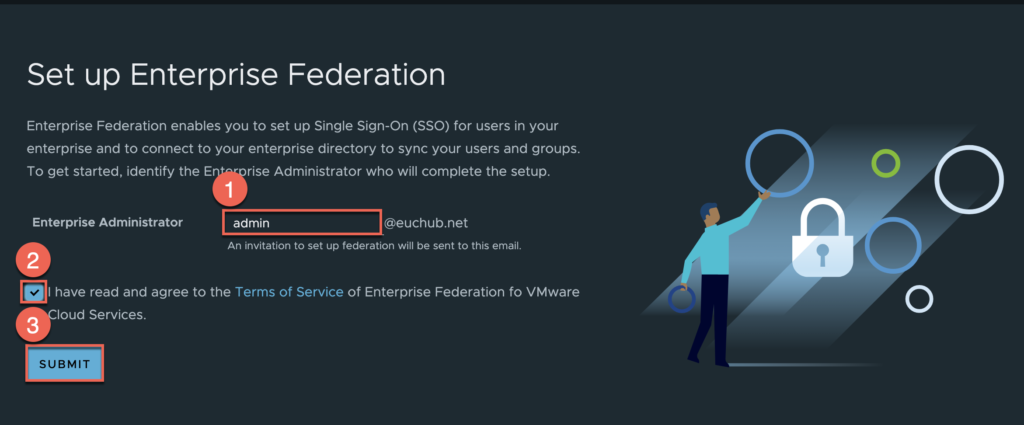
8. Define interprise administrator name > accept [Terms of Service] > [SUBMIT] and follow the on-screen instruction in next pages as seen below.
(Use same account which you are using to login to CSP console)
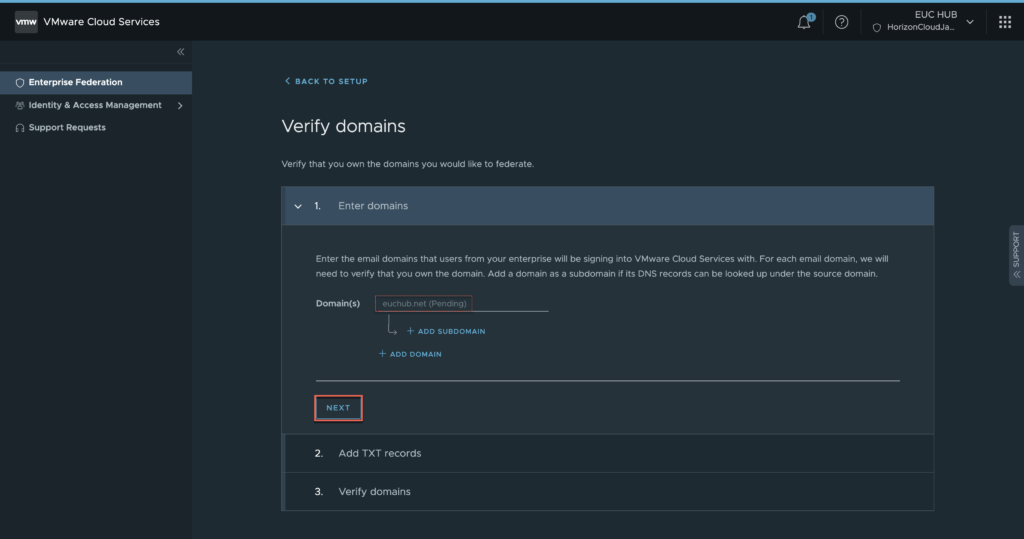
9. In verify domain page, click in [START]. In next page you can add the additional domains and sub-domains if you have any > [NEXT].
10. Copy the TXT record details from verify domains page and add the new TXT record in your domain > [NEXT].
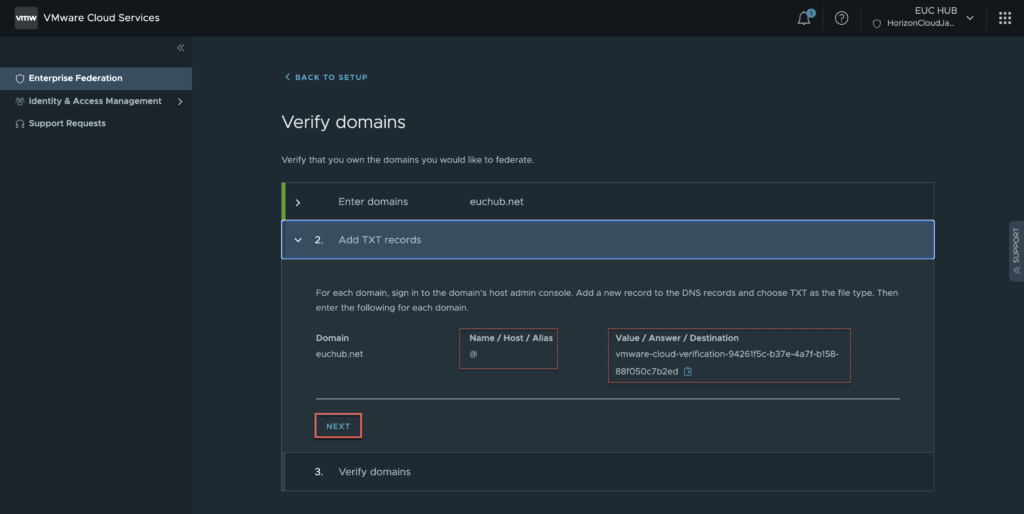
Below is my domain. I am adding TXT record at the buttom.

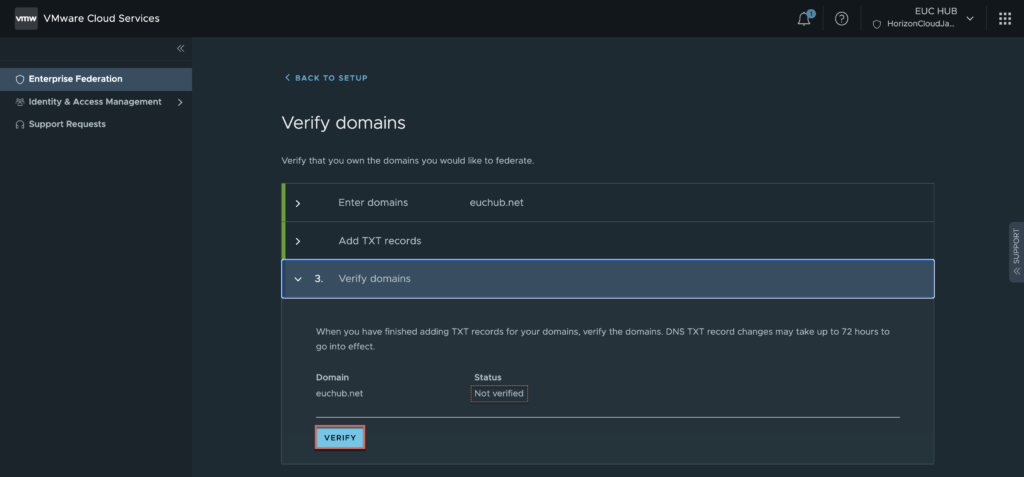
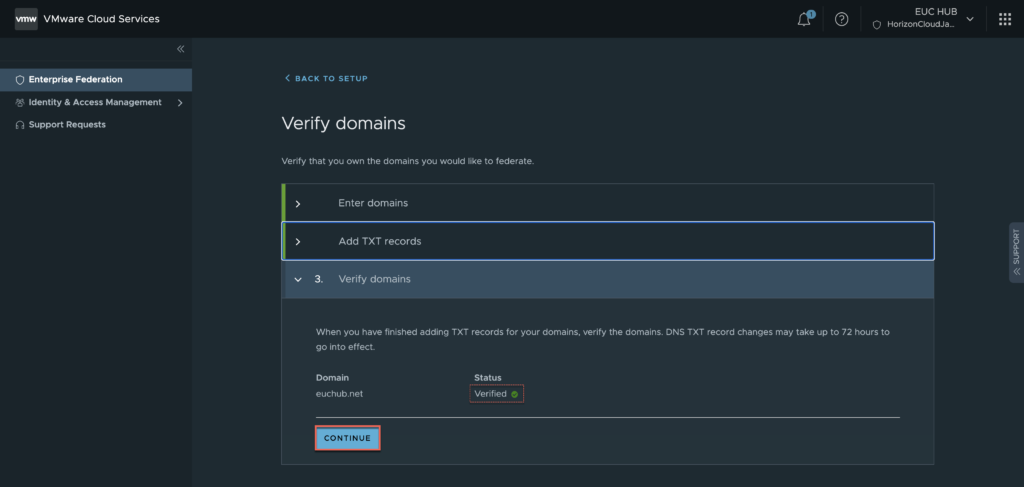
11. Verify the domain status is showing as “verified with small green ticked mark” > [Continue].
Note: once you added the TXT record in your domain, it may take 5-10 minutes domain to be verified. But depending in your domain environment, it may take upto 72 hrs to update the TXT record.
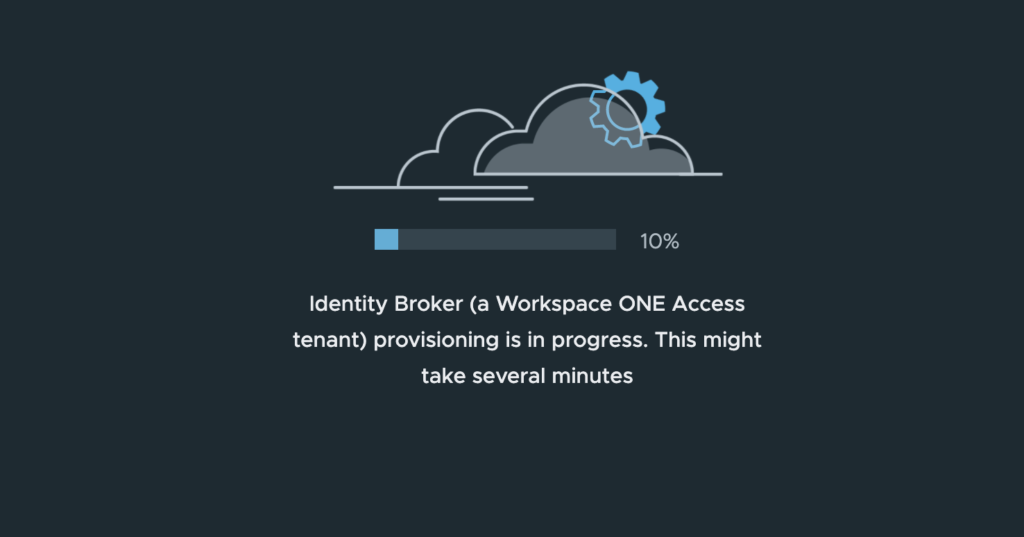
12. In Workspace ONE connector installation section > click [START].
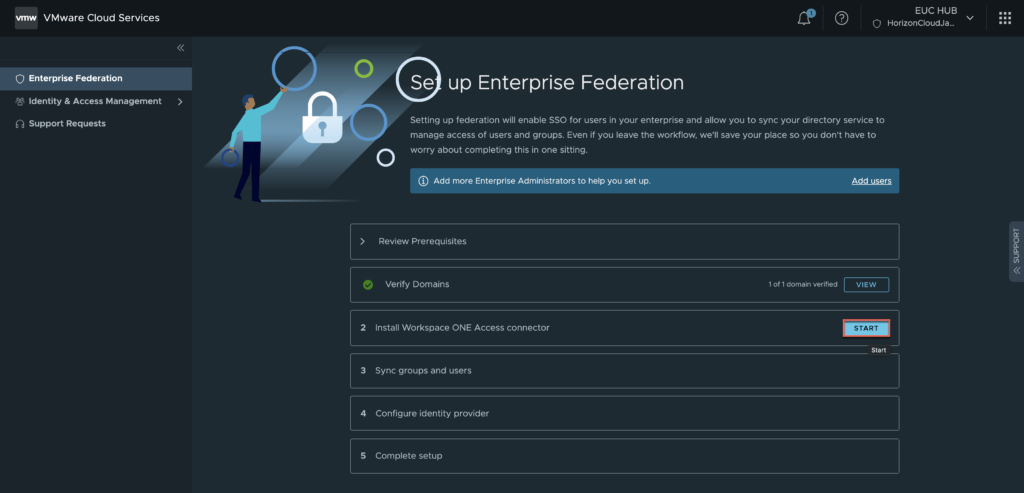
CSP initiates Workspace ONE SaaS tenant creation in background. This task may take upto 5 minutes.
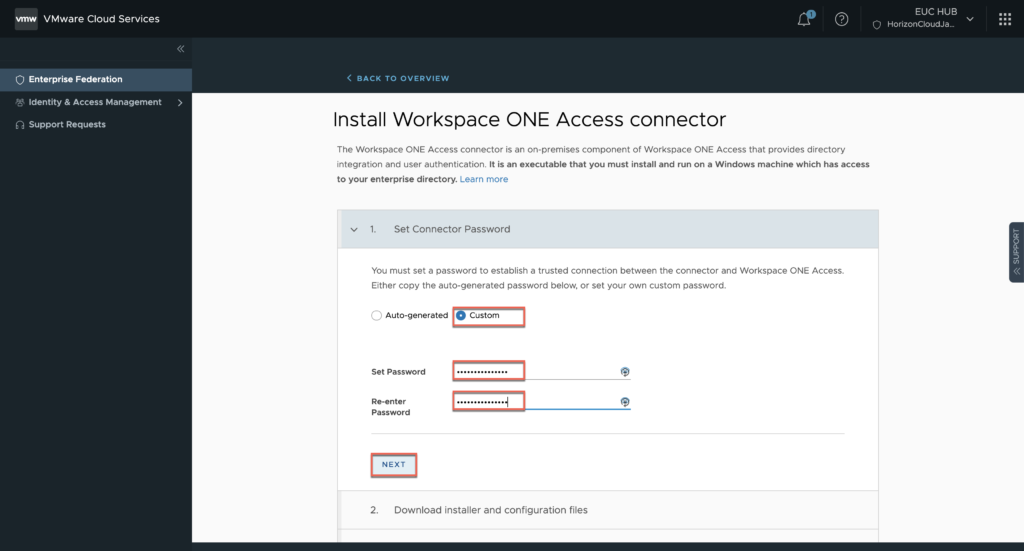
13. Select [Auto-generated] option or define the password for configuration file which you will download in next page > [NEXT].
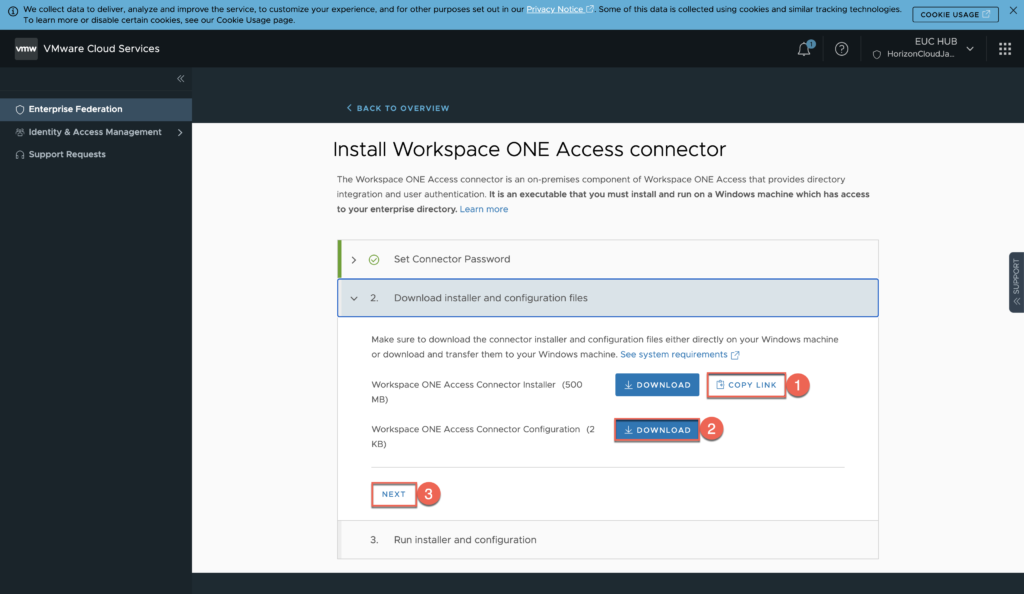
14. Copy the link to download the Workspace ONE connector from myvmware download page and download the configuration file which you will need while installing connector > [NEXT].
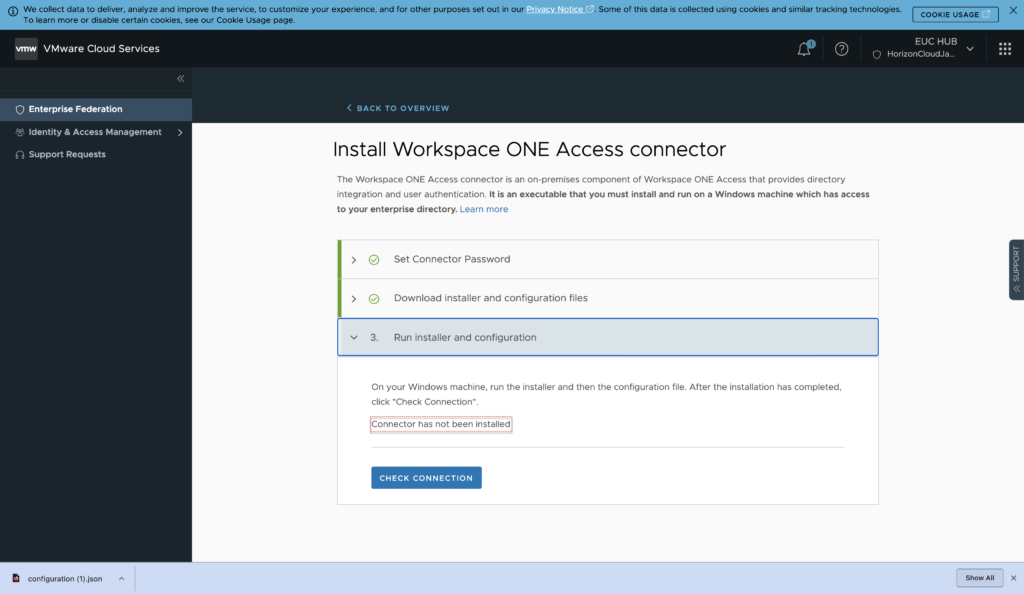
15. Connector status shows as “not installed” until the installation completes in steps #16.
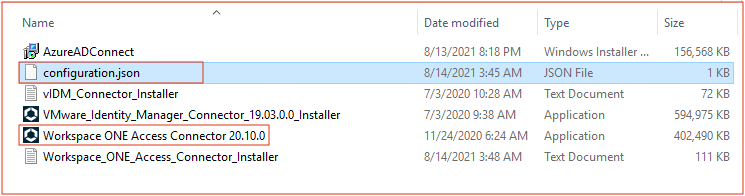
16. Be sure you have connector configuration file and installer 20.10.x are ready in your machine for installation. The connector syncs the corporate Active Directory (AD) users/groups information to Workspace ONE directory. Password inforation will NOT be synced.
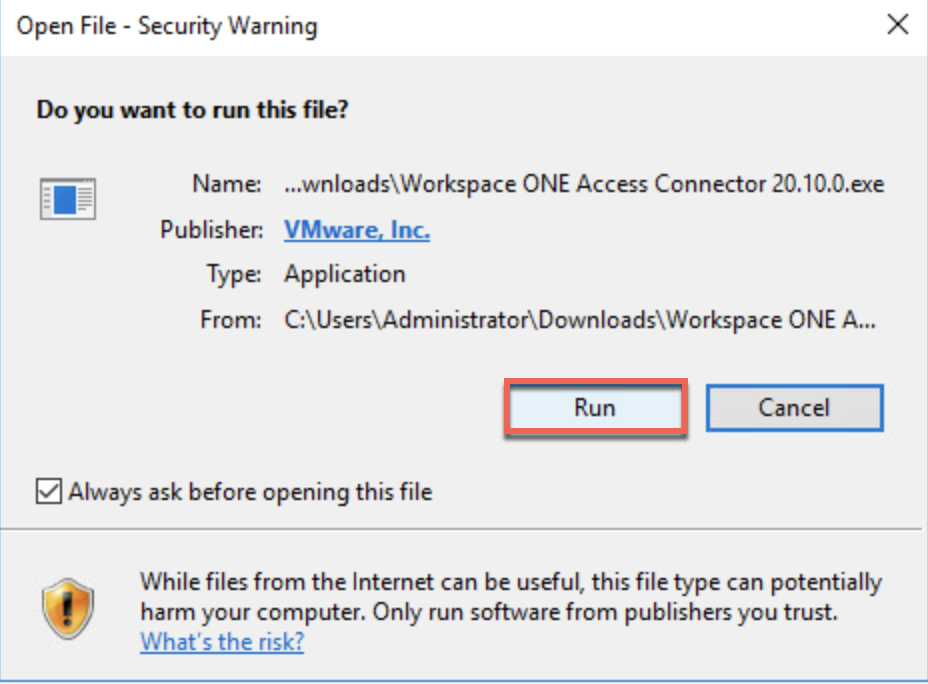
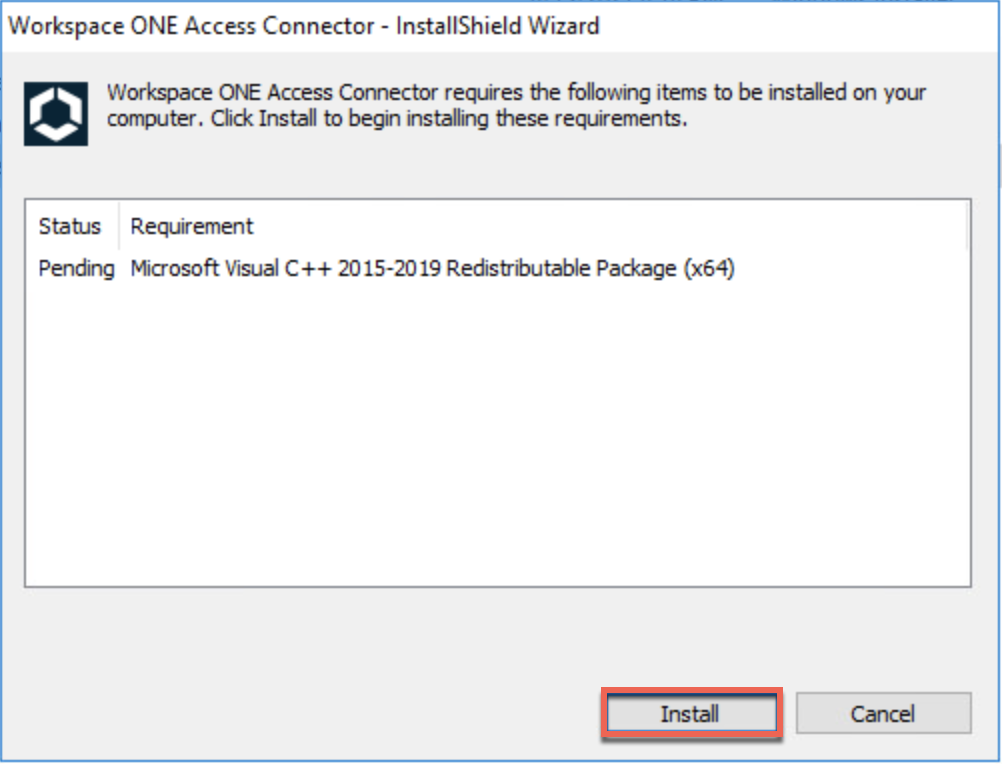
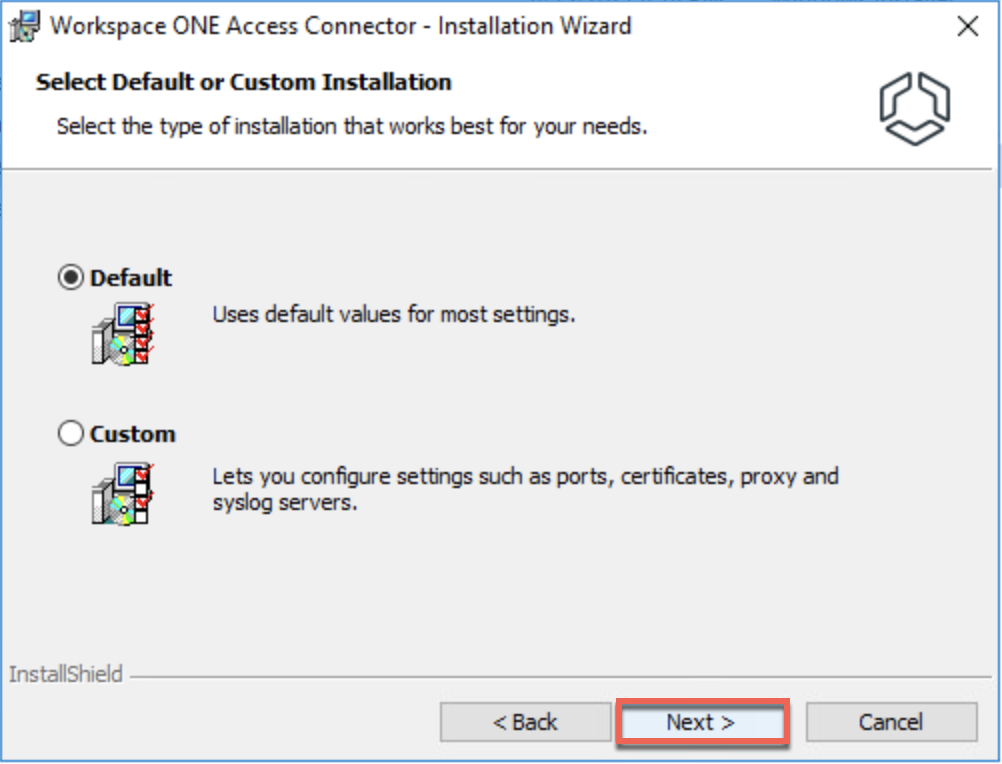
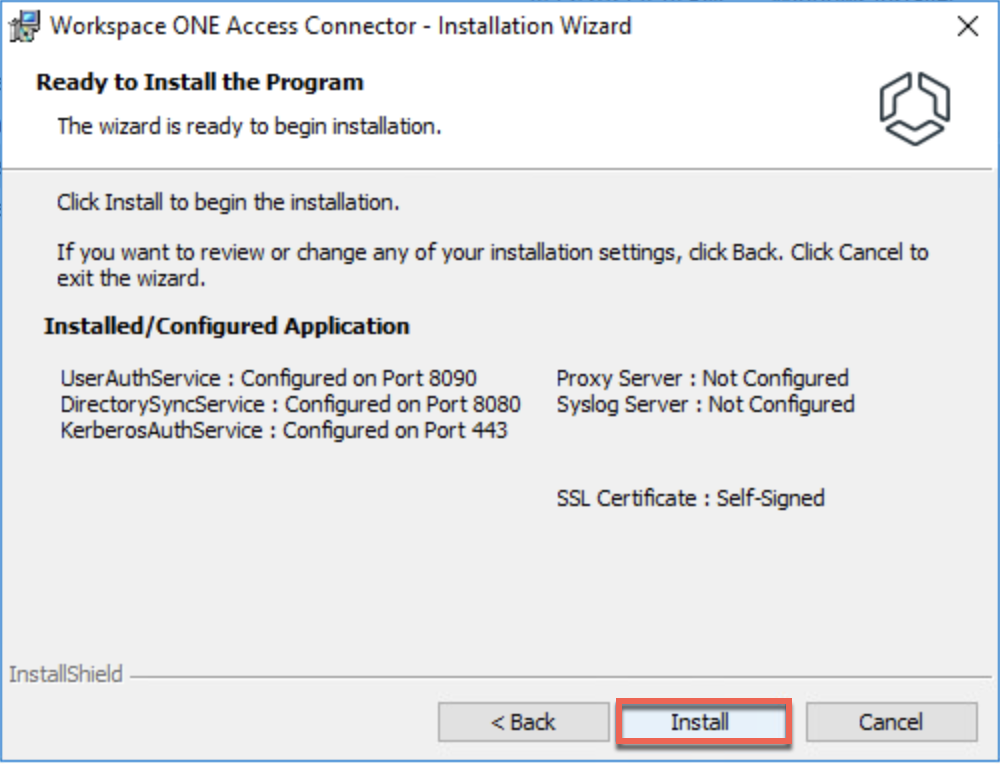
17. Initiate the connector installation with administrator user privilege and follow the on-screen instructions.

Configuration.json file used below is the one you downloaded in step#14.


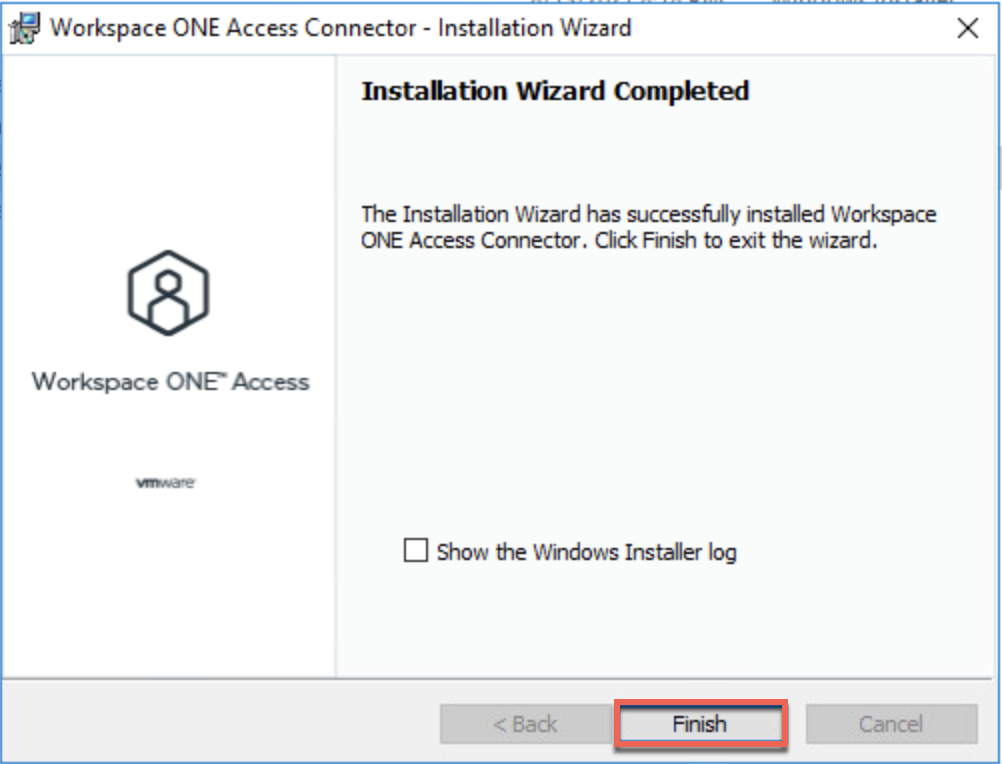
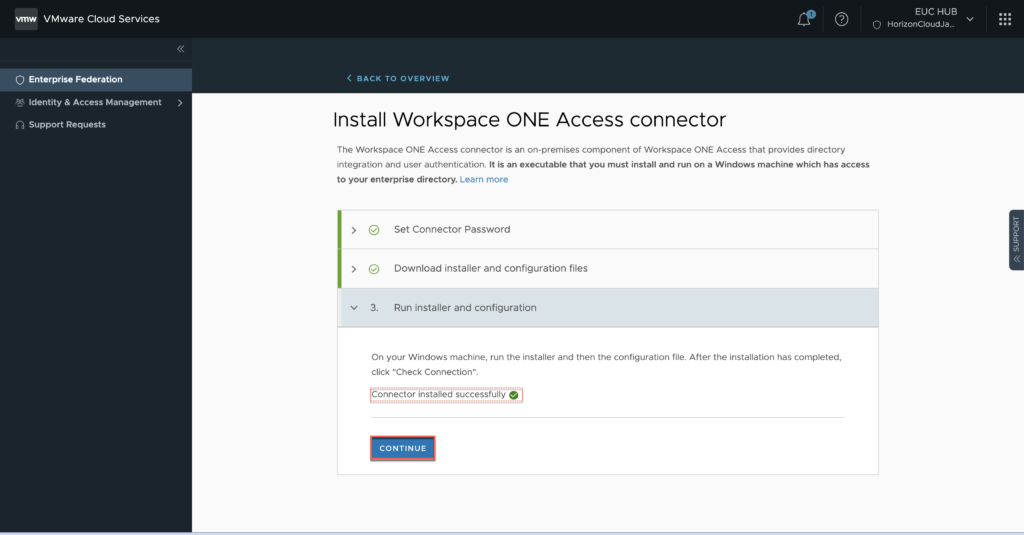
18. Once the connector installation is completed in step#17, confirm the connector status in CSP console and click [CONTINUE].
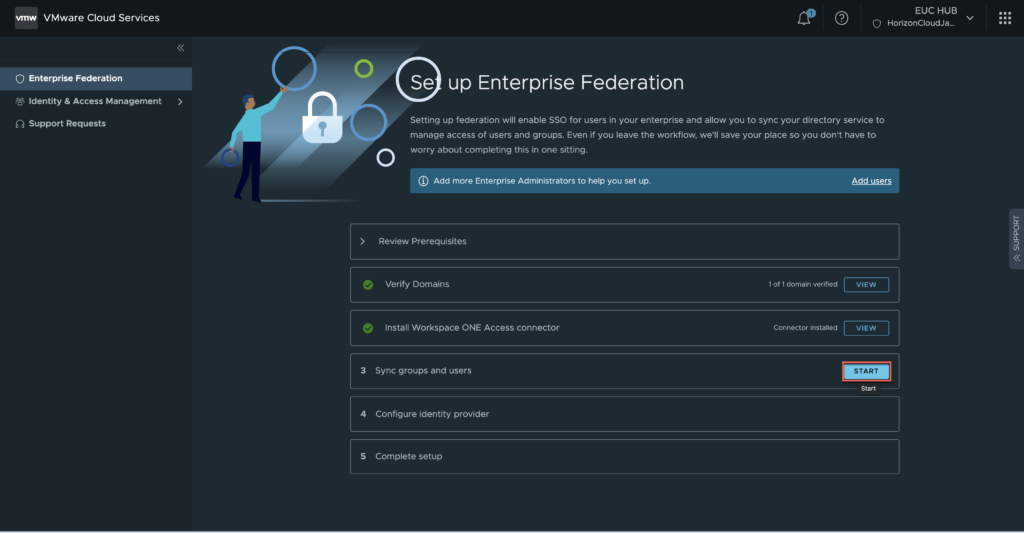
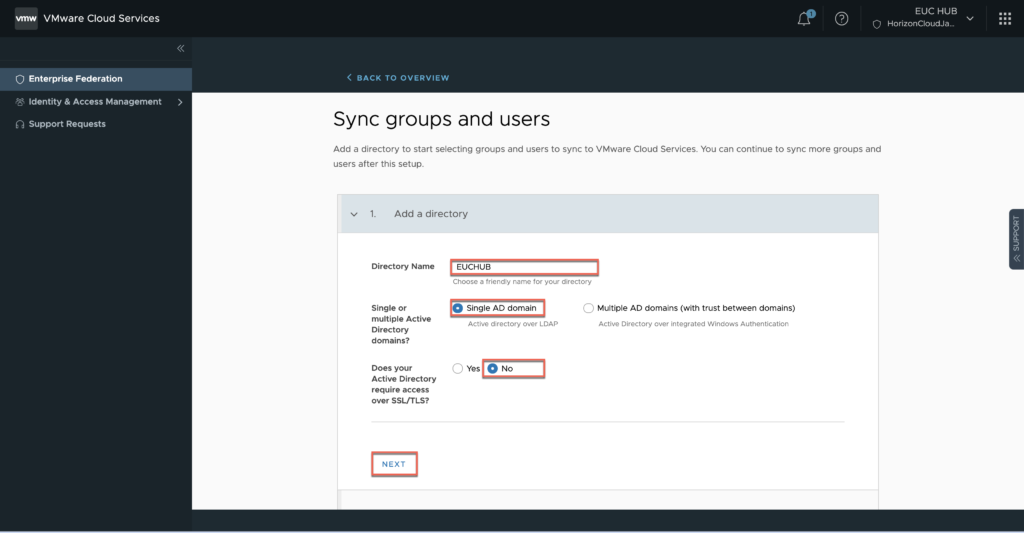
19. Select [START] in sync group and users section > in next page, give the name for directory > define the number of domains and access type TLS/SSL > [NEXT].
20. Define [Bind user DN] and password, [Base DN] > [NEXT].
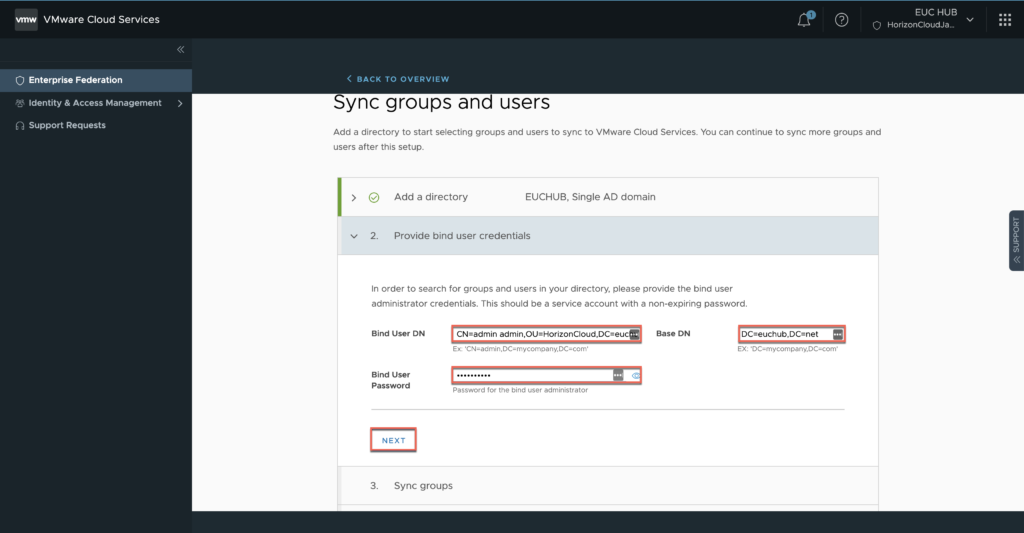
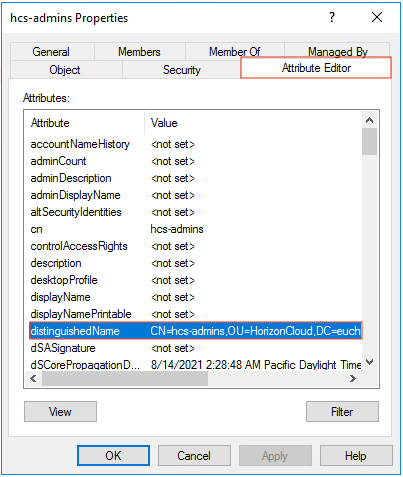
If you don`t know the DN, go to active directory users and computers > select the user which you use for bind > properties > attribute editor > distinguish name.
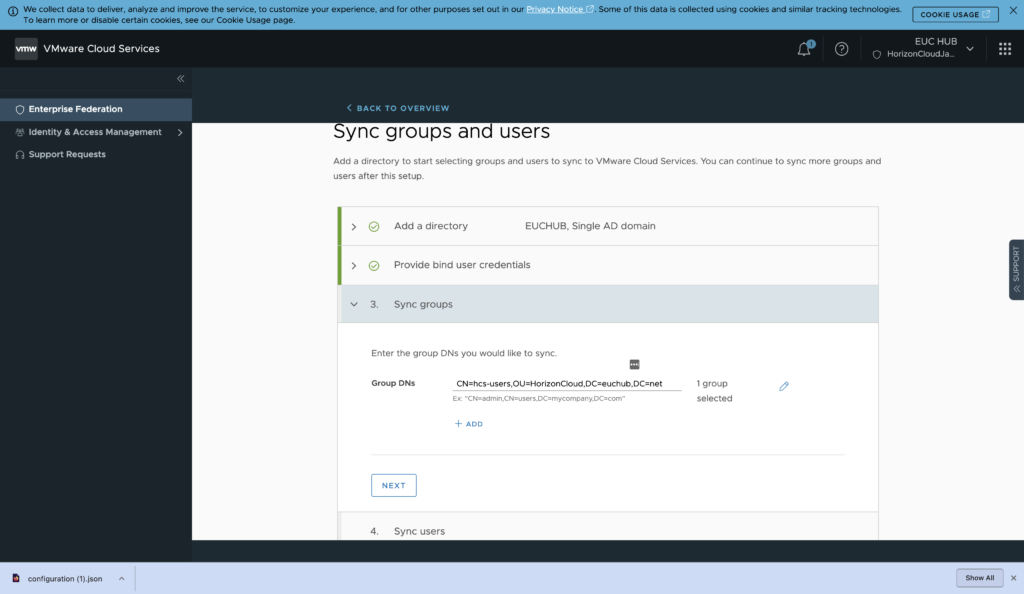
21. Define the Group DN where users who need to access to horizon universal console belongs > [NEXT].
Be sure this federation is only for universal console access, NOT for horizon users` portal access.
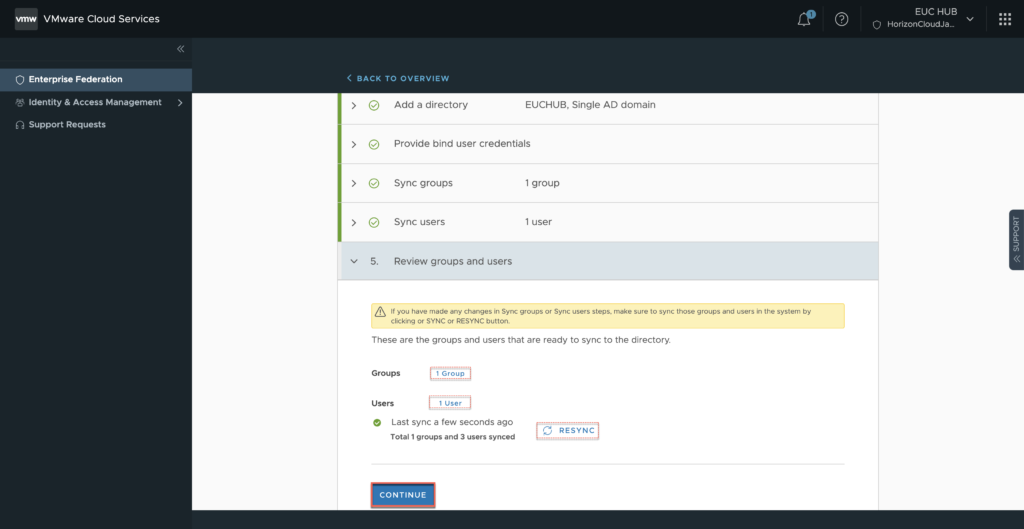
22. Confirm the Groups and Users are synchronized to Workspace ONE directory > [CONTINUE].
Synchronization may take upto 1-2 minutes if you have big number of users and groups. If users and groups numbers are not appear for long time, click in [RESYNC].
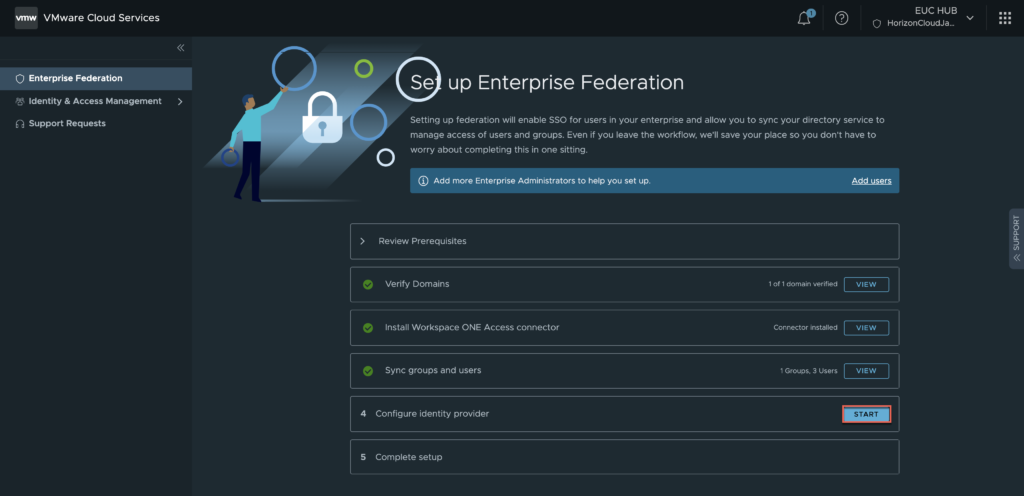
23. Select [START] in identity provider configuration section.
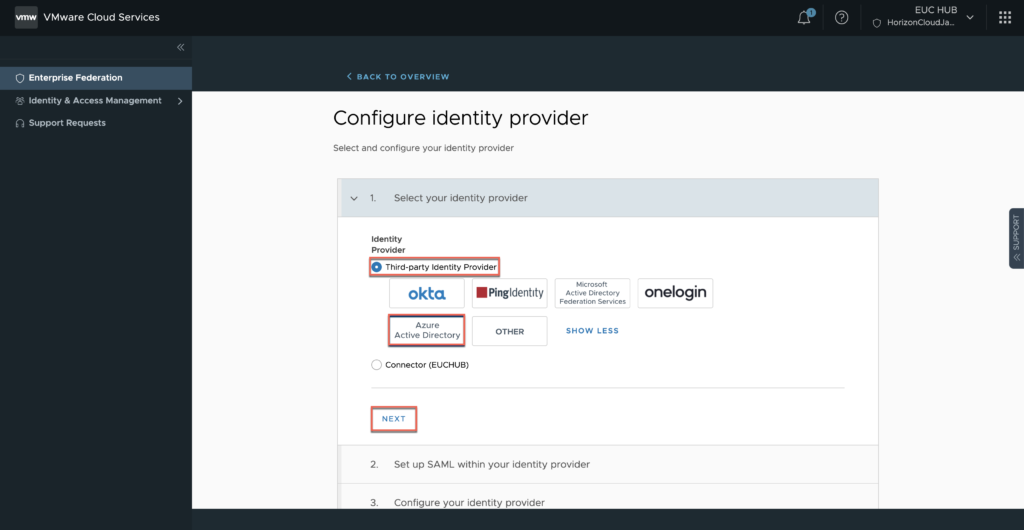
24. Select whether you user the third-party iDP or connector (AD authentication) > [NEXT].
In this example, I am leveraging Azure AD single sign-on as third-party iDP.
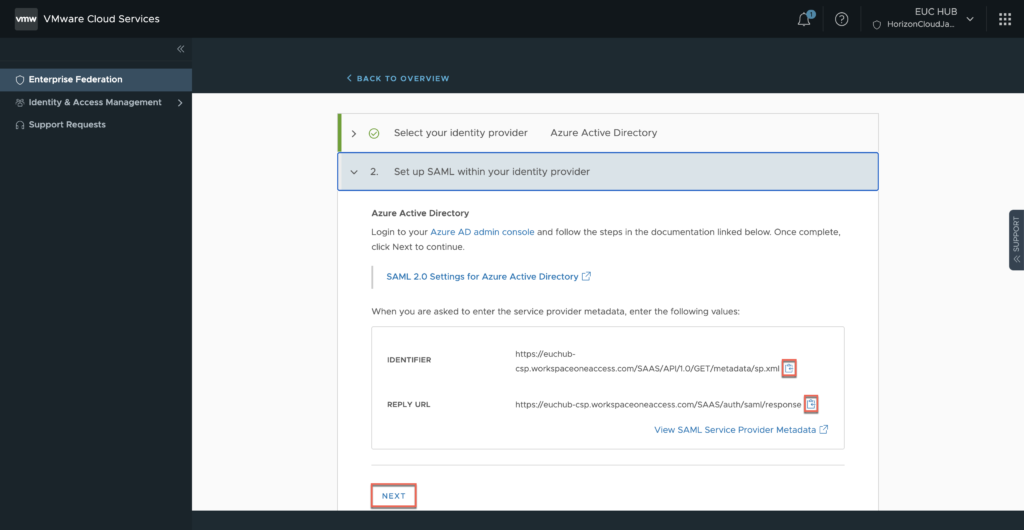
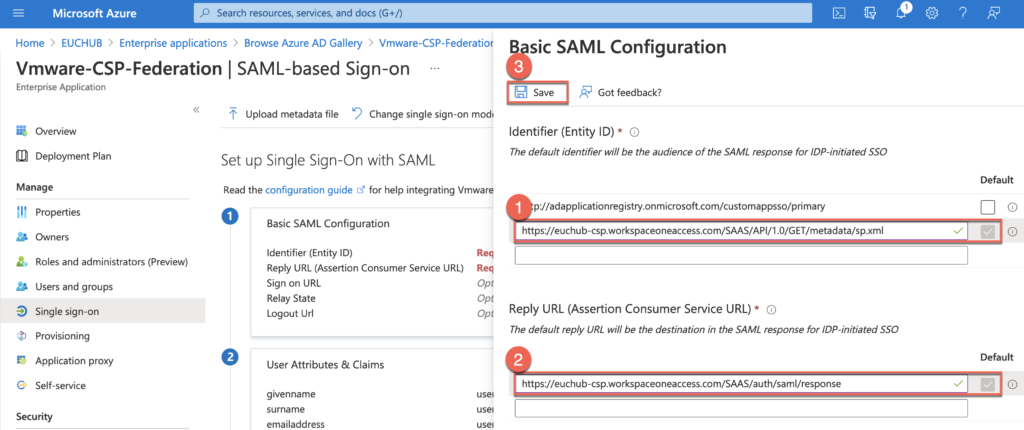
25. Copy [IDENTIFIER] and [REPLY URL] link in text editor. This info is required while configuring single sign-on in Azure AD.
26. Configuration of single sing-on in Azure AD.
Note: In my case, I have already installed the Azure AD Connect and sync`d the Active Directory groups/users to Azure Active Directory who need to use single sign-on for horizon universal console login. If you have not performed the AD sync yet, please perform it before proceeding below steps.
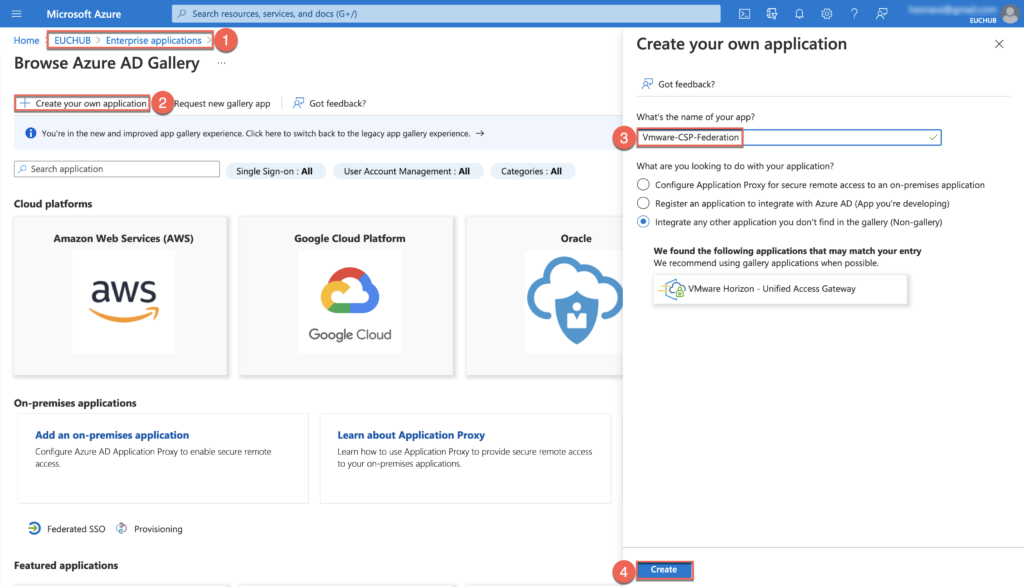
Log into your Azure portal (https://portal.azure.com) > [Azure Active Directory] > [Enterprise application] > [Create your own application] > give the name of your choice for application > [Create].
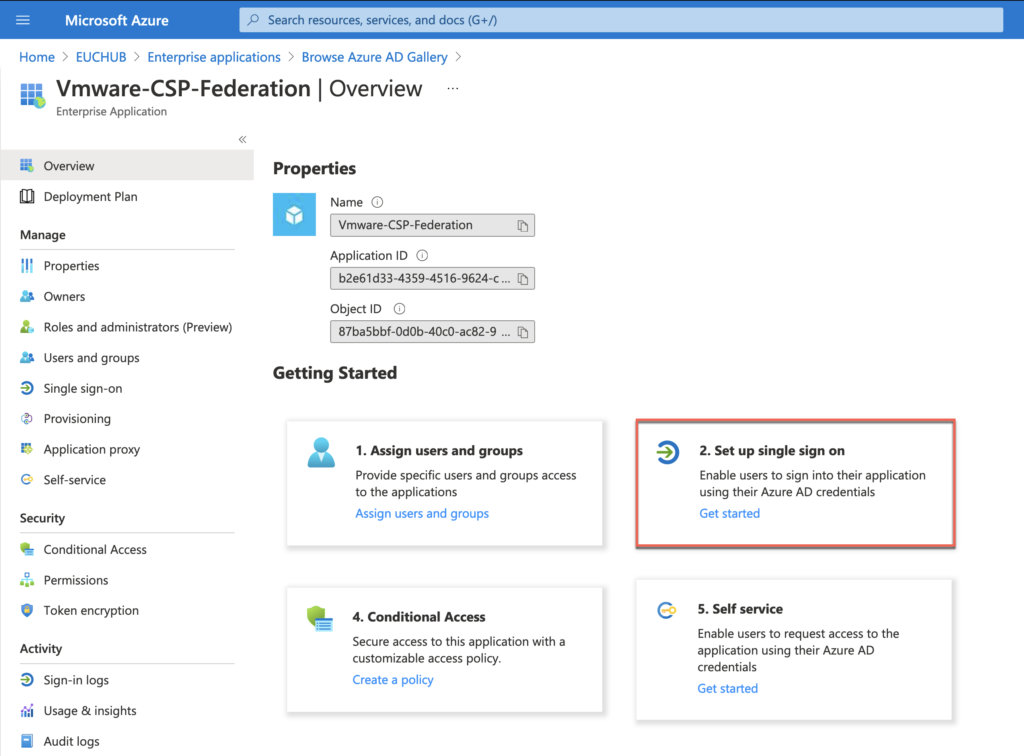
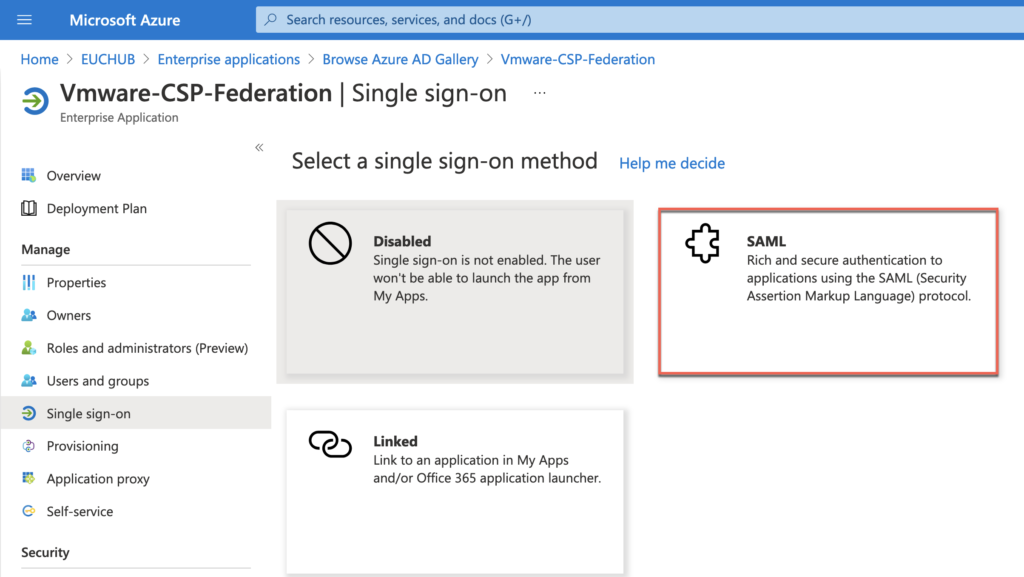
Select [2. Set up single sing on] tile > [SAML]
Click in pencil icon to set up single sign-on with SAML.
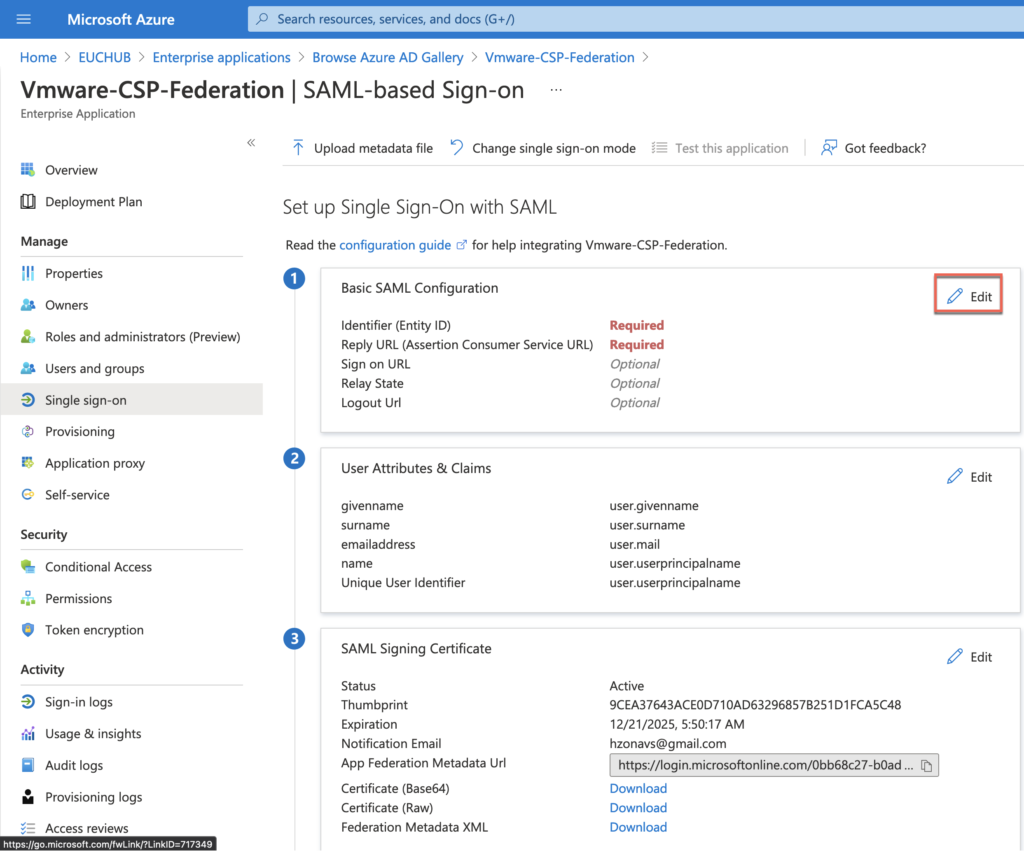
Paste the IDENTIFIER and REPLY URL which you have copied to text editor in step#25 > [Save].
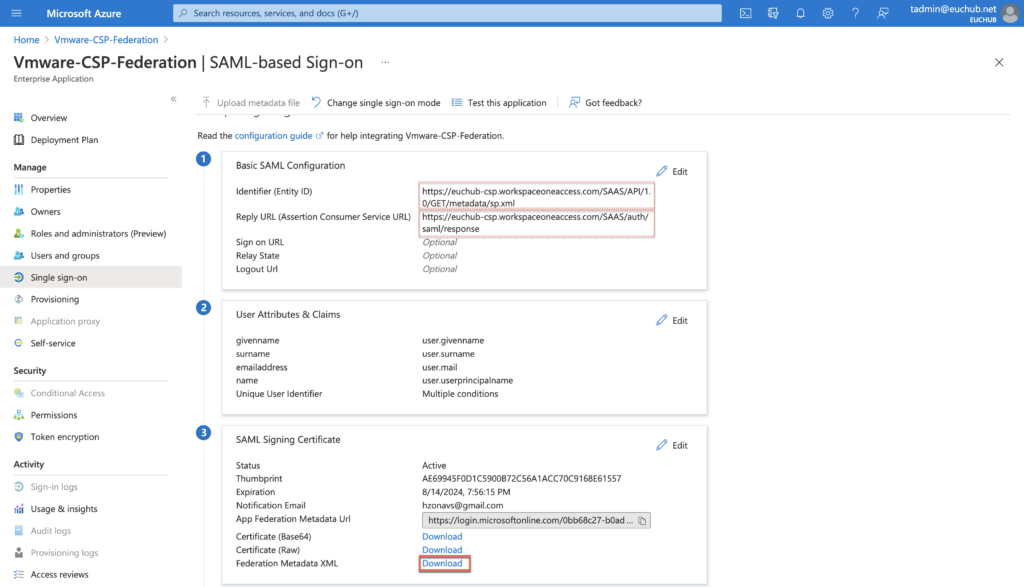
Download SAML Signing Certificate and open it in text editor, which is required in next step to configure identity provider in CSP.
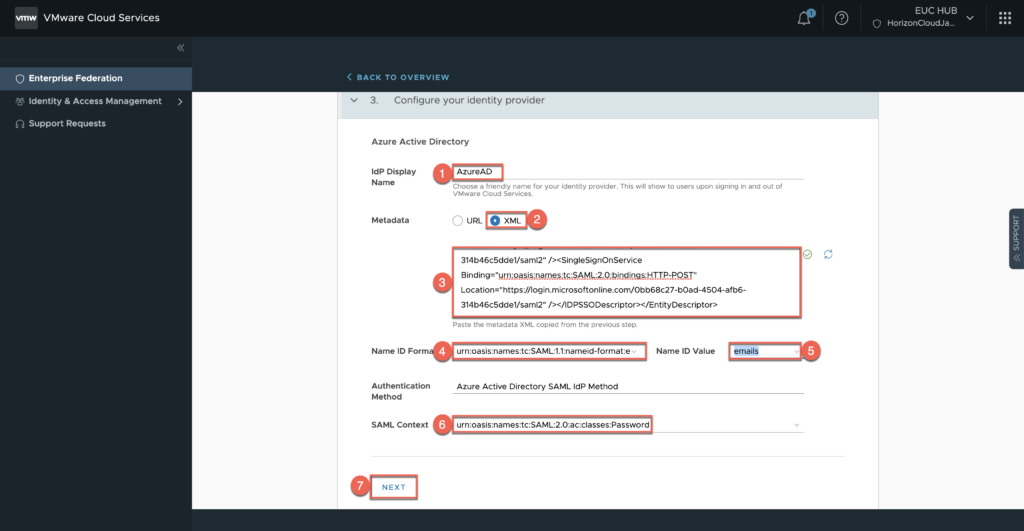
27. Define name of iDP > select [XML] in metadata type > past the text of SAML signing cert which you have downloaded in previous step > define [Name ID Formate] as “urn:oasis:names:tc:SAML:1.0:nameid-format:email“and [Name ID Value] as “emails” > [SAML Context] as “urn:oasis:names:tc:SAML:2.0:ac:classes:Password” > [NEXT].
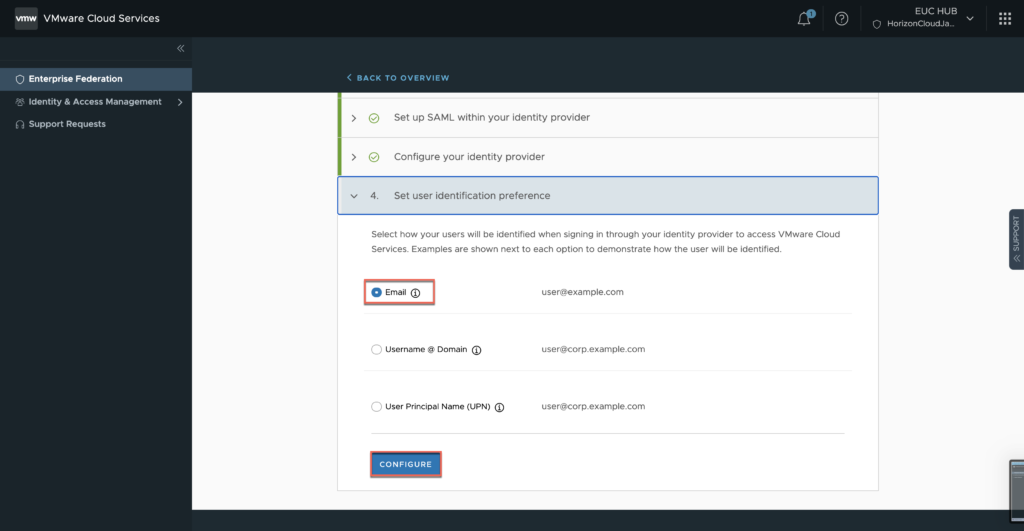
Select [Email] as user identification preference > [CONFIGURE].
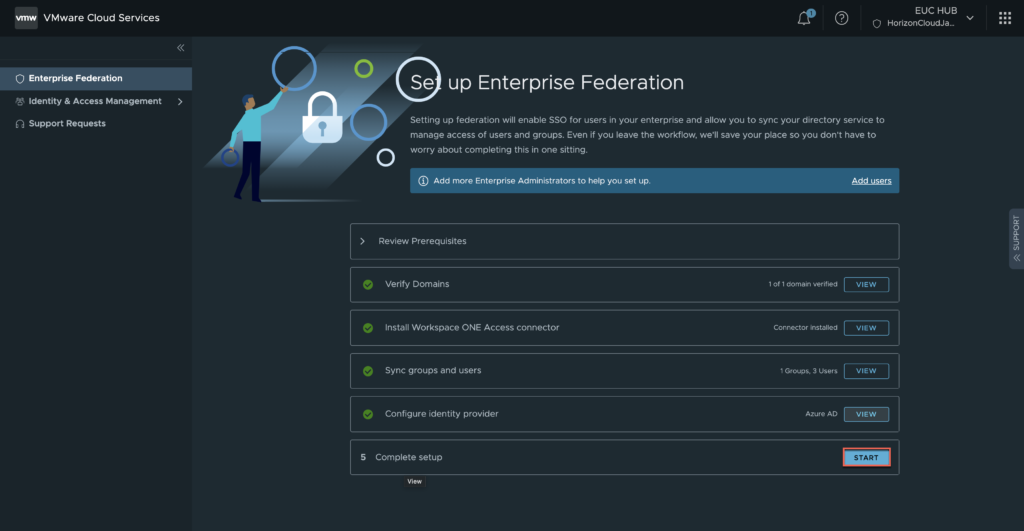
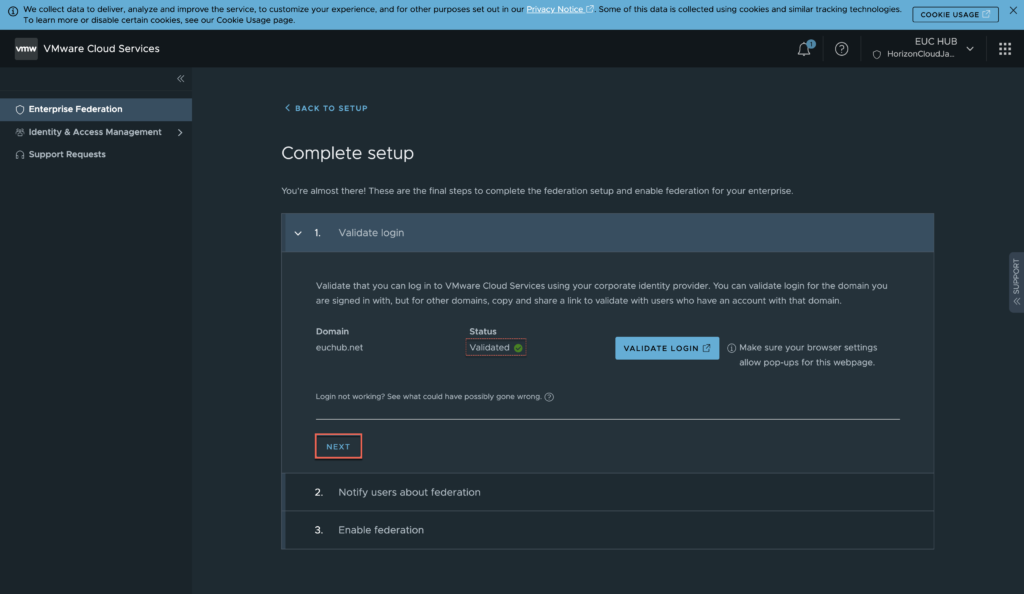
28. In complete setup section, select [START].
Click in [VALIDATE LOGIN].
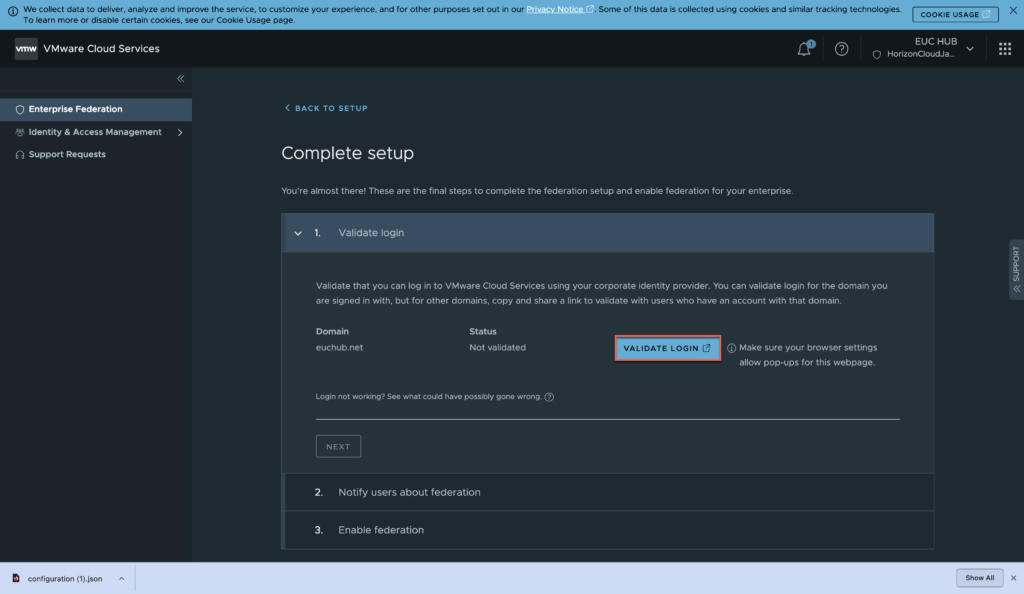
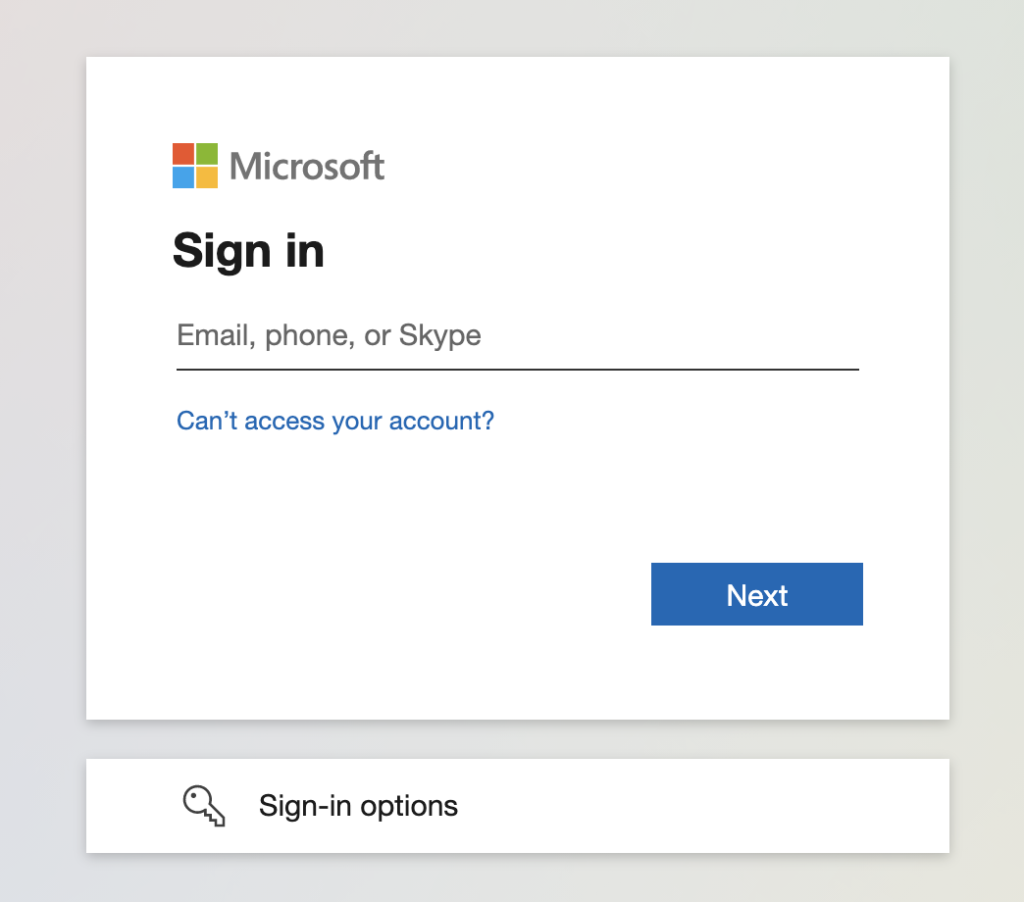
You will get redirected to Workspace ONE and prompted for Azure AD authentication. Case may be different if you are using different authentication method.
If you have configured the everything correctly, you should be able to validate the configuration. You will below message.
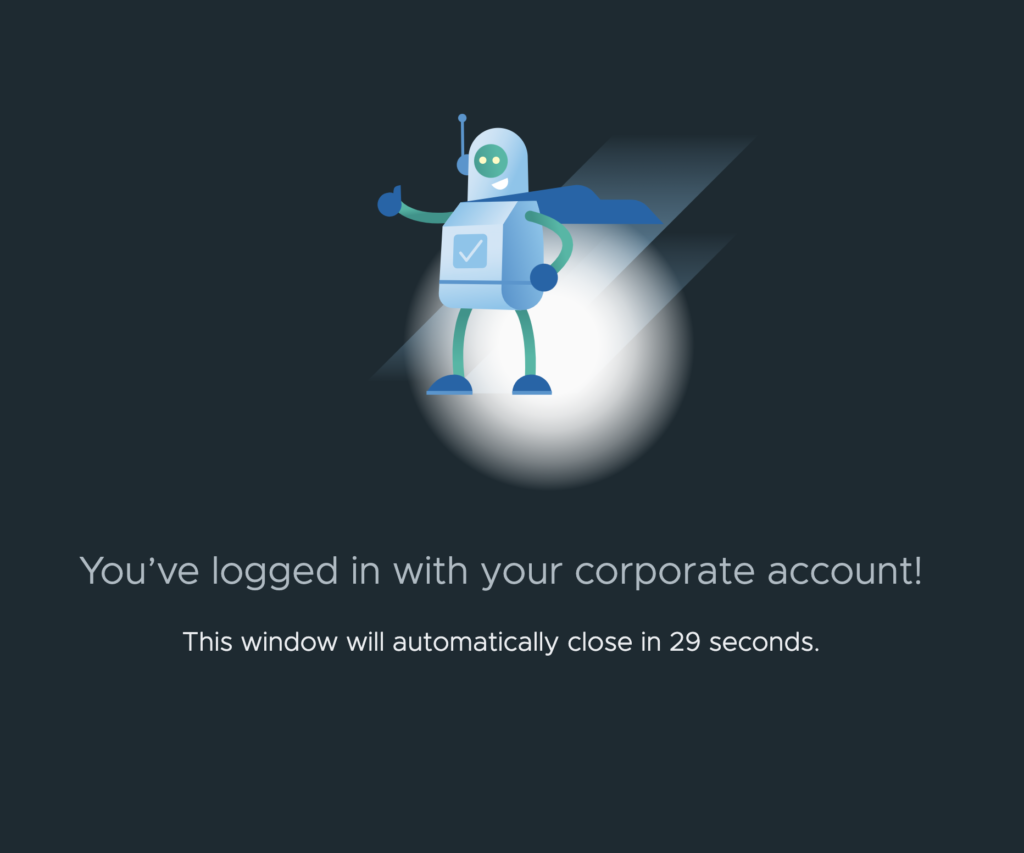
Select [NEXT].
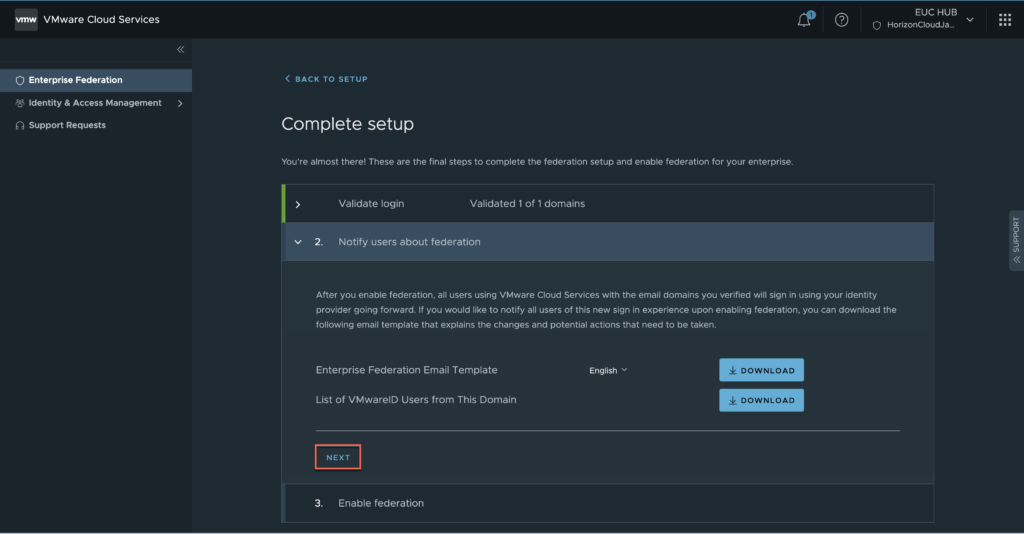
Select [NEXT].
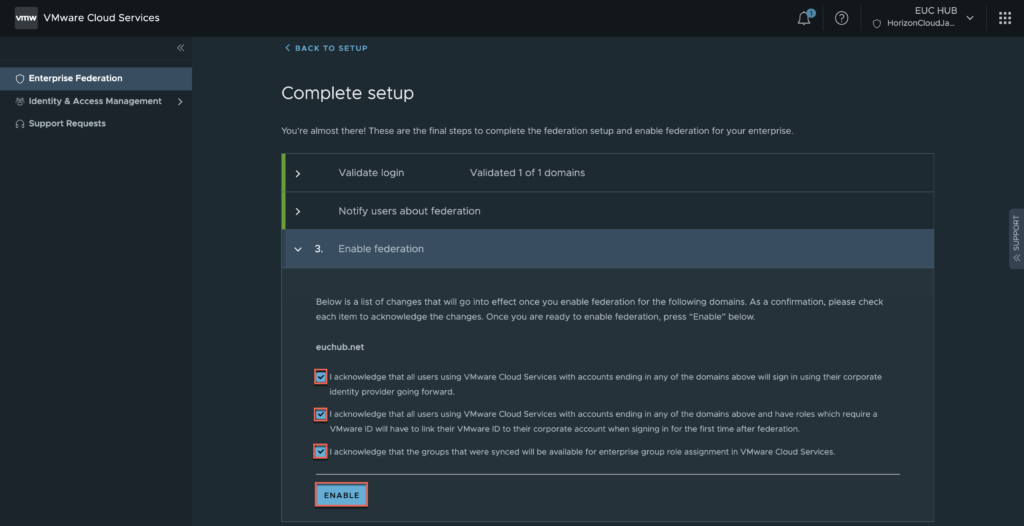
Put the checks in all 3 boxes > [ENABLE].
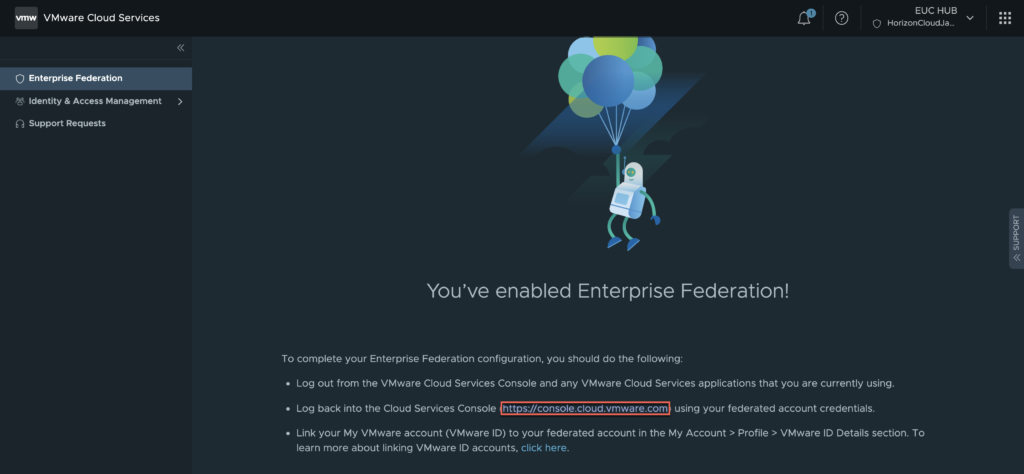
Confirm the enterprise federation enablement is completed.
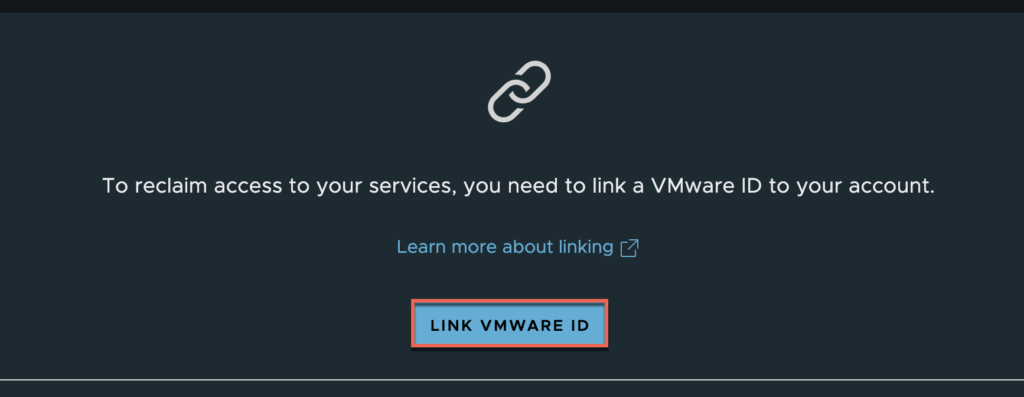
29. Linking VMware ID.
Select [LINK VMWARE ID].
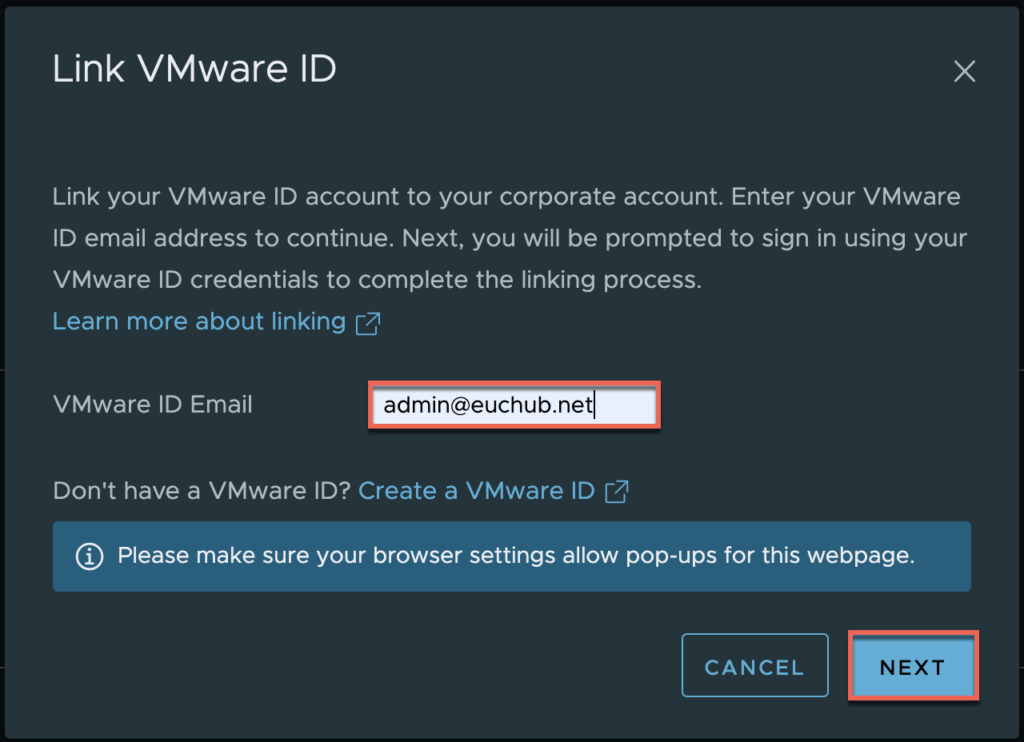
Define your VMware ID > [NEXT].
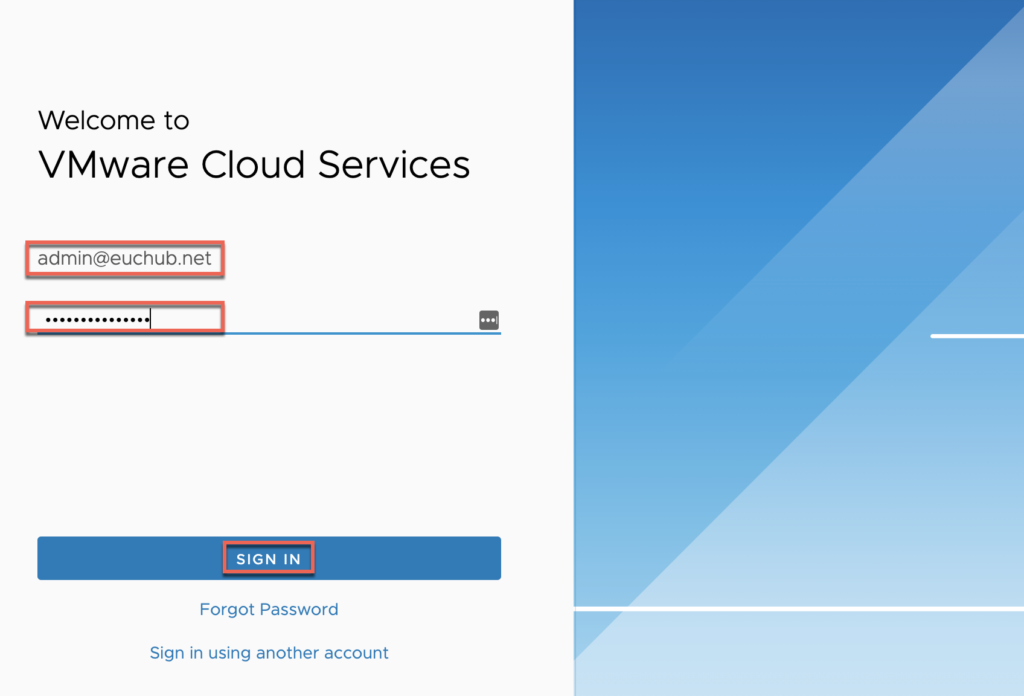
You will get redirected to myvmware login page, provide vmware account/password > [SIGN IN].
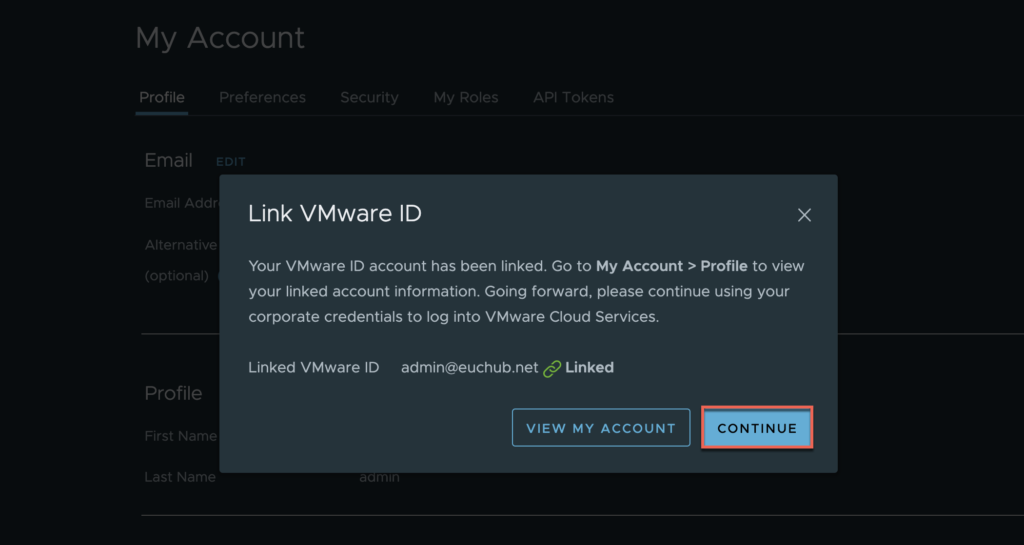
30. Confirmations.
Confirm VMware ID has been linked successfully > [CONTINUE].
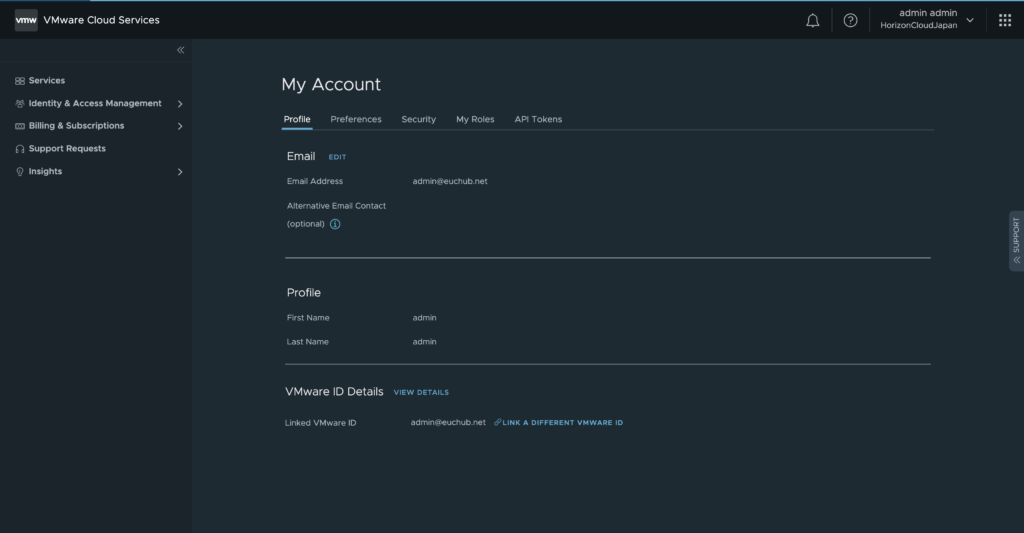
Confirm your account profile.
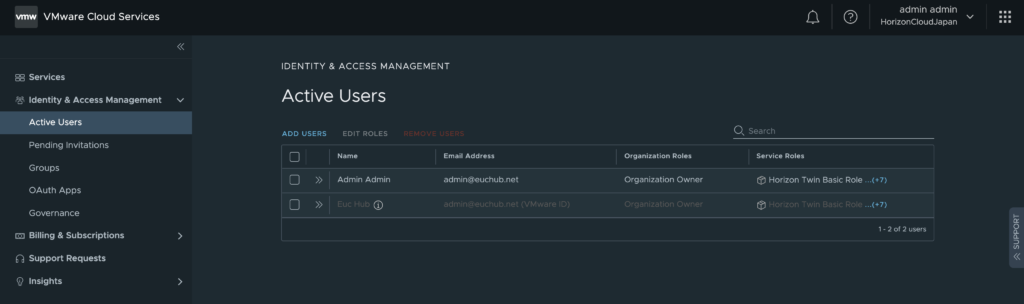
Confirm active users. You can add additional users from here if necessary.
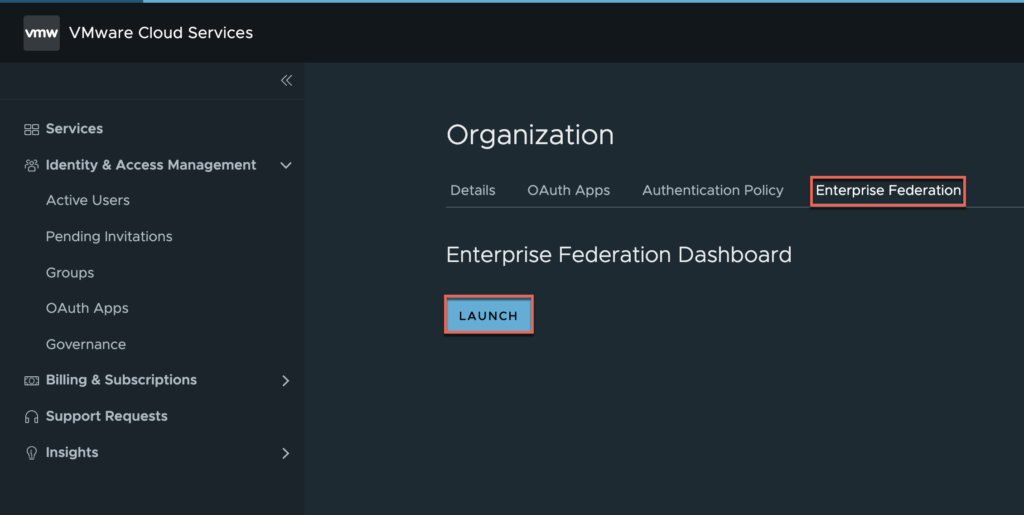
Go to your organization > Enterprise Federation > [LAUNCH].
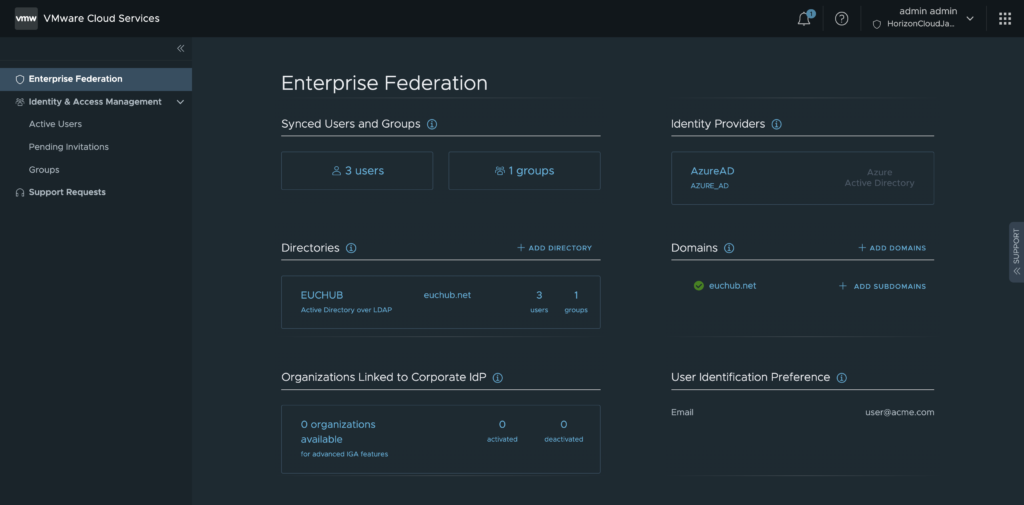
Confirm the detail status of your enterprise federation.
31. Add the horizon universal console users.
Log into horizon universal console with legacy authentication method > [Settings] > [General Settings] > My VMware Accounts. Only the accounts added here can use the single sign-on. The additional accounts here need NOT to be the myvmware registered account and not necessarily to be the public (domain) email address. Add active directory user in UPN format. But the user must be the part of Group DN (step#22) or user must be added individually to Workspace ONE directory.

Role Base Access with Enterprise Federation.
If you need to use the role base access (RBAC) like Helpdesk Administrator, Demo Administrator etc. the role need to be defined while adding the account (email address) to HCS tenant.
32. Navigate to [Settings] > [General Settings] > [My VMware Accounts] > Edit and add the account (email address) with proper role under [Current Role] Column. In my case I selected “Customer Helpdesk”.

NOTE: If the Help Desk user account (email address) is registered as customer administrator, system will not allow you to login to Horizon Universal console even you registred the user account (AD User group) as Helpdesk Administrator in “Role and permissions” in next step.
33. Register the user account (AD user Group of Helpdesk admin) to “Help Desk Administrator” under “Role and permissions”.
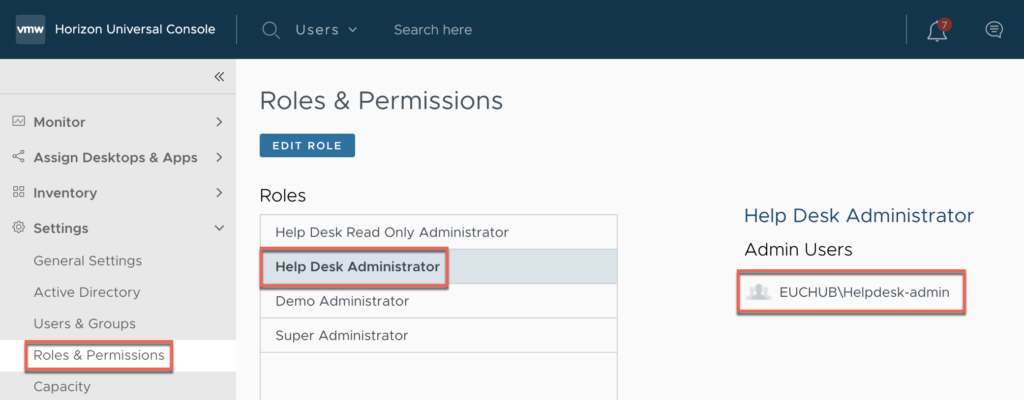
![]()