This post covers importing Windows 11 BYOL image and creating the bundle in Amazon WorkSpaces for Horizon 8 pool. We will use EC2 image builder tool to create the windows 11 image. The image creation steps will be same for windows 10 as well.
Prerequisites for BYOL image
-
- BYOL is enabled and configured in amazon account
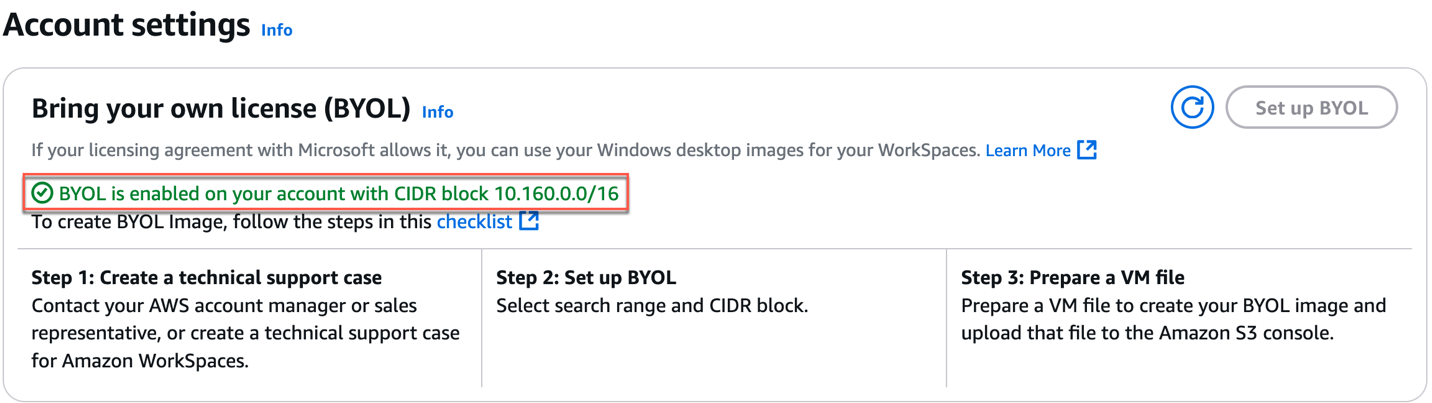
-
- Directory Service is configured with dedicate workspace BYOL option
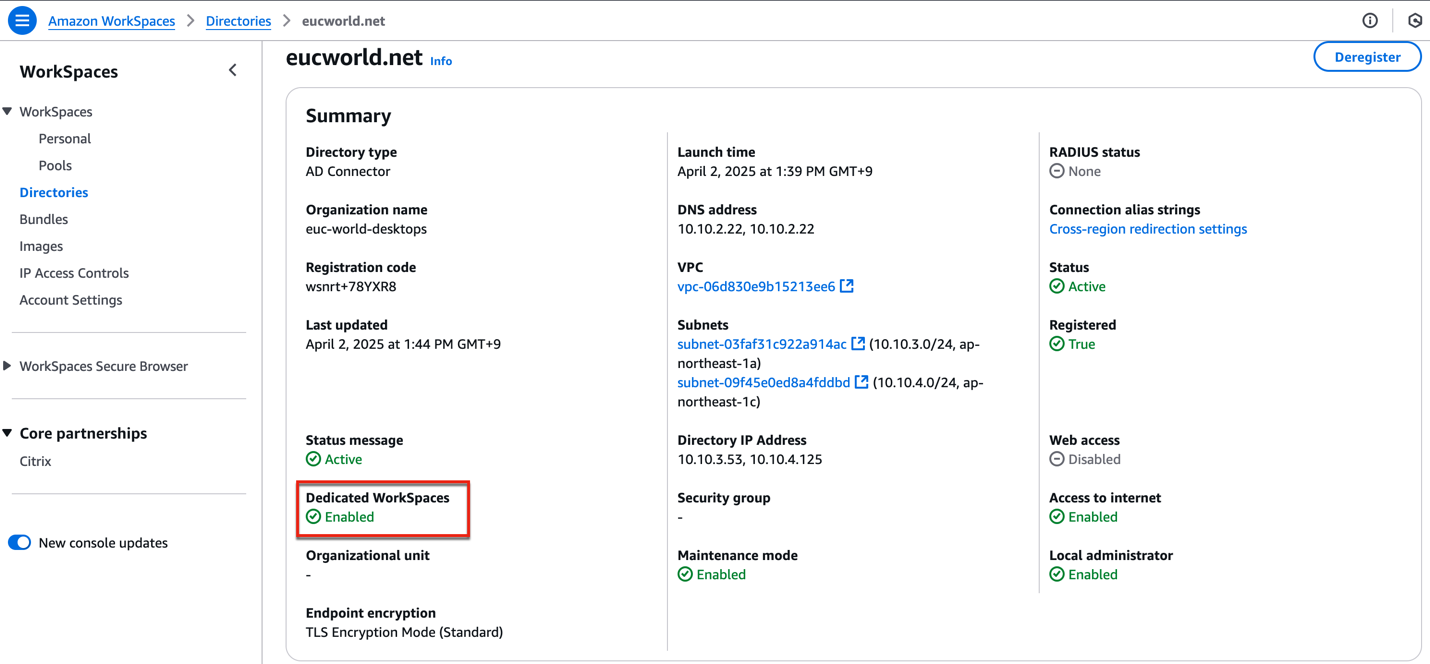
-
- Supported Windows Version for BYOL (AWS Ref)
Image creation tasks
-
- Obtain windows 11 ISO image
- Create S3 bucket and upload the windows 11 ISO image
- Create IAM role for importing image with EC2 image builder
- Create Infrastructure Configuration for importing image with EC2 image builder
- Import image with EC2 image builder
- Create image and bundle with Horizon Agent
- Create pool in Horizon 8
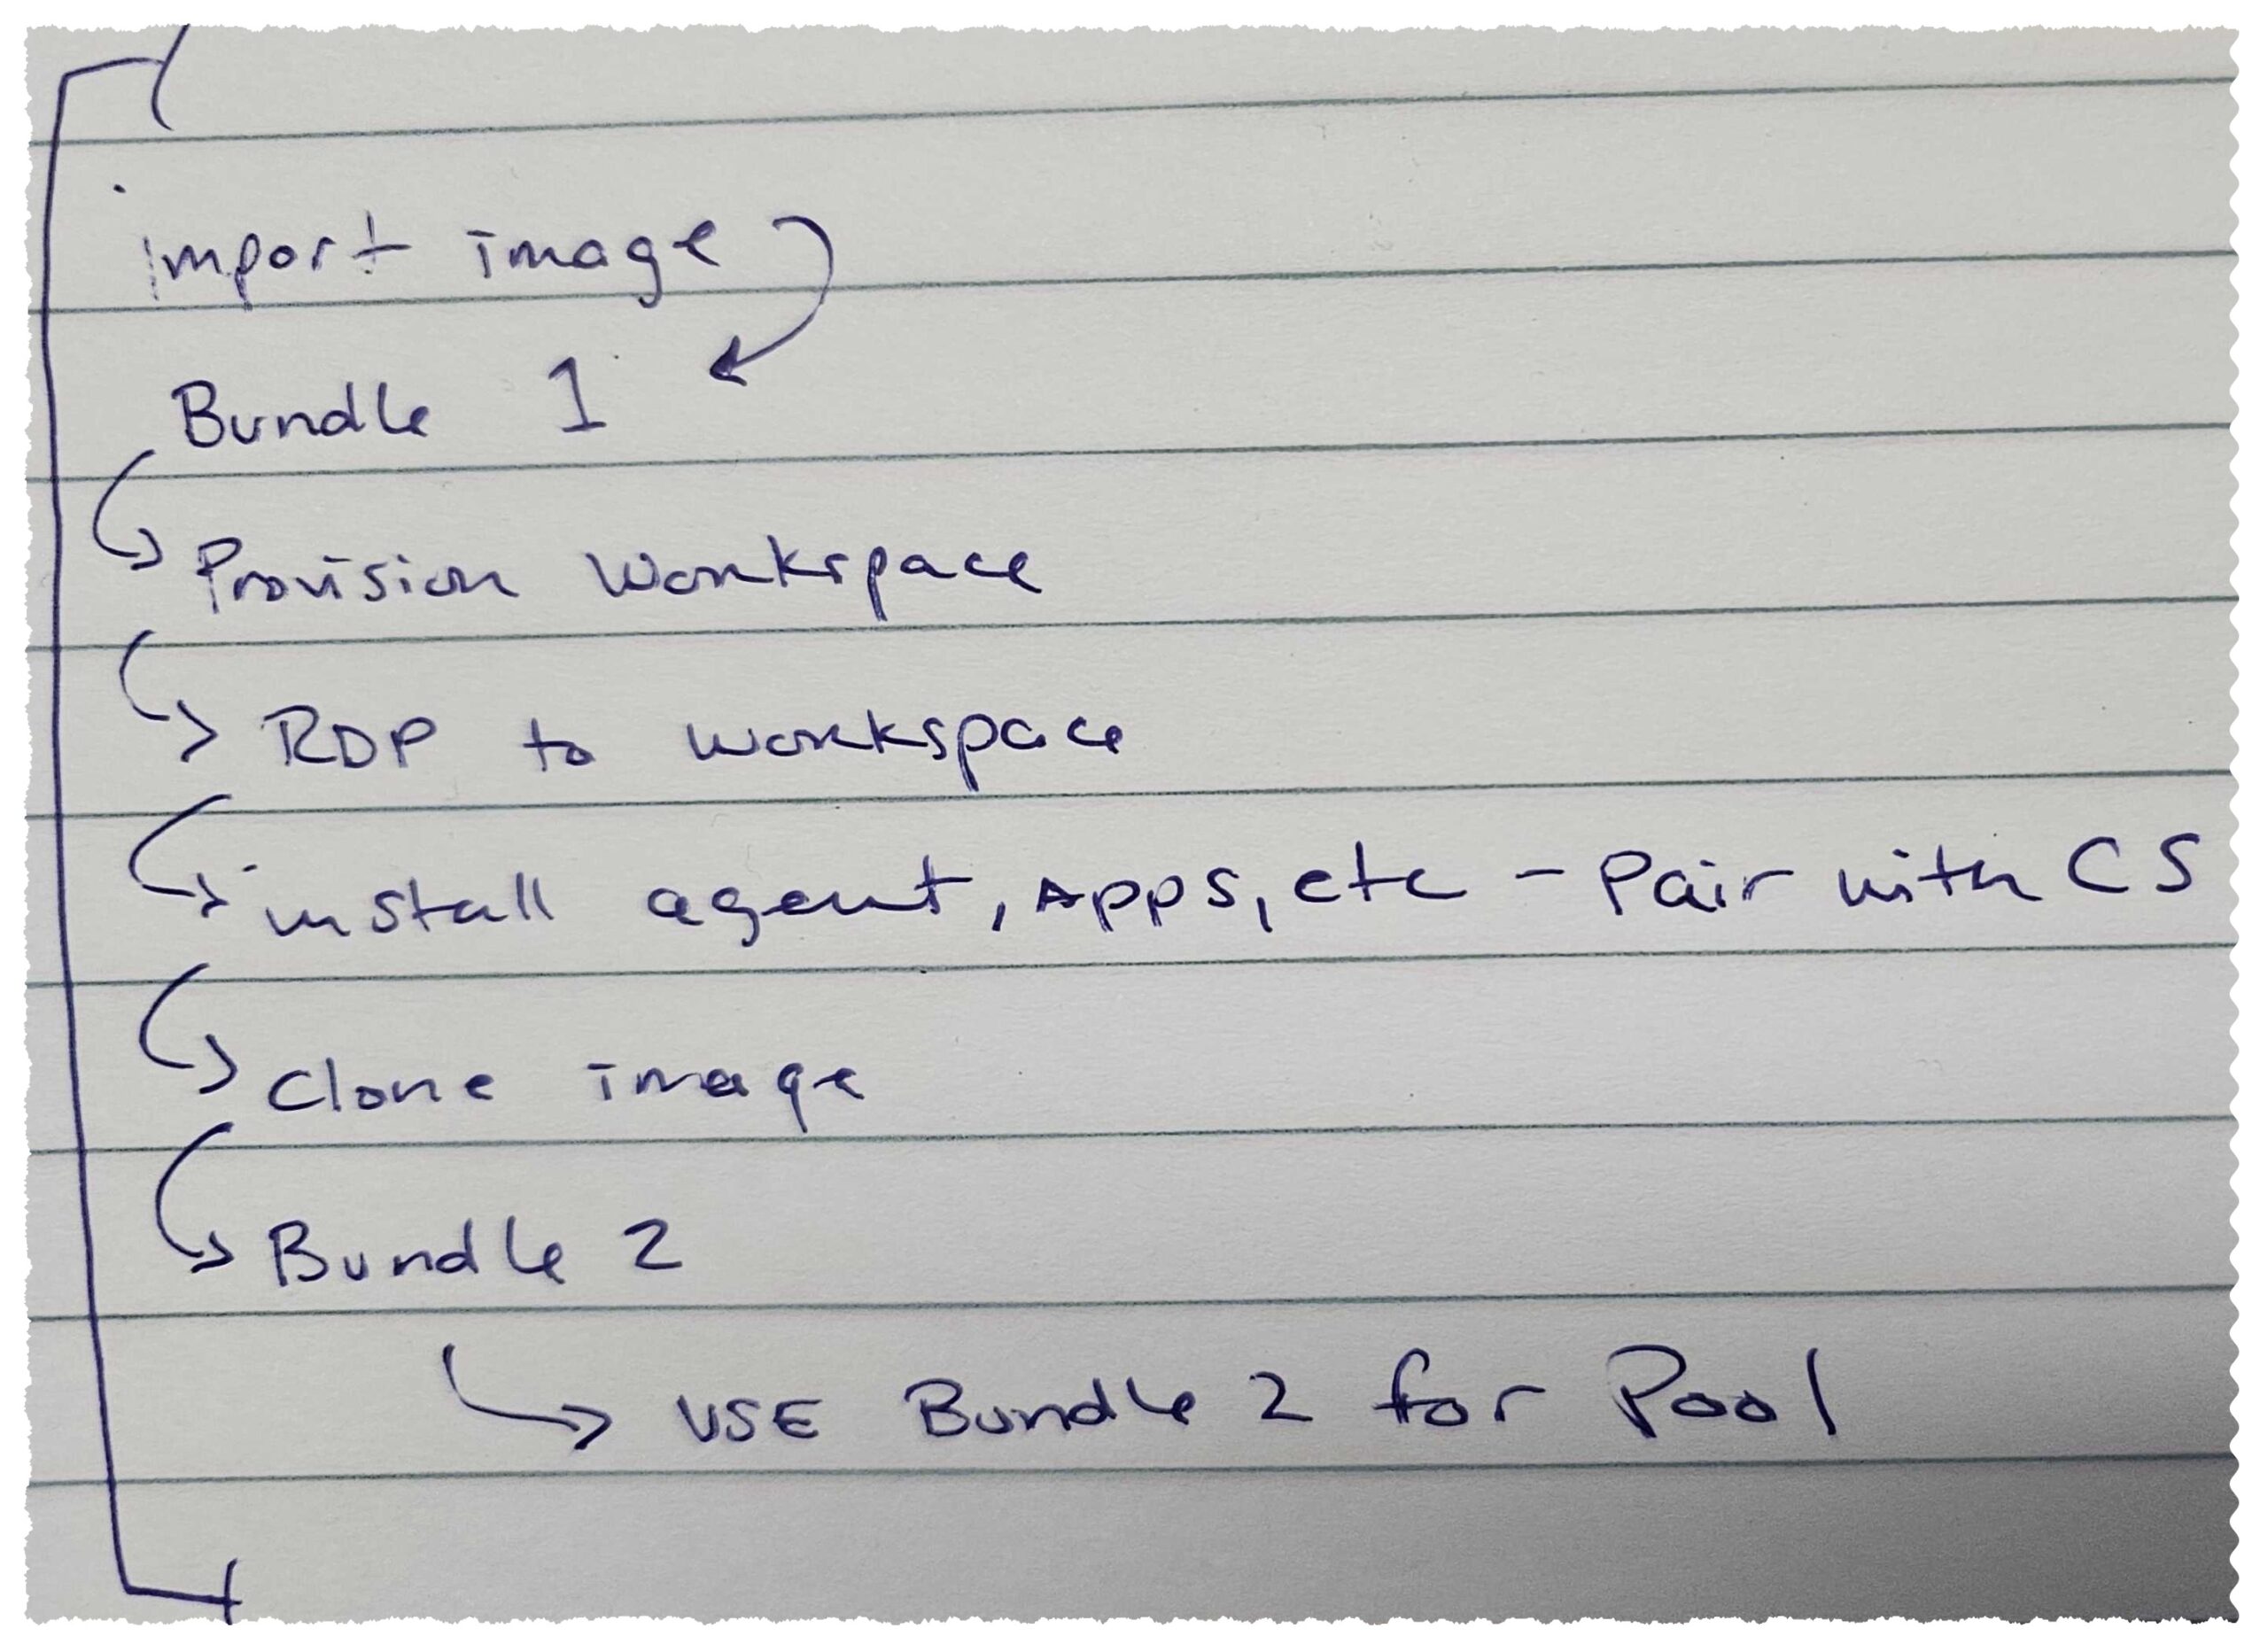
Image creation workflow
Creating S3 bucket and upload the windows 11 ISO image
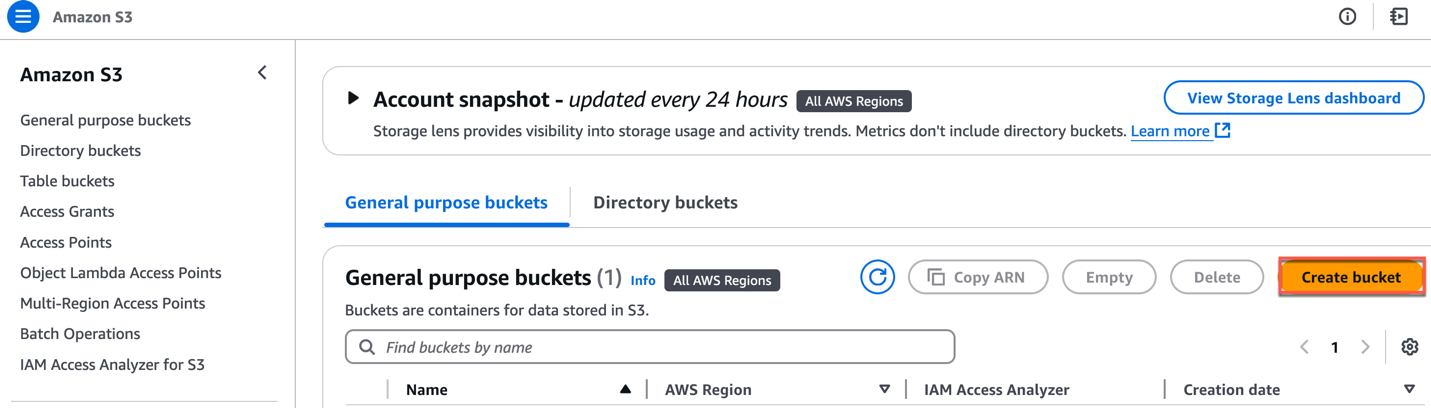
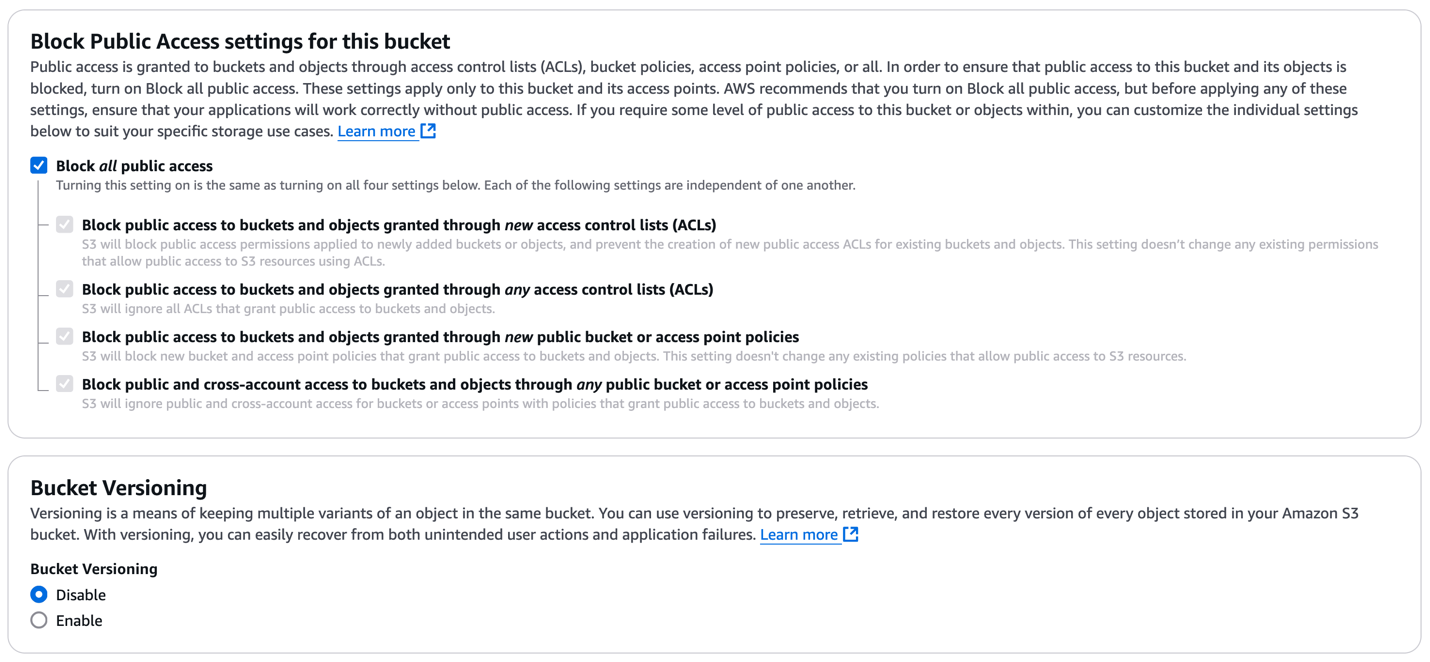
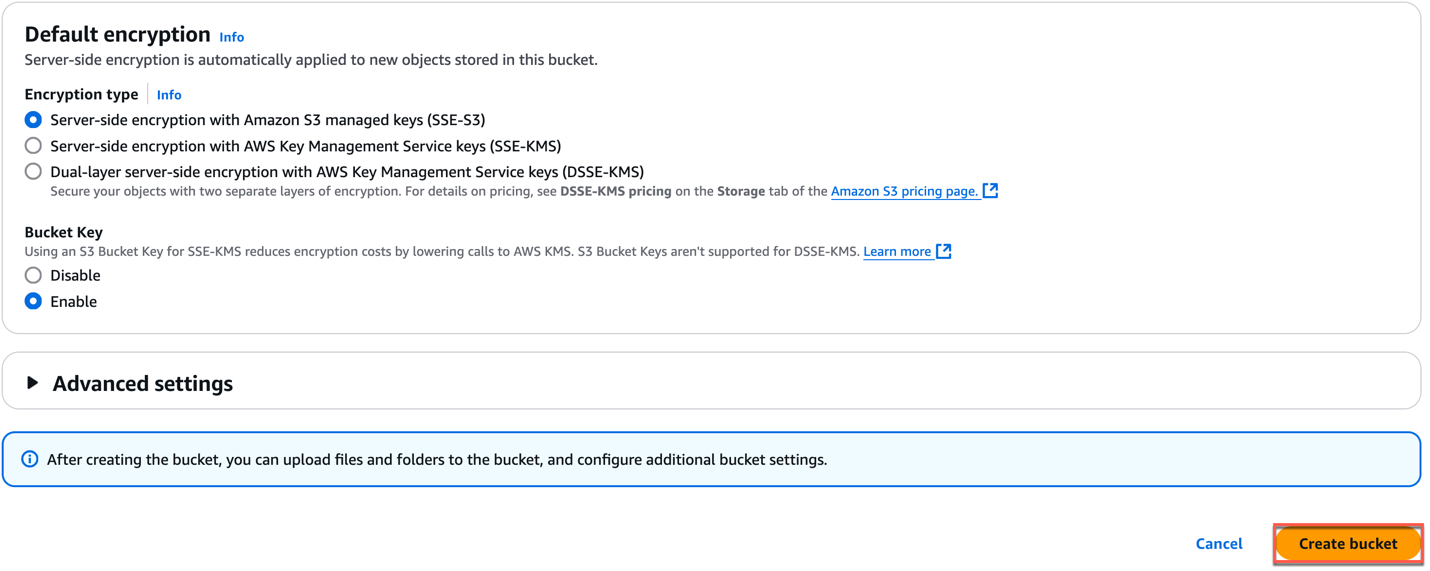
1. Login to AWS console and find [S3] service > [Create bucket] > [Ggeneral Purpose] > give the name of your choice to bucket > [Create].


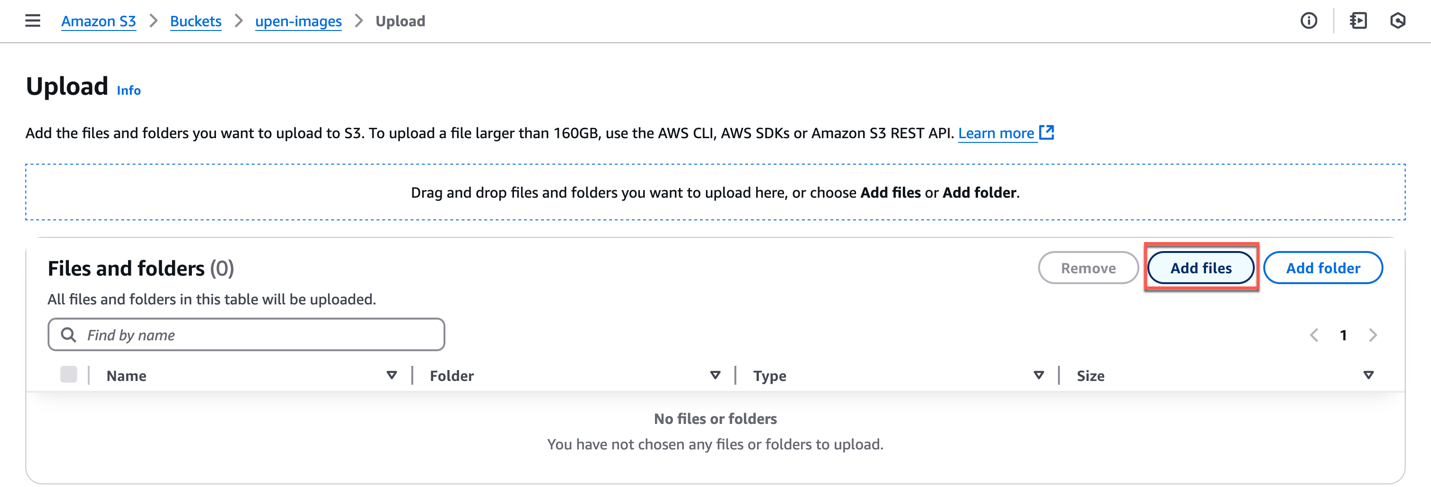
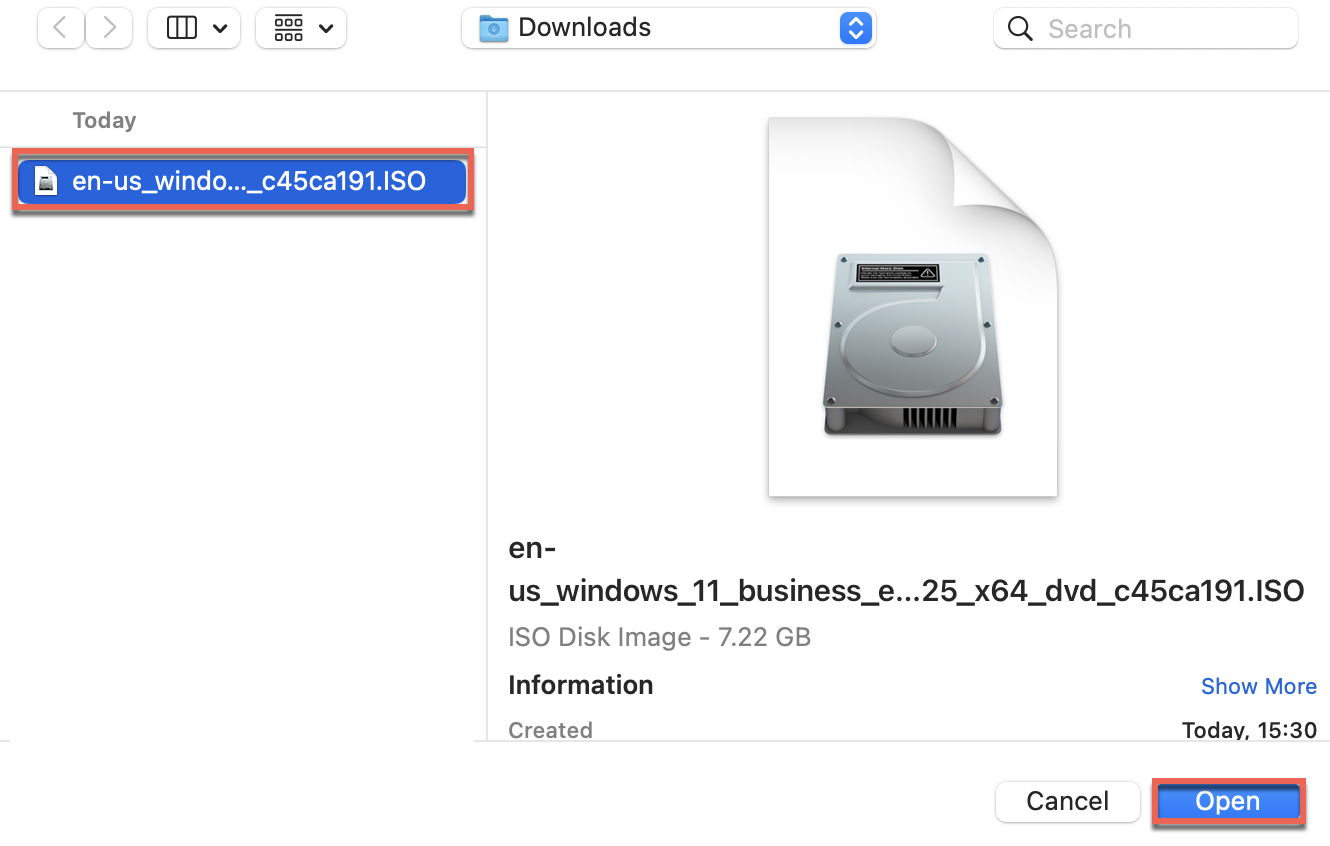
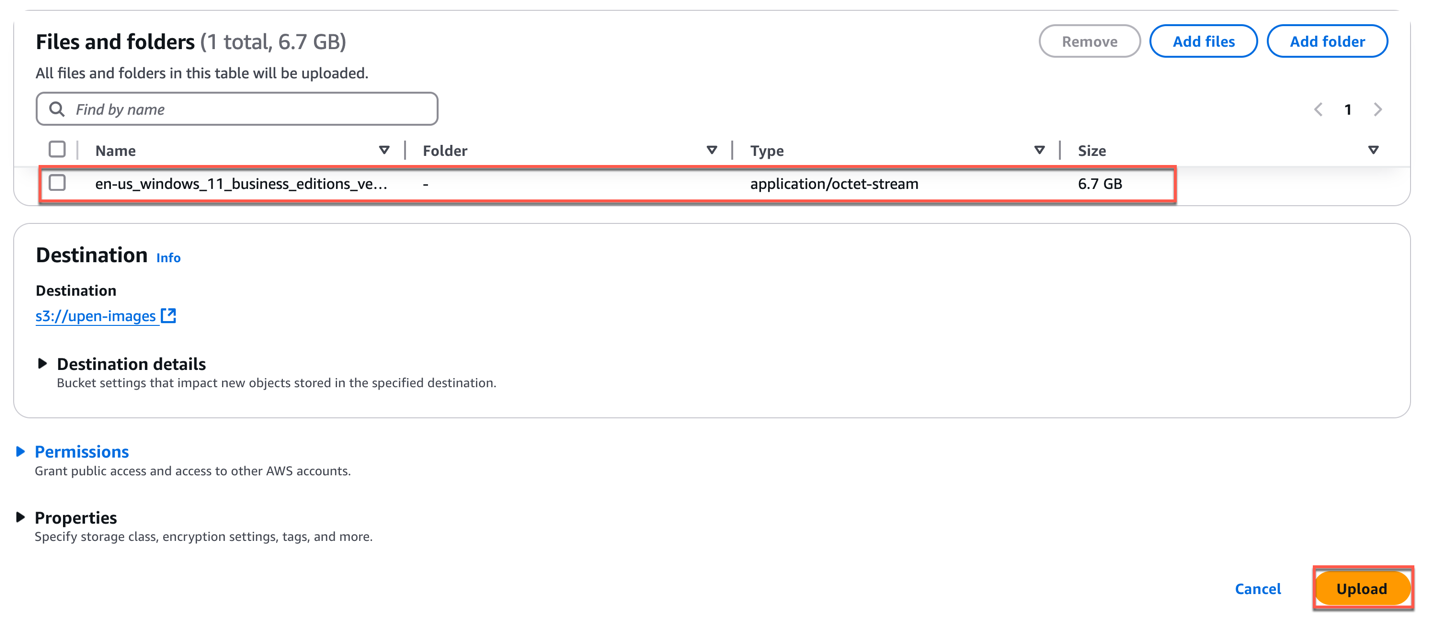
2. Expand your newly create S3 bucket > select [Upload] to upload the windows 11 ISO image > [Add files] > locate the downloaded Windows 11 ISO image > select [Upload].
Note: Ensure that the .ISO format is in ALL CAP.


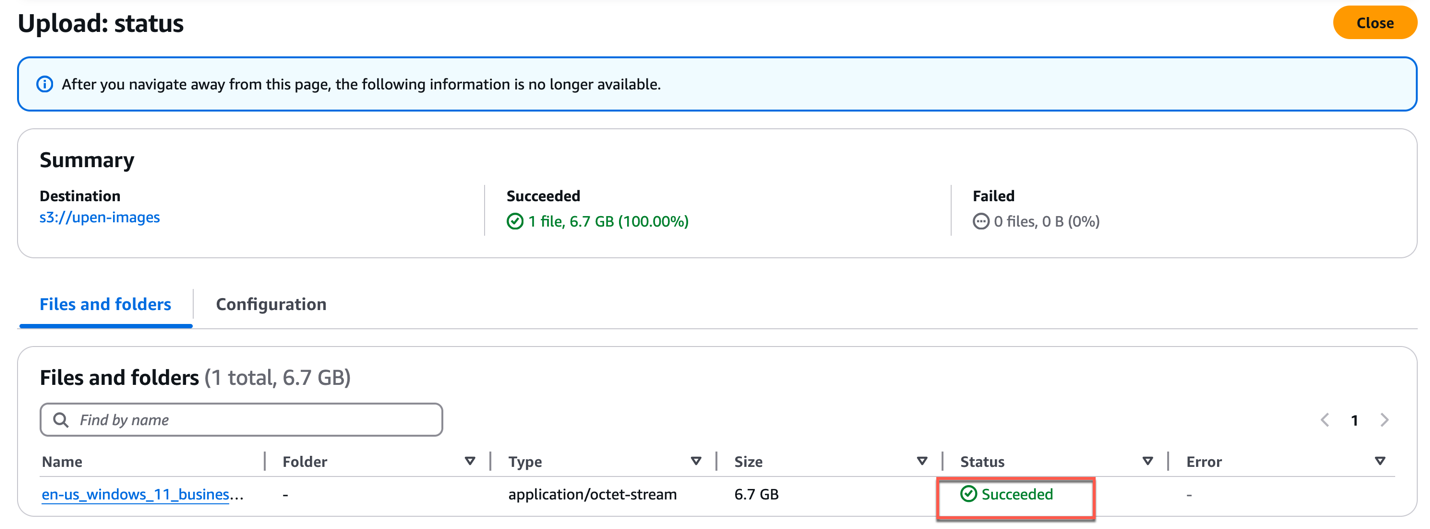
3. Confirm that the ISO image upload is succeeded.
Create IAM role for importing image with EC2 builder
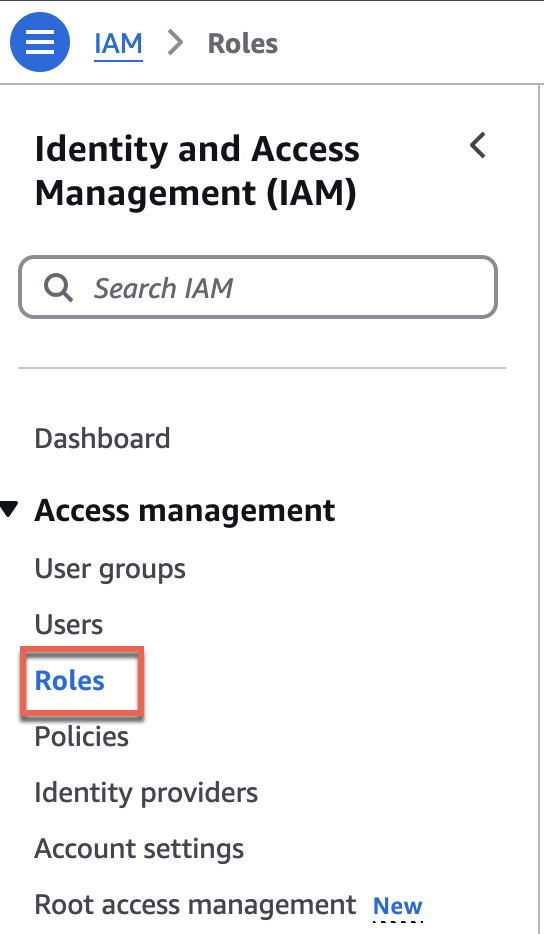
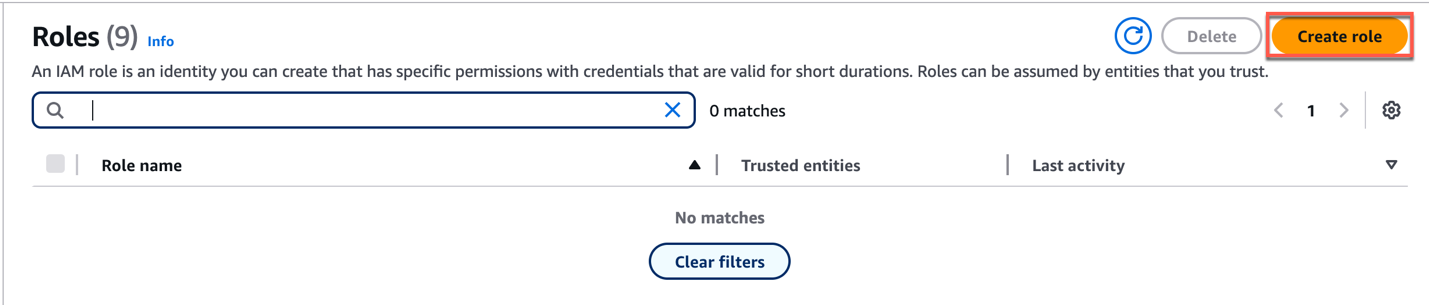
4. In AWS console, navigate to [IAM] > [Role] > [Create Role]
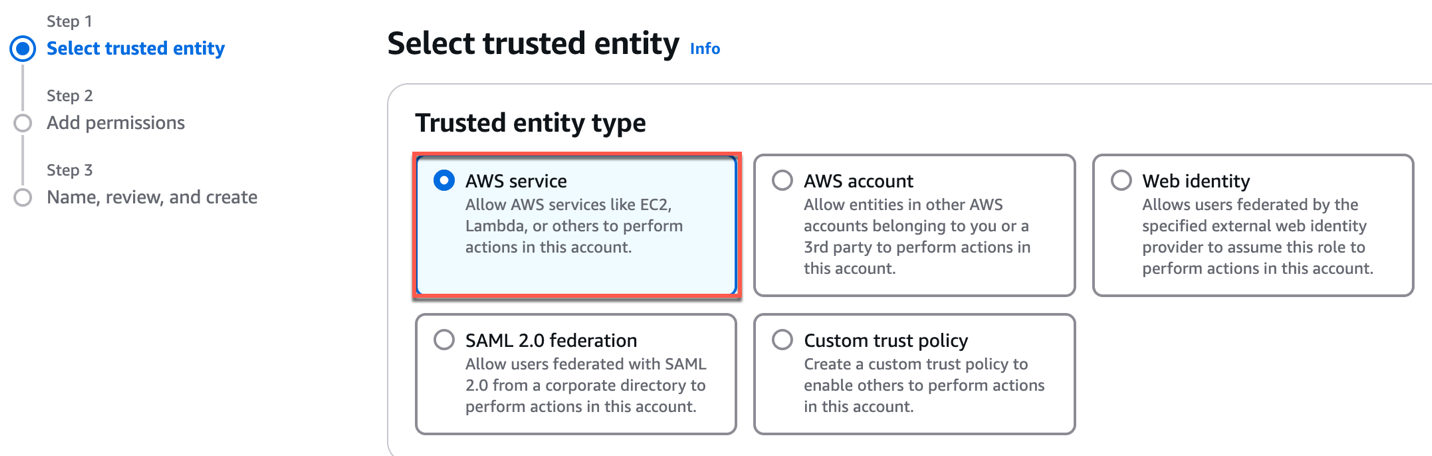
5. Select [AWS Service] as trusted entity > select [EC2] in use case > [Next]

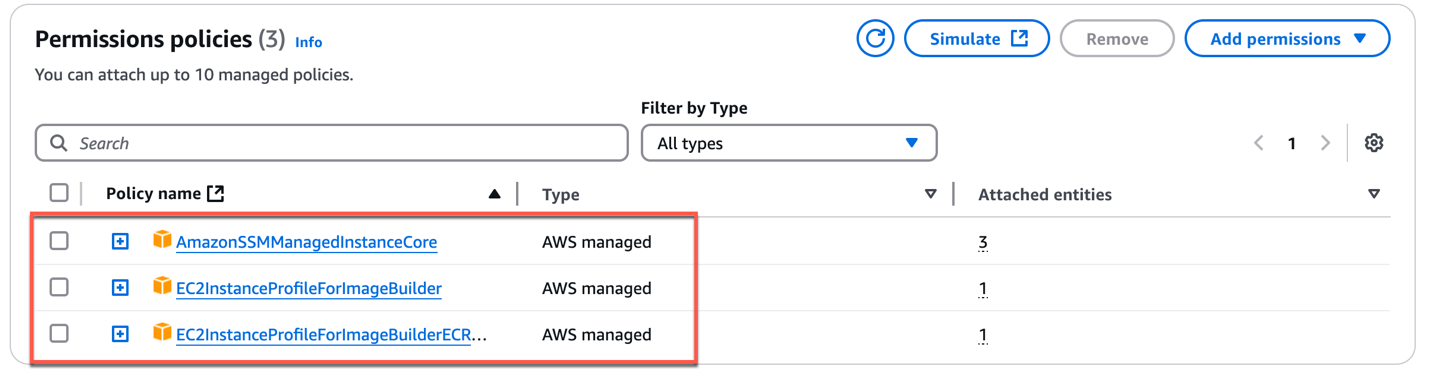
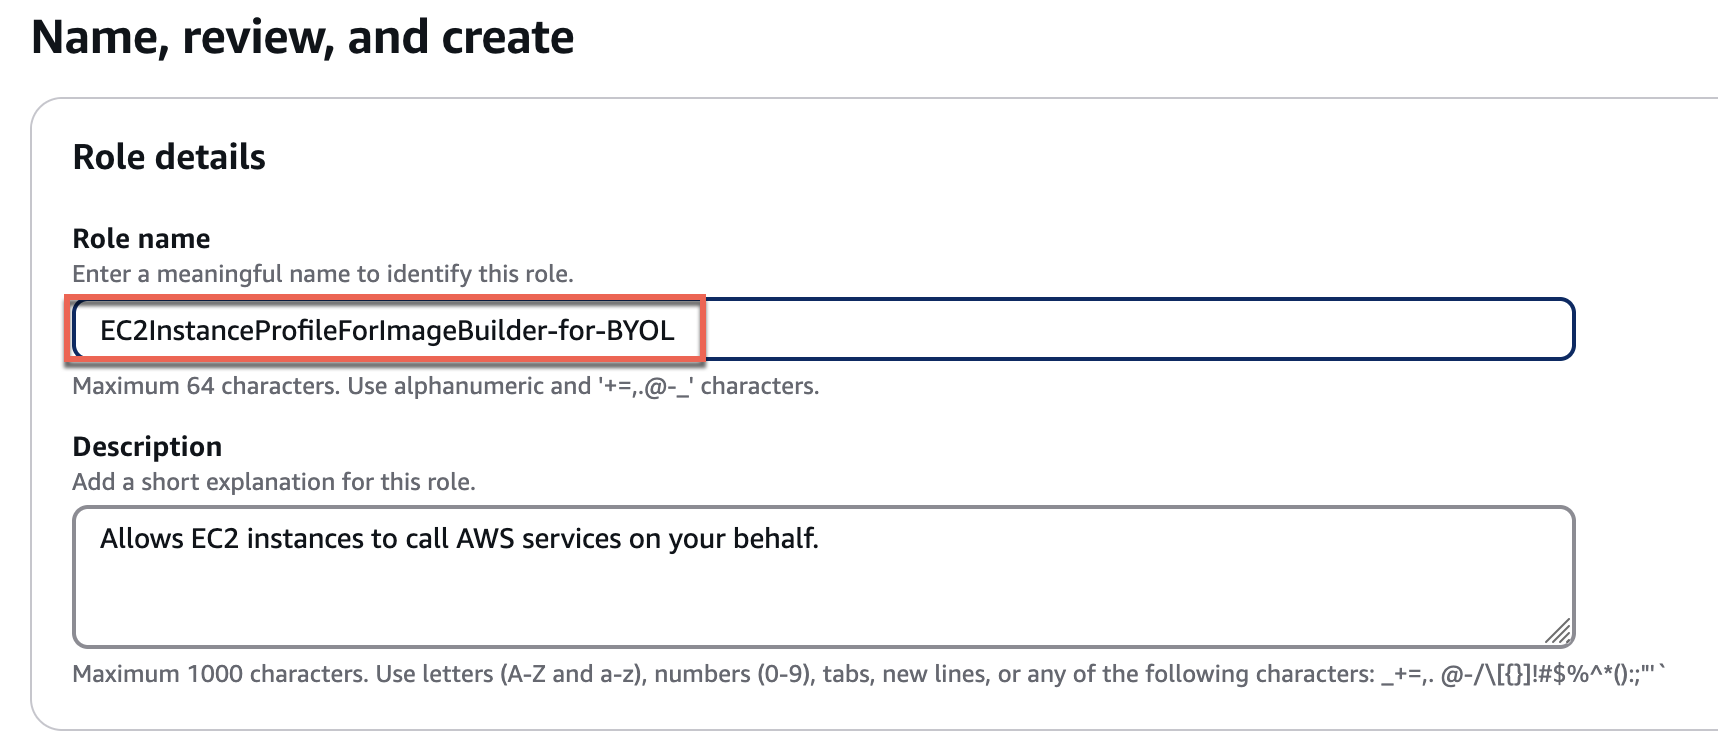
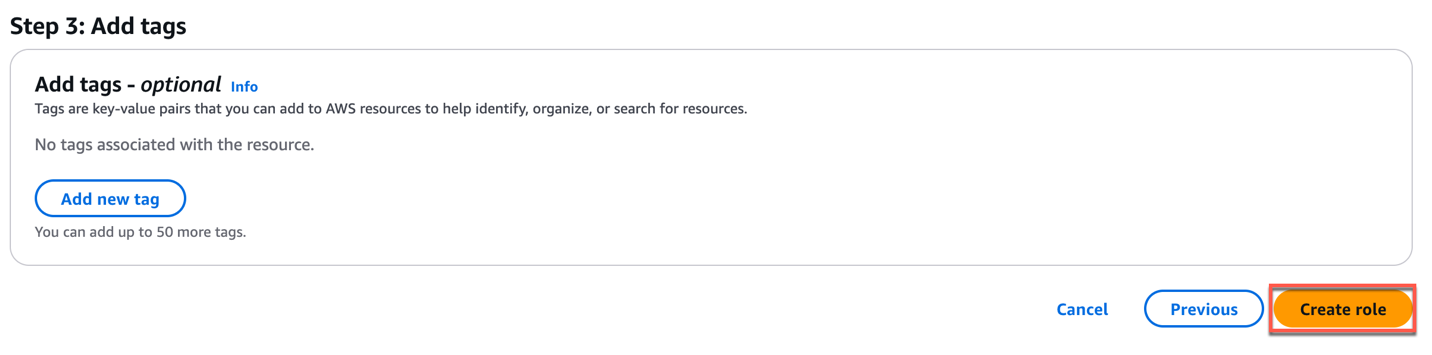
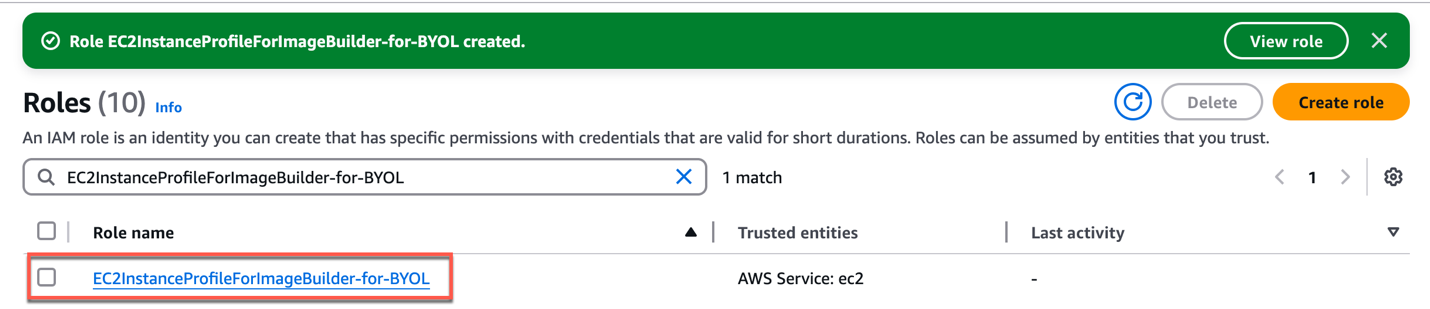
6. Select below permissions from the drop down > give the name to the role > [Create Role] > confirm the role has been created successfully.
AmazonSSMManagedInstanceCore
EC2InstanceProfileForImageBuilder
EC2InstanceProfileForImageBuilderECRContainerBuilds
Creating Infrastructure Configuration for importing image with EC2 image builder
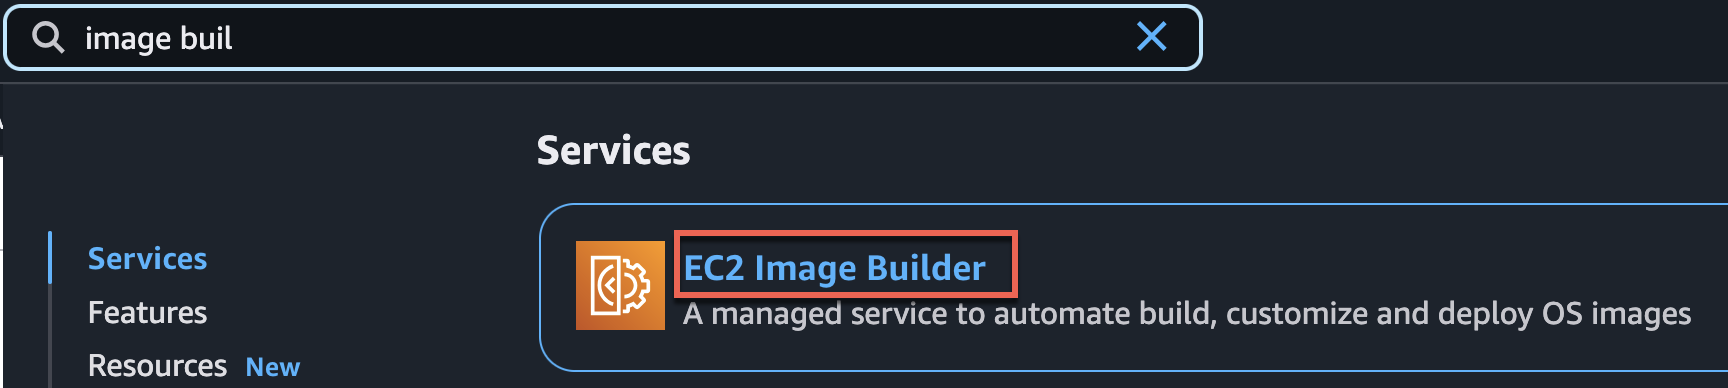
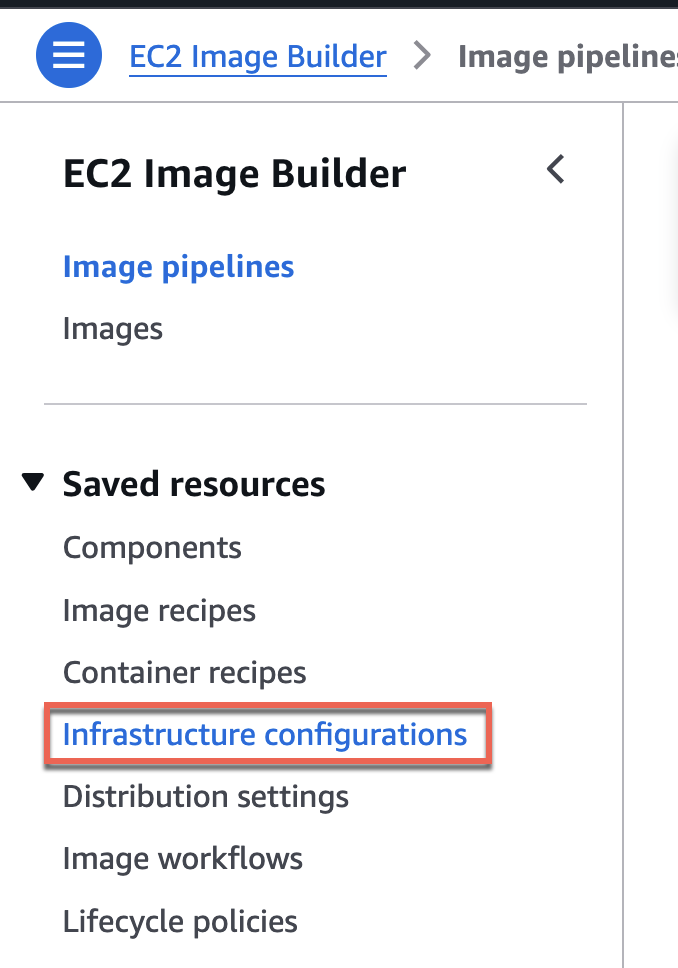
7. Find [EC2 Image Builder] in AWS console and navigate to [Infrastructure Configuration] in the left pane of console > select [Create Infrastructure Configuration]

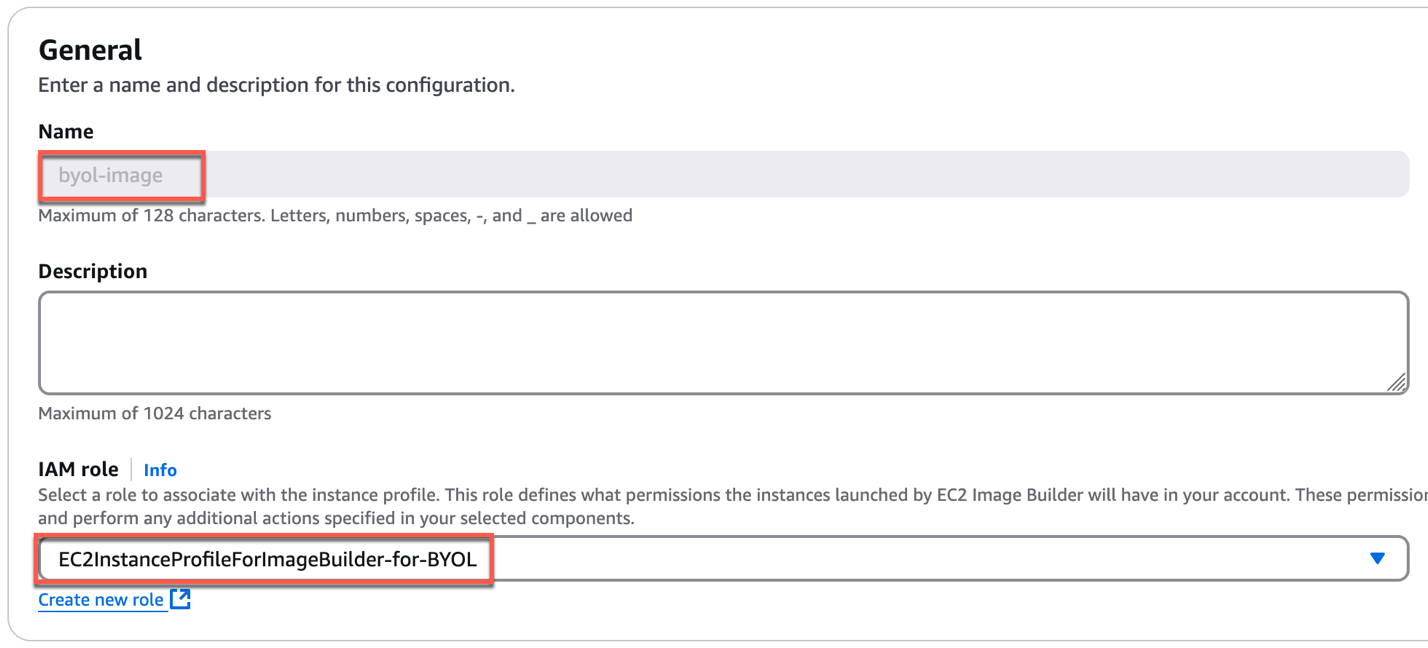
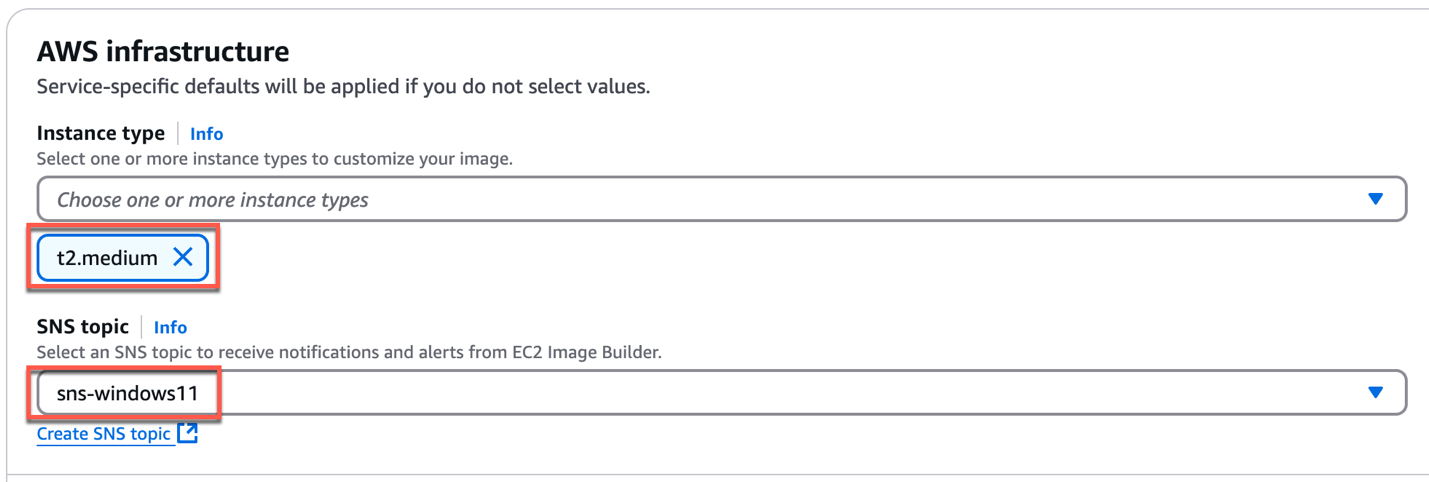
8. In general section, give the [Name] of your choice > select the [IAM role] you created in previous section > define [AWS infrastructure] as you needed > create [SNS topic] with default setting.
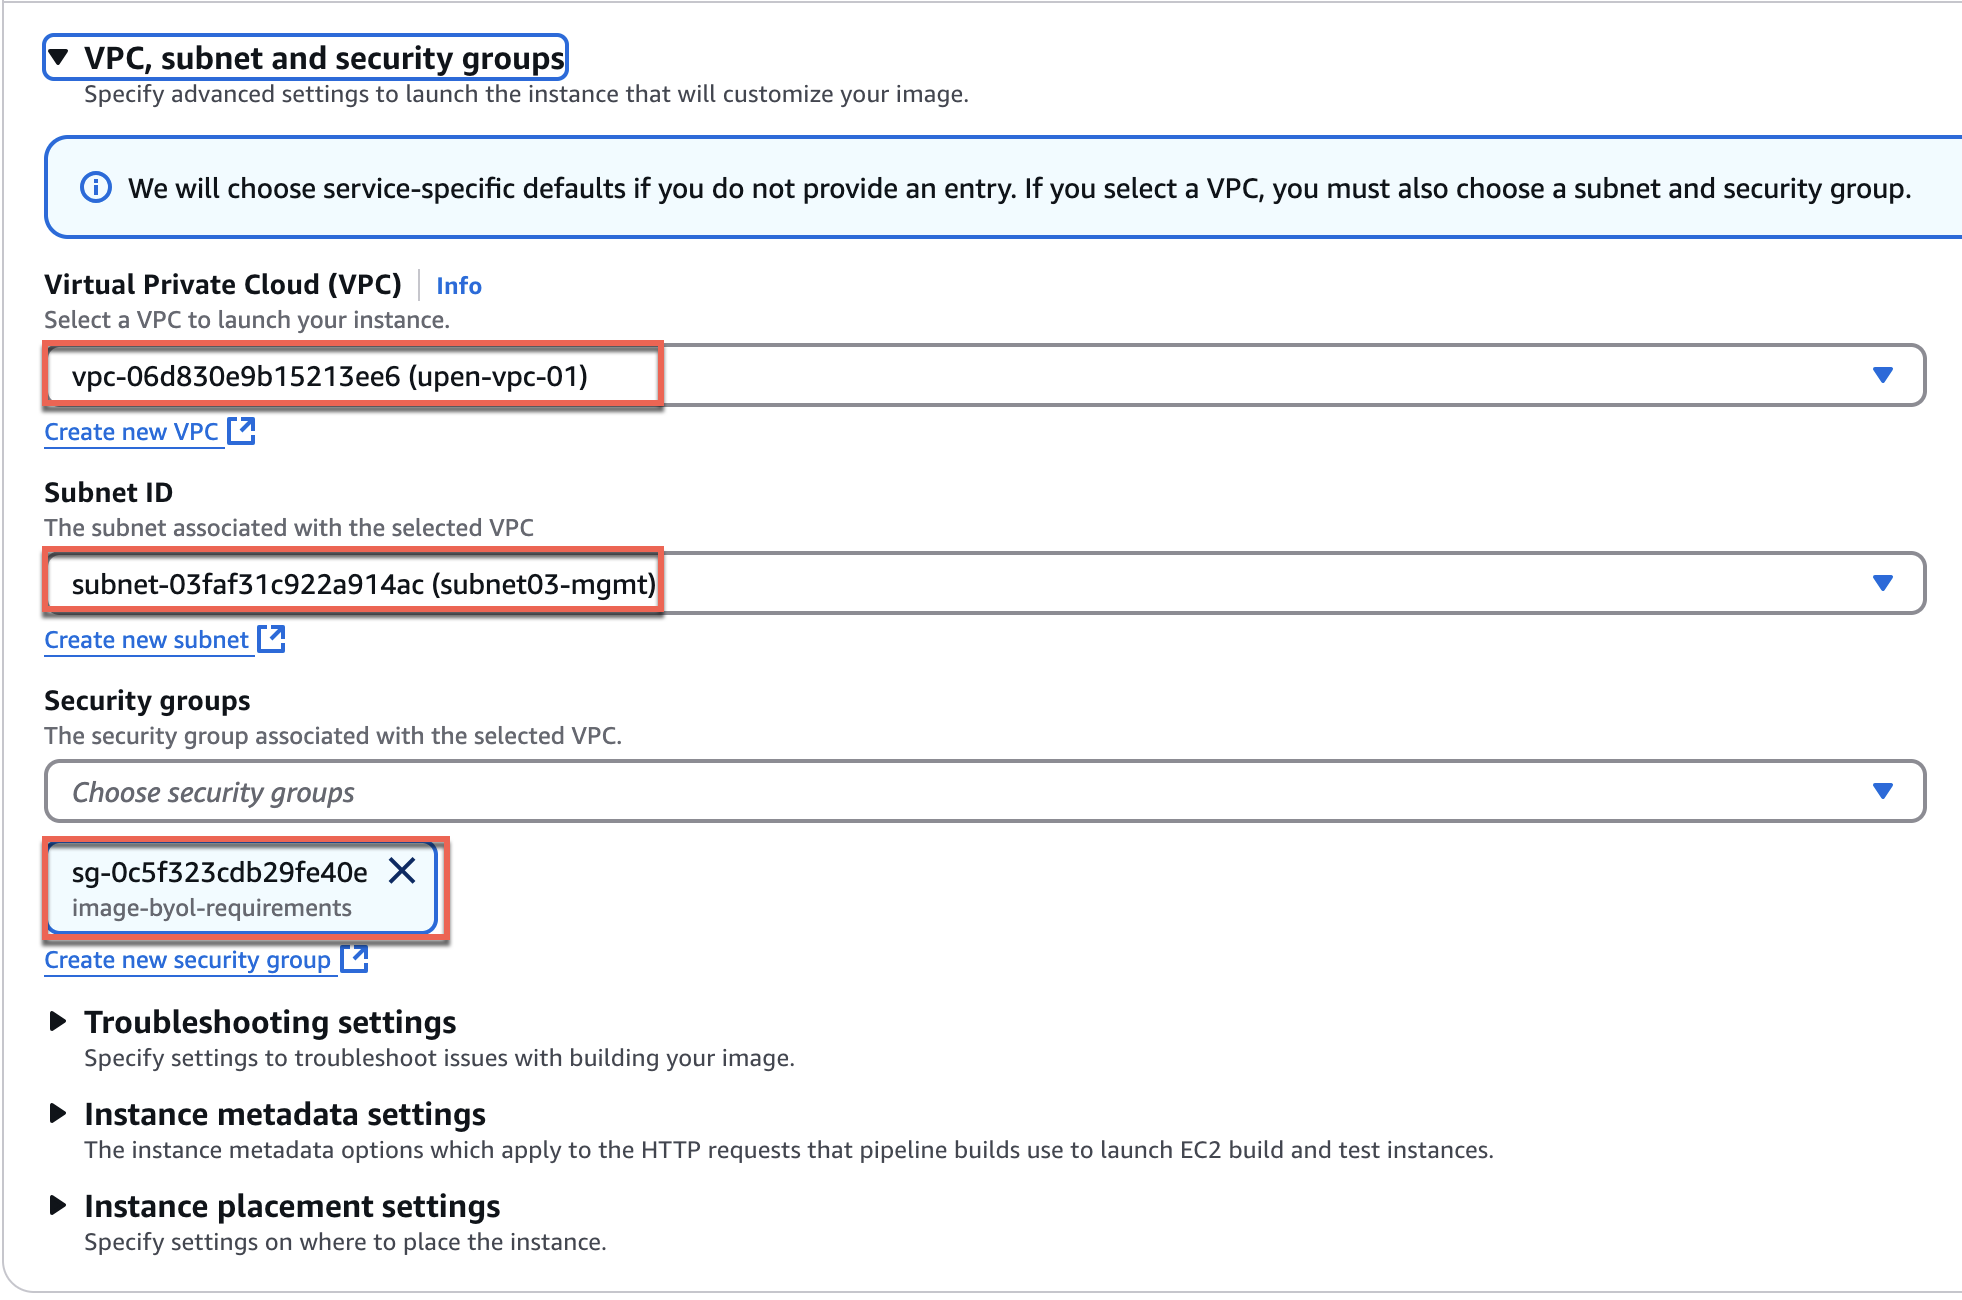
9. In VPC, Subnet and Security Group section, select the VPC, Subnet and Security Group as per your setup > [Create]
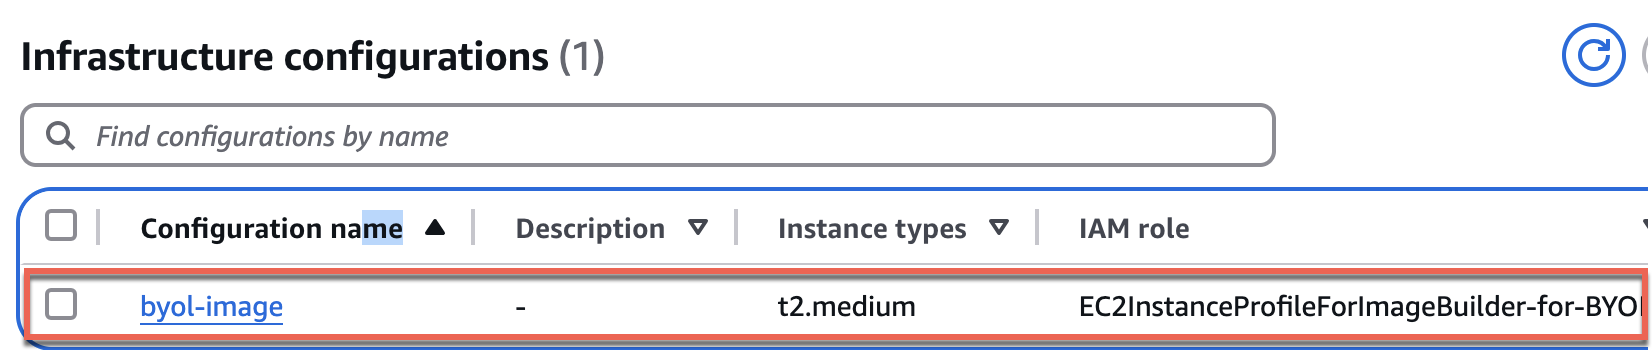
10. Confirm that [Infrastructure Configuration] is successfully configured.
Import image with EC2 Image Builder
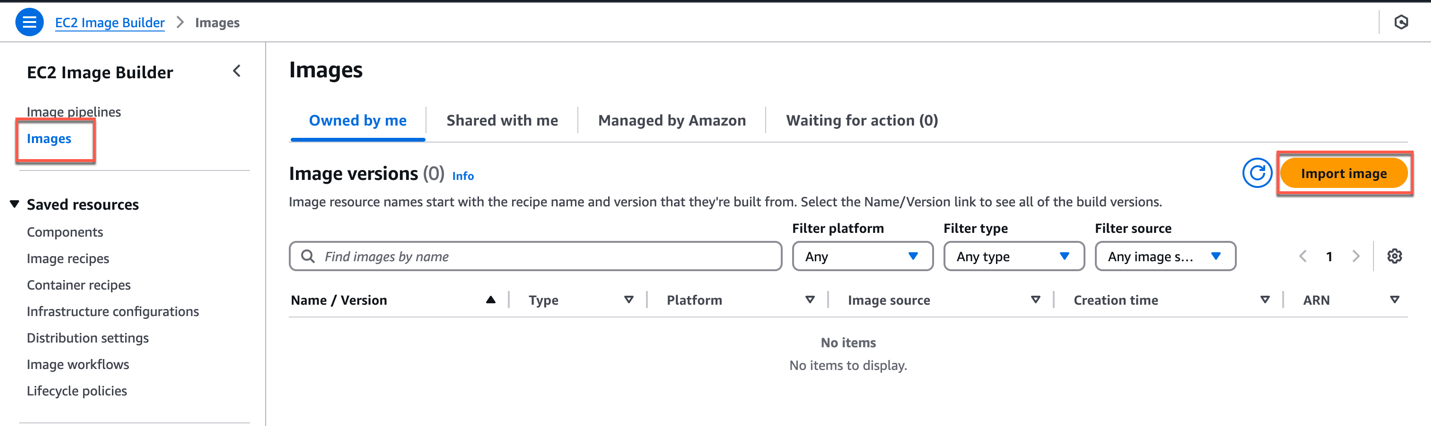
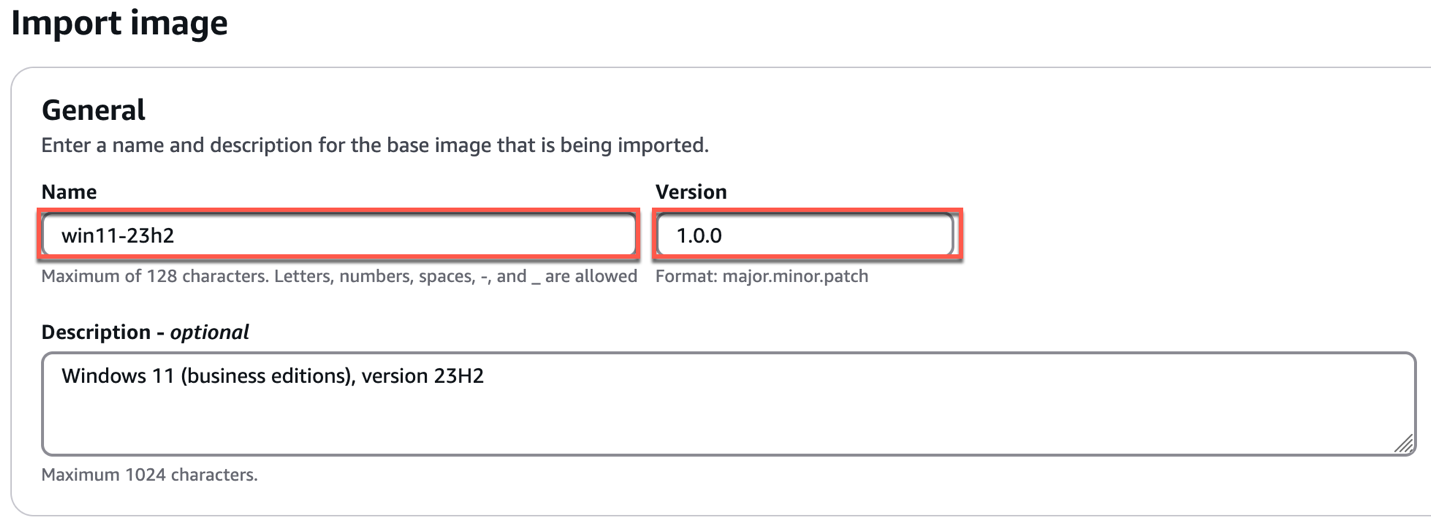
11. Select [Images] in EC2 image builder > [Import image] > give the [Name] and [version]
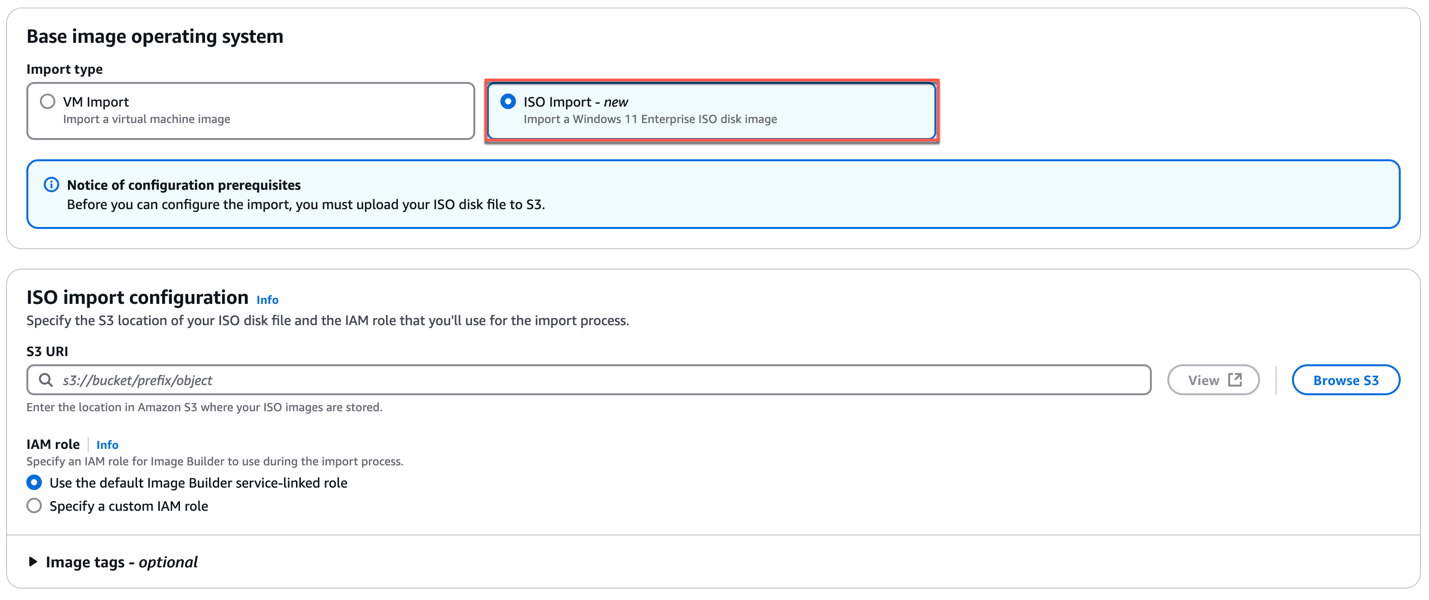
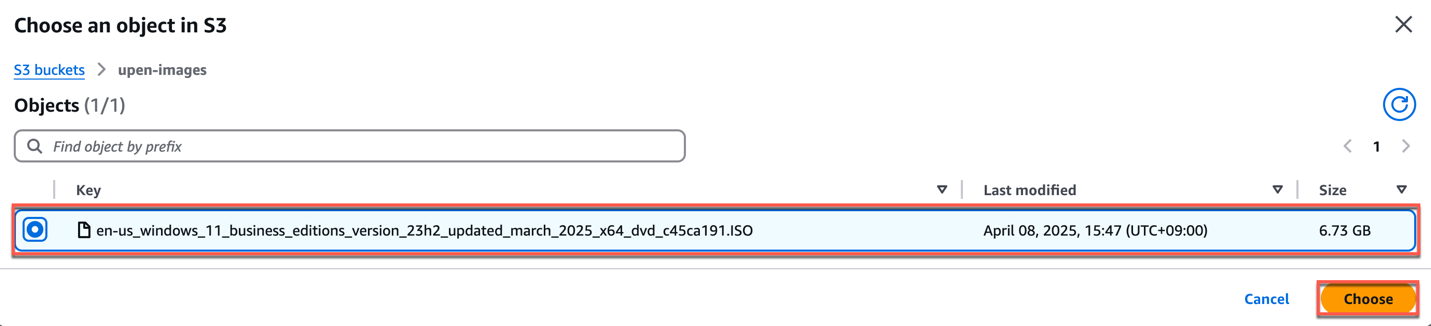
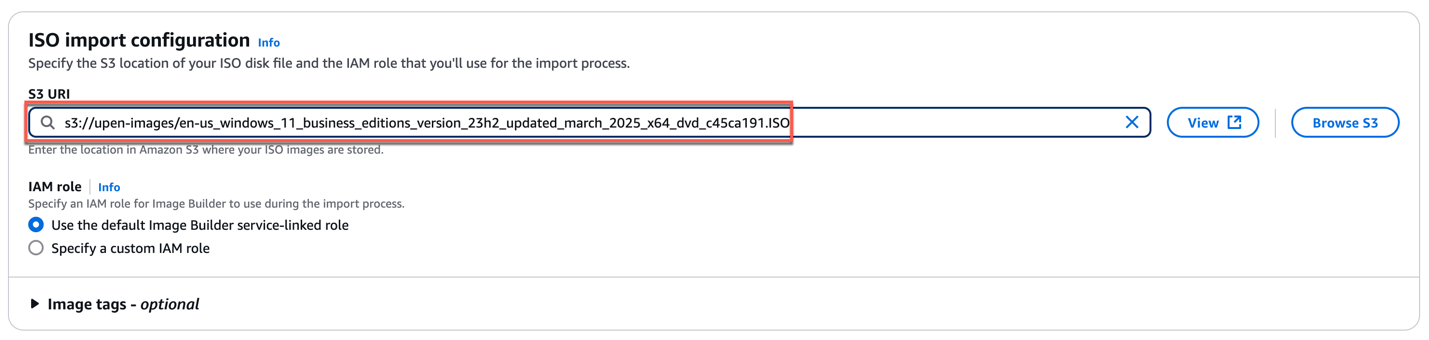
12. In Base image operating system section, select [ISO Import] > Browse S3 bucket and located the previously uploaded Windows 11 ISO image.
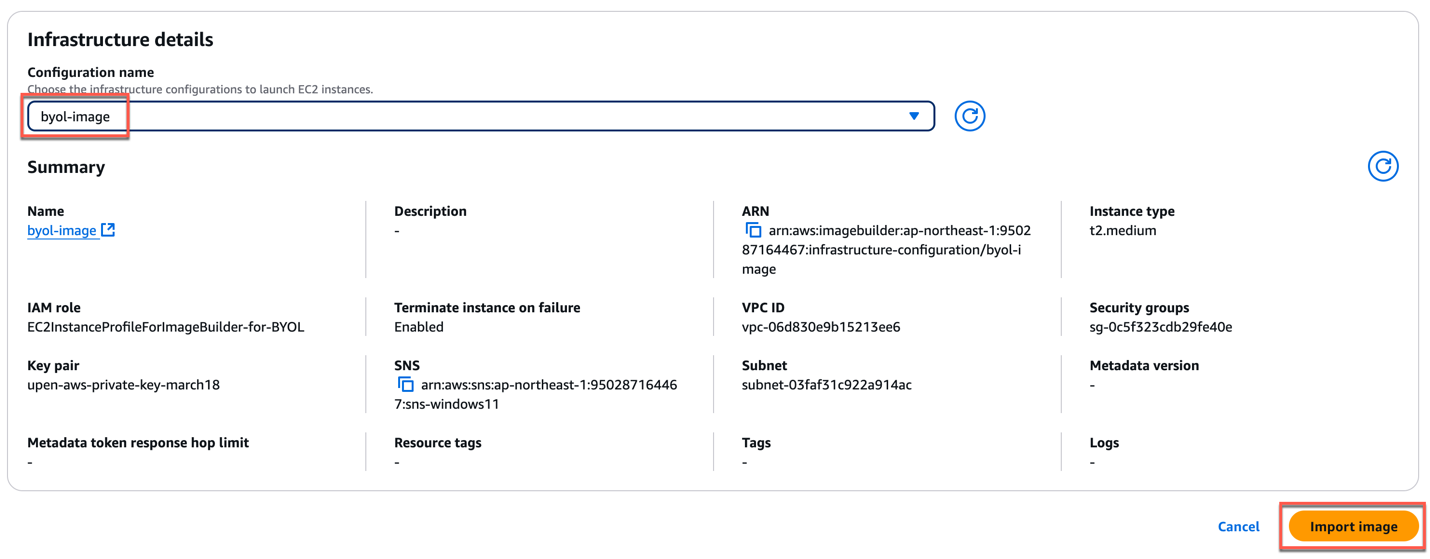
13. Select the previously created [Infrastructure Configurations] from the drop down > [Import Image]
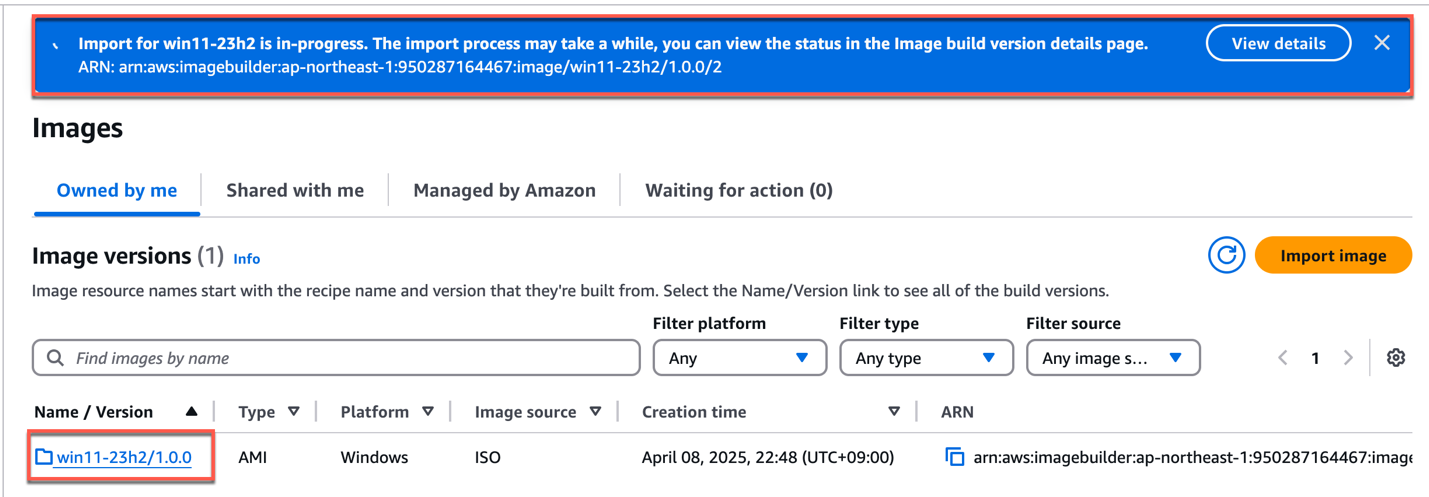
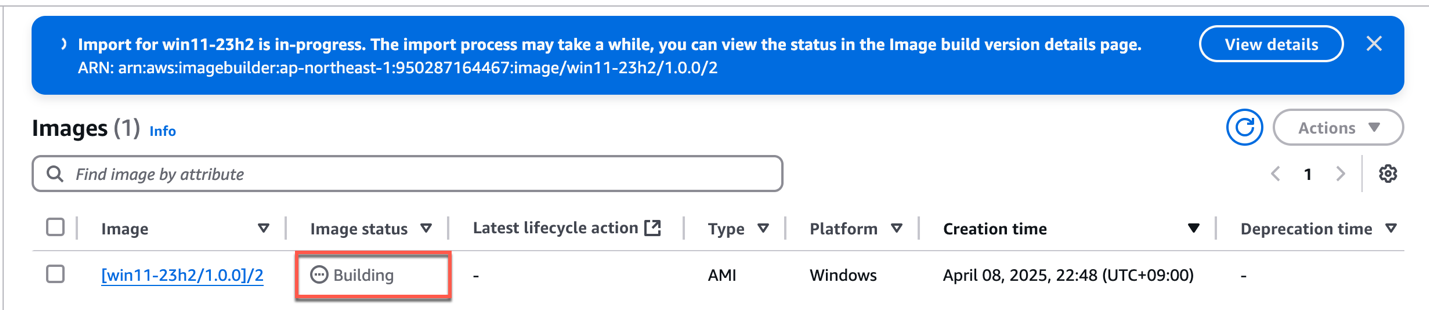
14. Importing image has been started. This may take some time depending on the ISO image file size. Wait until ISO image file to be uploaded successfully.
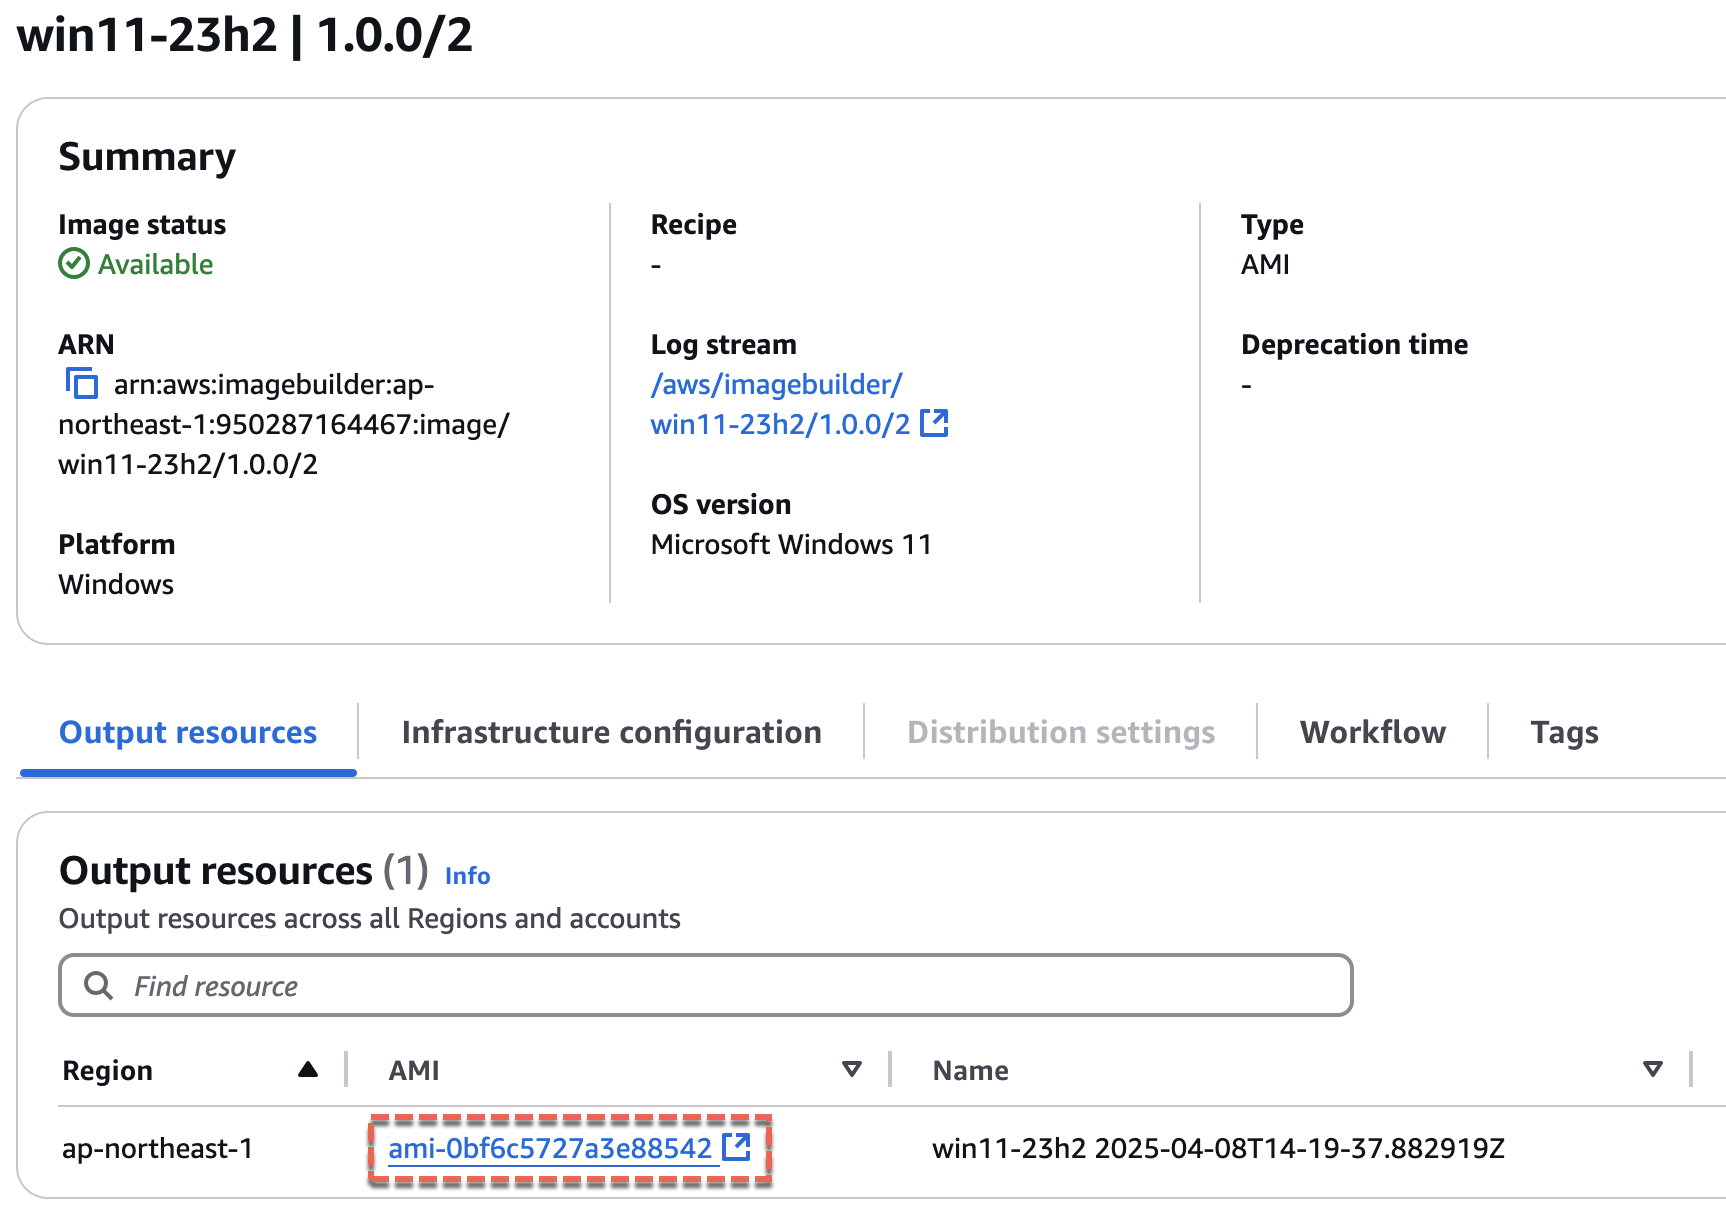
15. Confirm that an image has been imported successfully. Click in the image name hyperlink and note down the [AMI ID] of imported image. This ID will be used in next steps.

Importing image to Amazon Workspaces
16. We will execute below script to import the image to Amazon workspace. Open the AWS Cloud shell and execute the script.
Sample Script
aws workspaces import-workspace-image --ec2-image-id <your ami id> --ingestion-process BYOL_REGULAR_BYOP --image-name <your-image-name> --image-description <your-image-description>
--ec2-image-id        replace the ami id from previous step

--image-name          you can give any name

--image-description   you can give any description

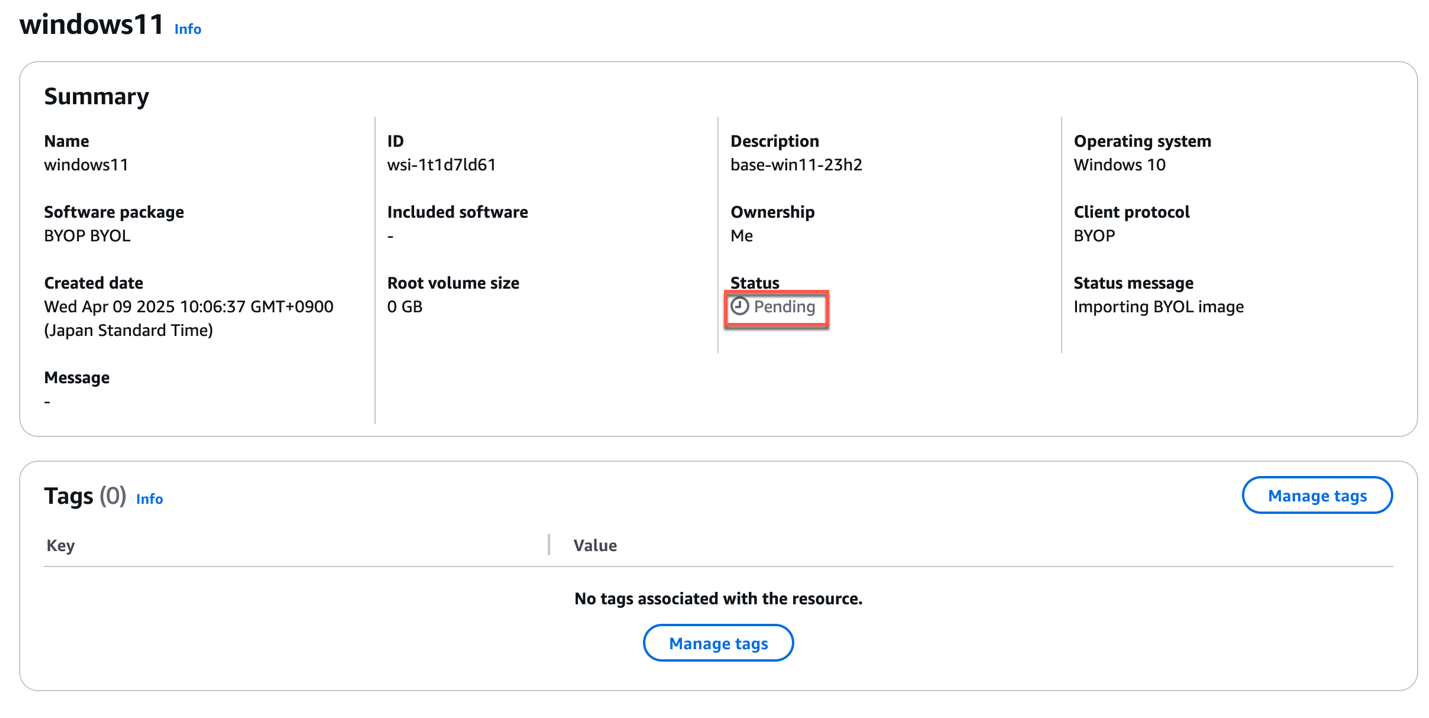
Note: if the script is executed successfully, it returns the [ImageId] as seen in above screenshot “ImageId”: “wsi-1t1d7ld61”
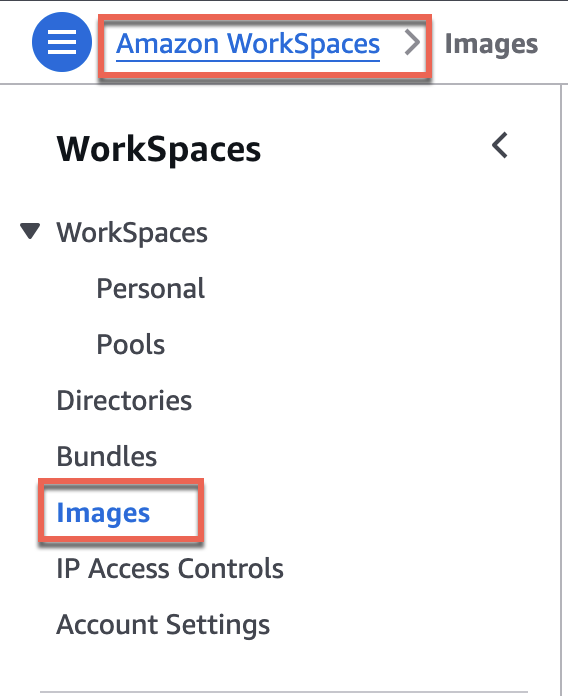
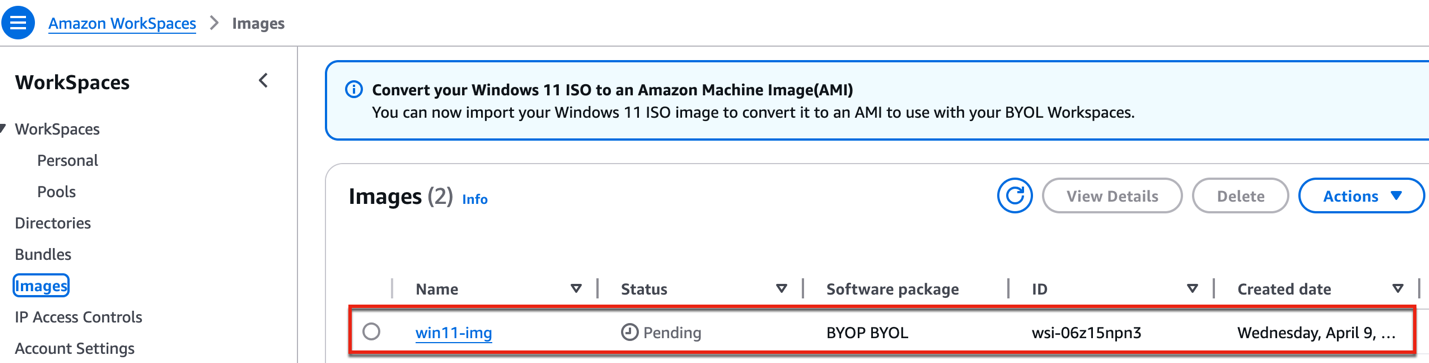
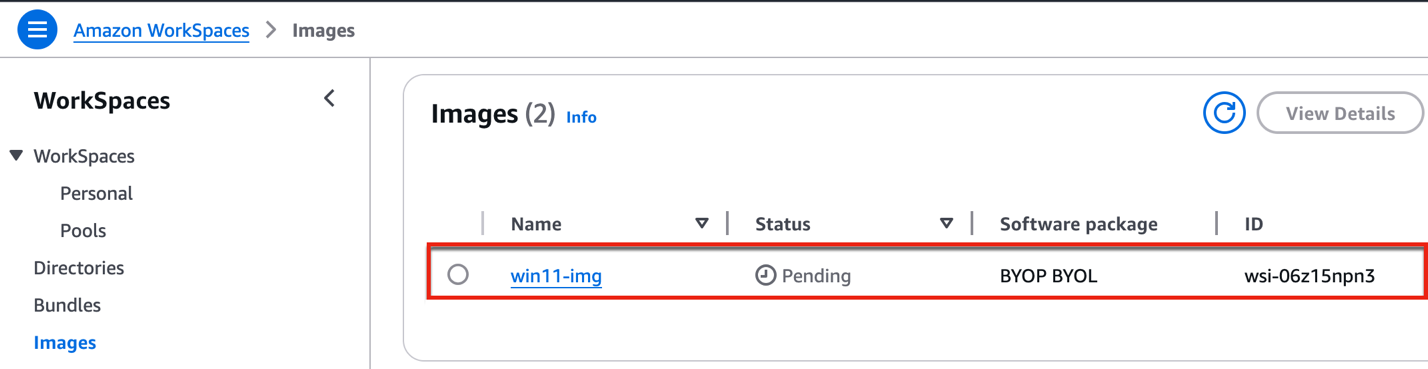
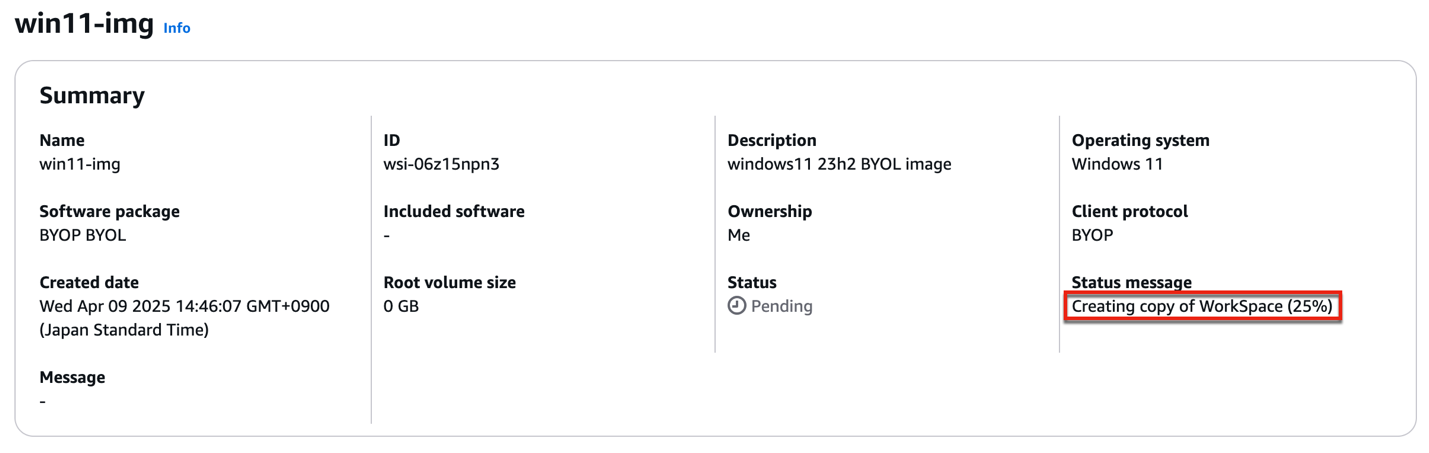
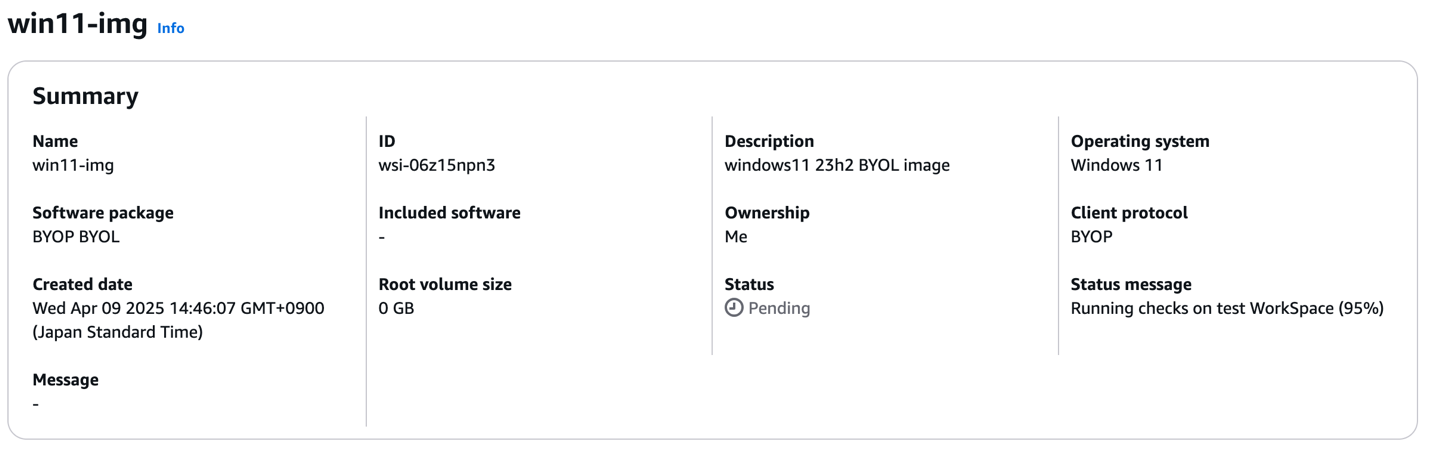
17. Navigate to Amazon Workspaces Console > [Images] > find a newly created image named “Windows11” > click in image name hyperlink > you will see image creation is in [pending] state. This may take up 30+ mins.
18. Confirm image status is now [Available] > select the image > [Actions] > [Create Bundle].


Note: this bundle is not for Horizon 8 pool creation. With this bundle we will create another Workspace (machine) and install the Horizon Agent on it and we will create another image/ bundle for Horizon 8 pool creation.
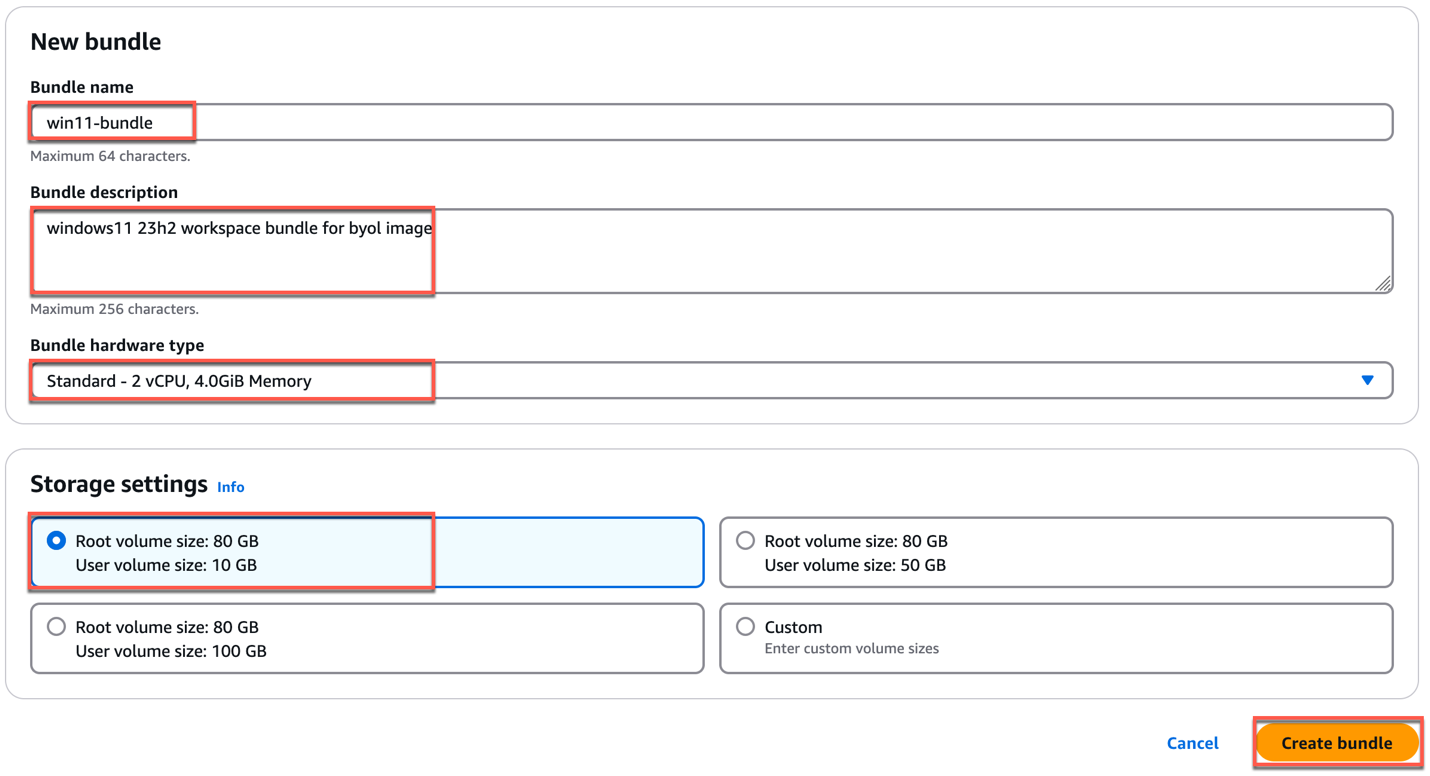
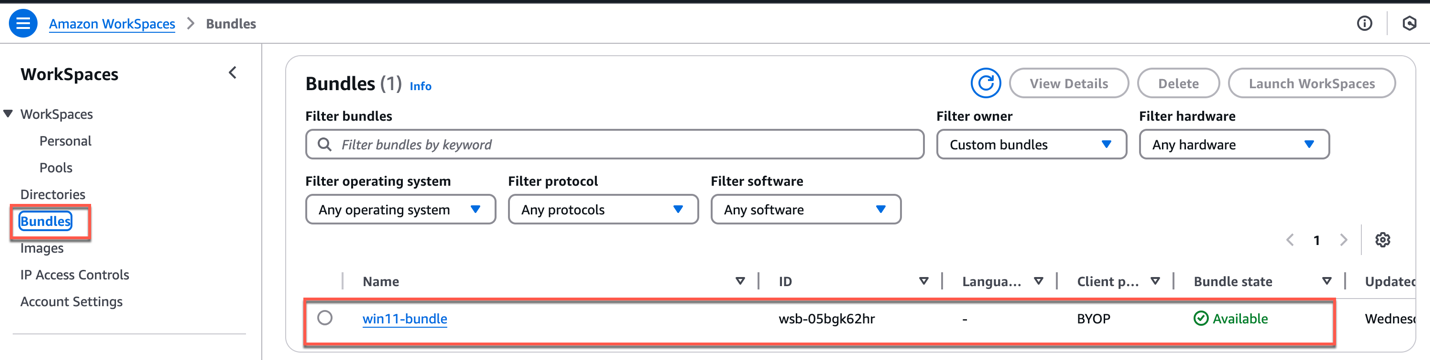
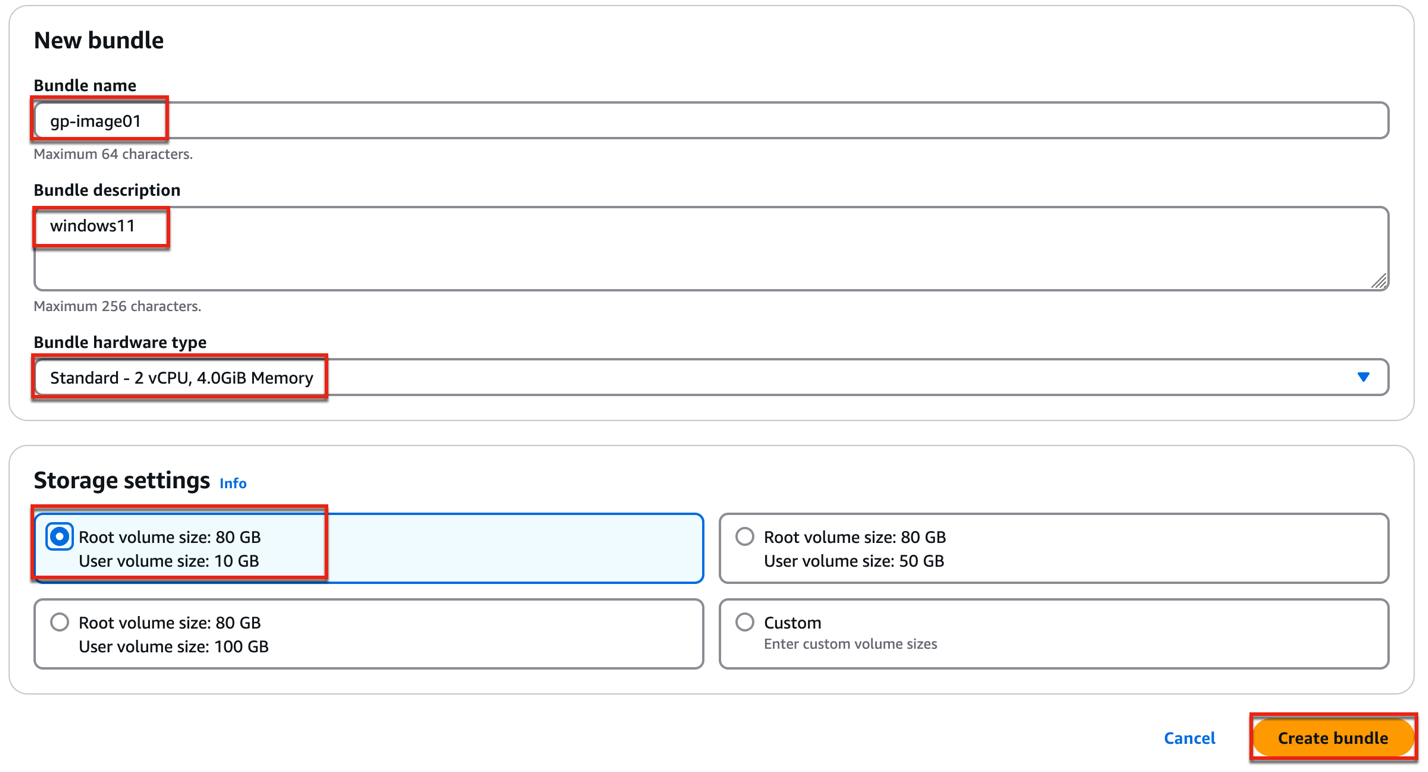
19. Give the [Name] and [Description] to the bundle > choose the appropriate [Bundle Hardware type] and [Storage] > select [Create Bundle] > confirm that a bundle has been created successfully and status is [Available].
Creating a Workspace (machine) on which we install Horizon Agent
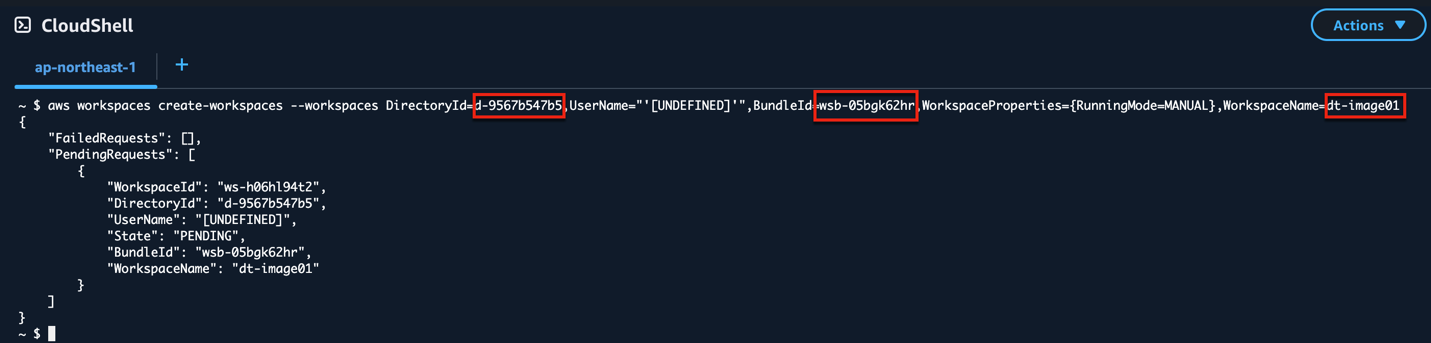
20. We will use Amazon Cloud-shell command to create the Workspace. Replace [DirectoryId], [BundleId] and [WorkspaceName] matching with your configuration. Open the Cloud-shell from AWS console and execute the command.
Note: you could create the Workspace from console UI as well but it only allows you to select the monthly billing. For the test purpose, may not want to opt for monthly billing. If you create the workspace machine with cloud-shell, it allows you to choose the hourly billing option while creating the automated desktop pool in Horizon admin console.
Script format:
aws workspaces create-workspaces --workspaces DirectoryId=<your-directory-id>,UserName="'[UNDEFINED]'",BundleId=<bundle-name-in workspace>,WorkspaceProperties={RunningMode=MANUAL},WorkspaceName=<name-of-your-choice>
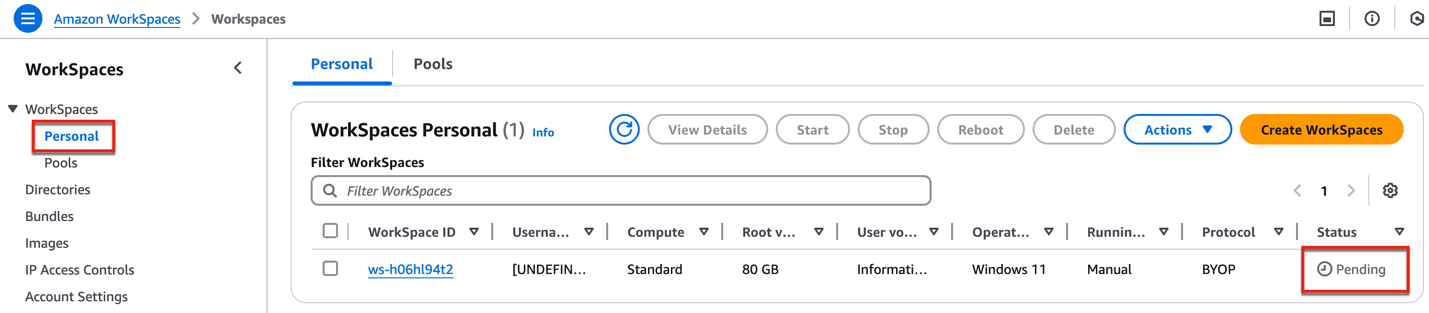
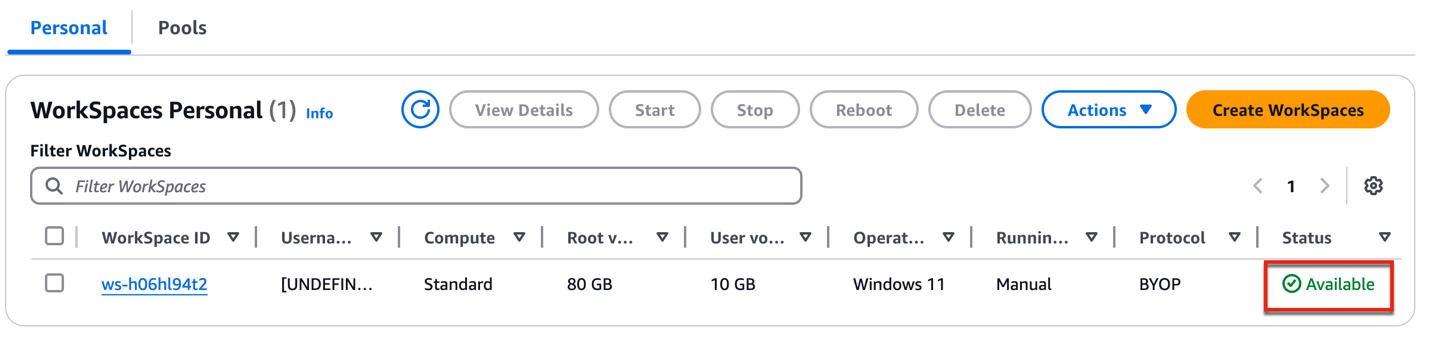
21. Navigate to Workspaces > [Personal] an confirm workspace (machine) creation is in pending stat. It may take some time until the status become [Available]. Once the status becomes [Available], note down the IP address allocated to workspace.
Installing Horizon Agent in Workspace machine
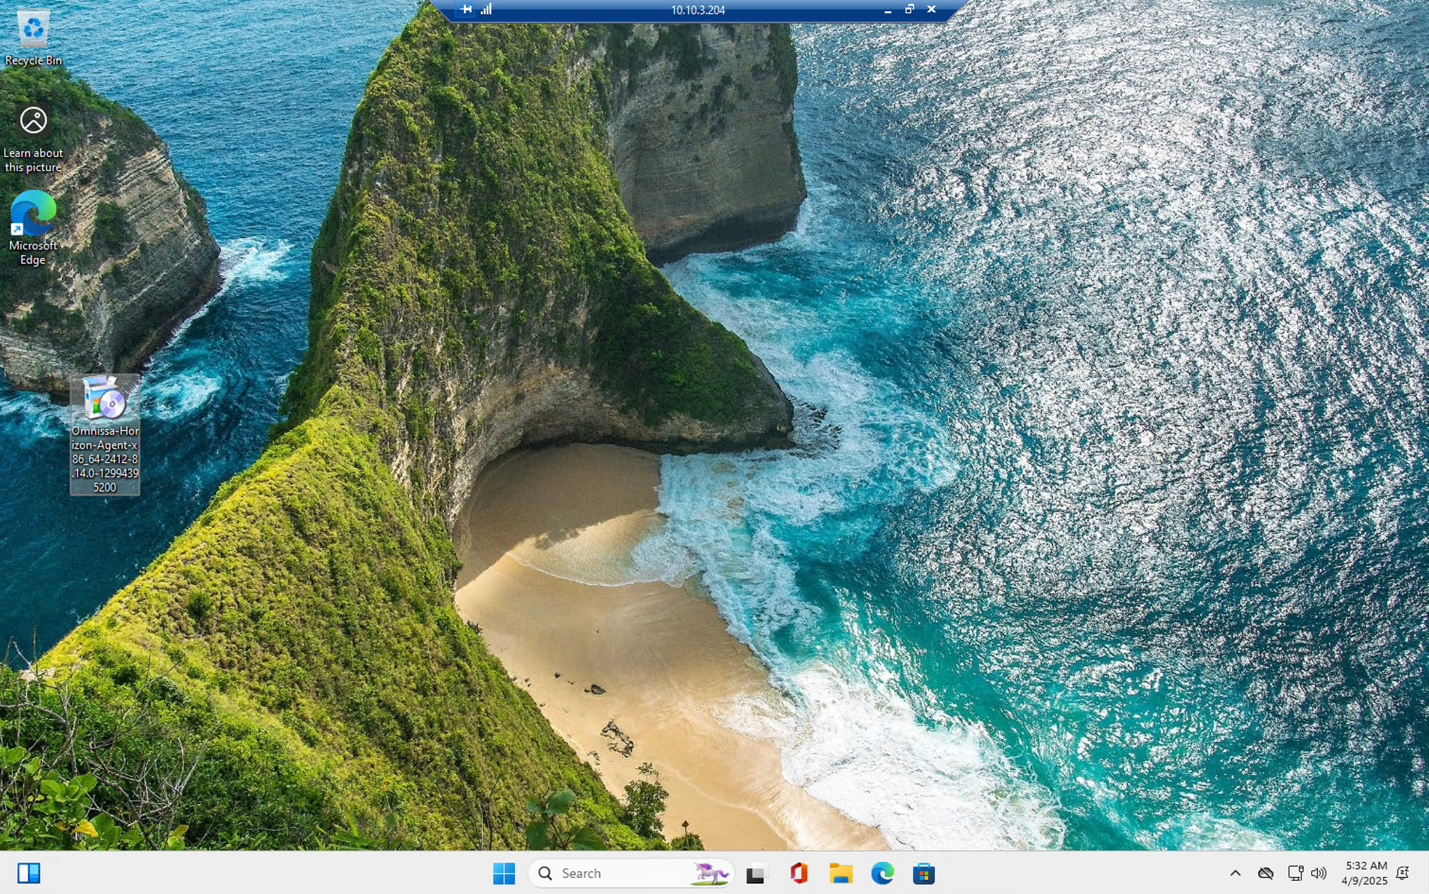
22. RDP to Workspace machine from one of the EC2 instance by using domain administrator credential > download or copy the Horizon 8 Agent installer to Workspace machine.
Note: To be able to RDP to Workspace machine you need to add the RDP rule on security group which is associated with bundle network interface. Follow this link for detail.
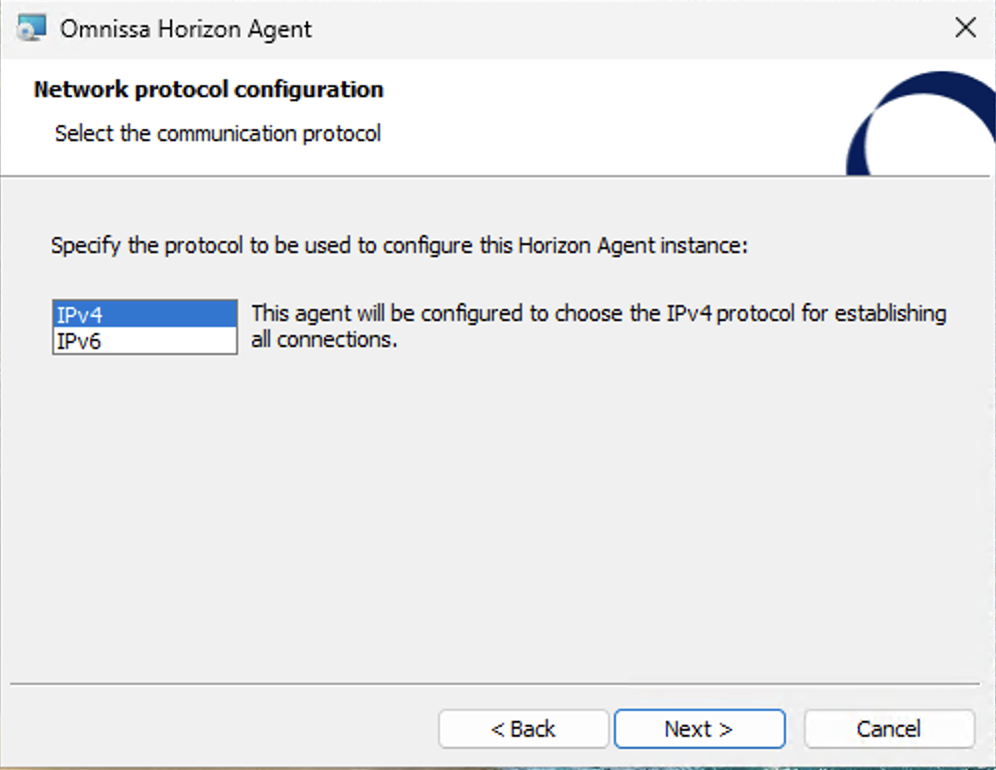
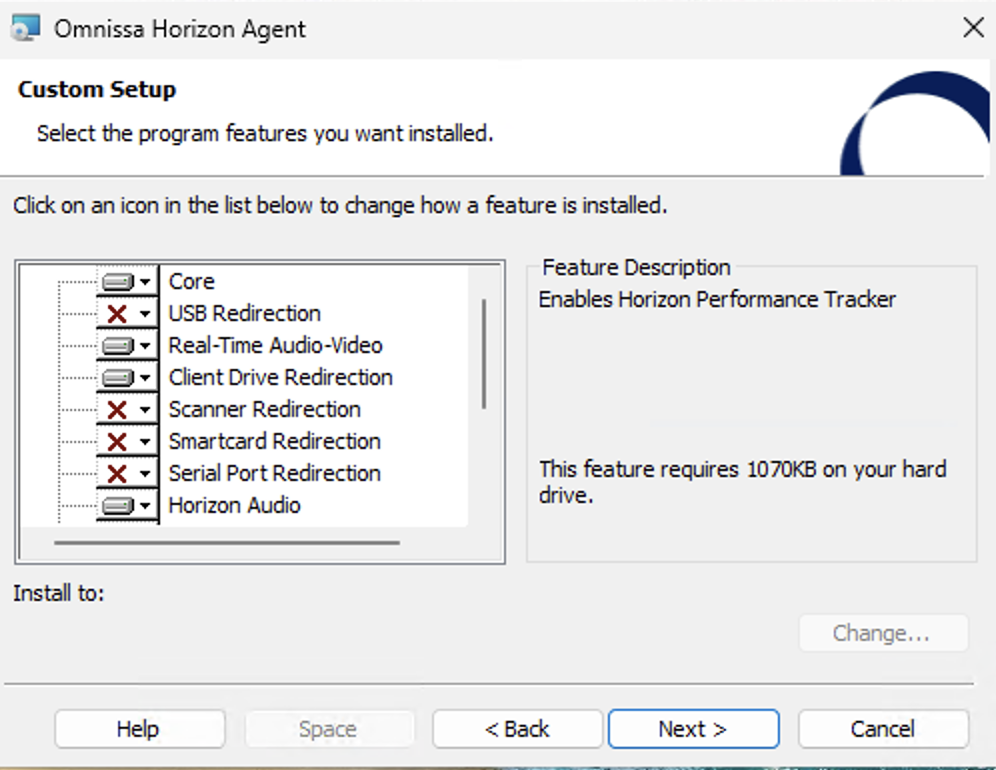
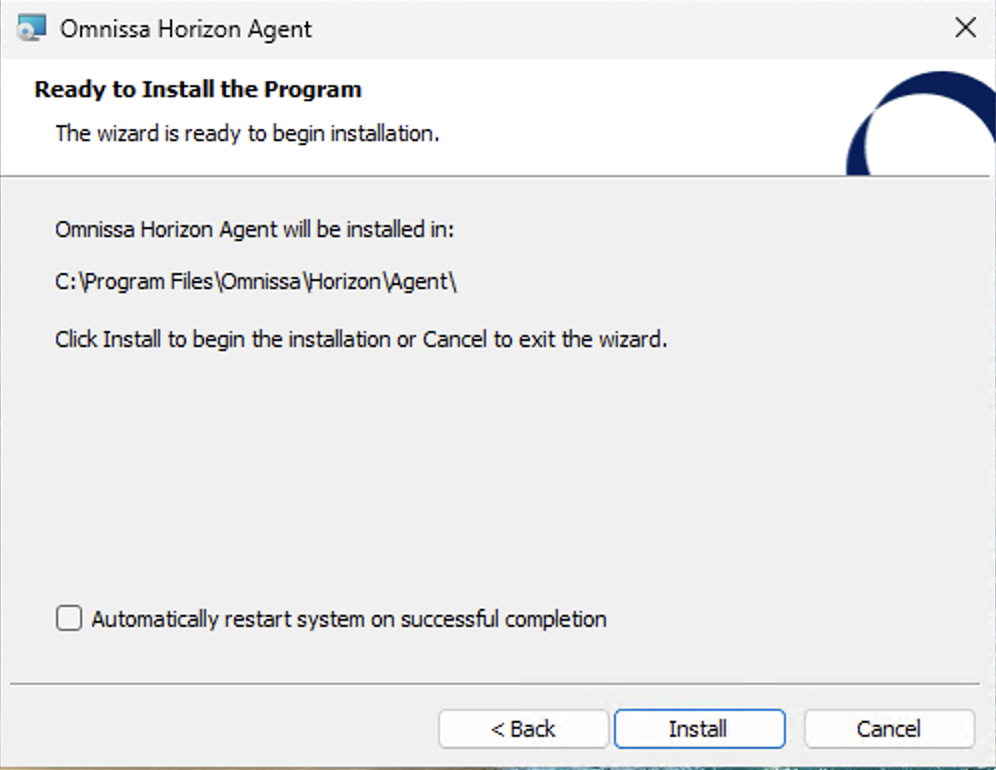
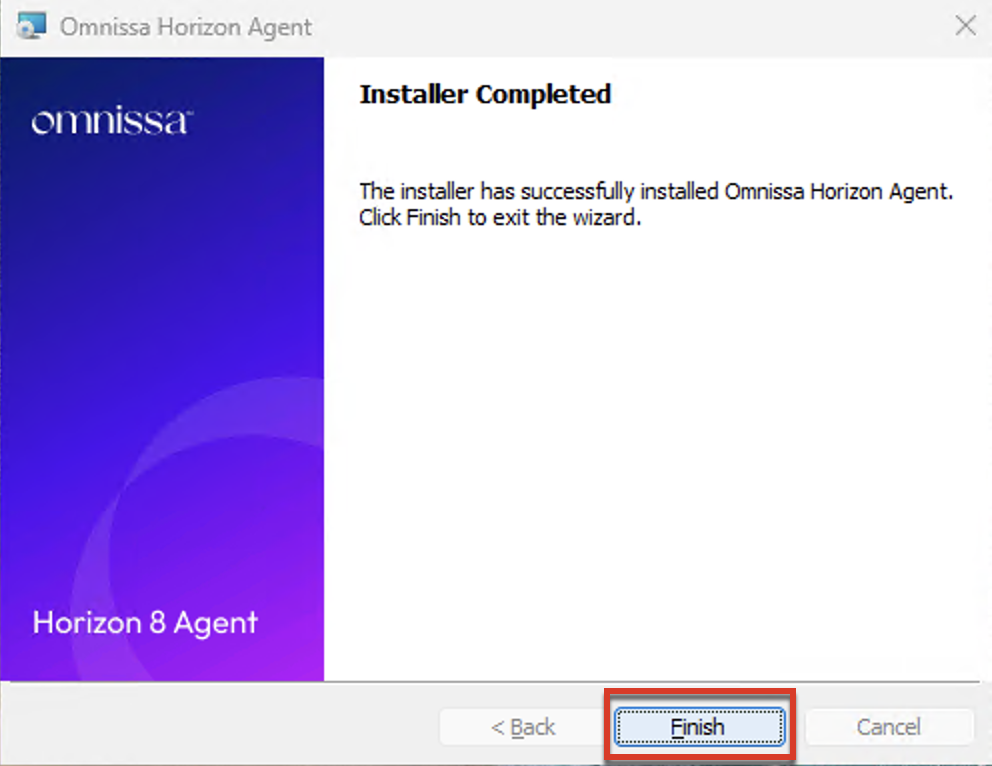
Execute the Horizon Agent installer and follow the on screen instructions.

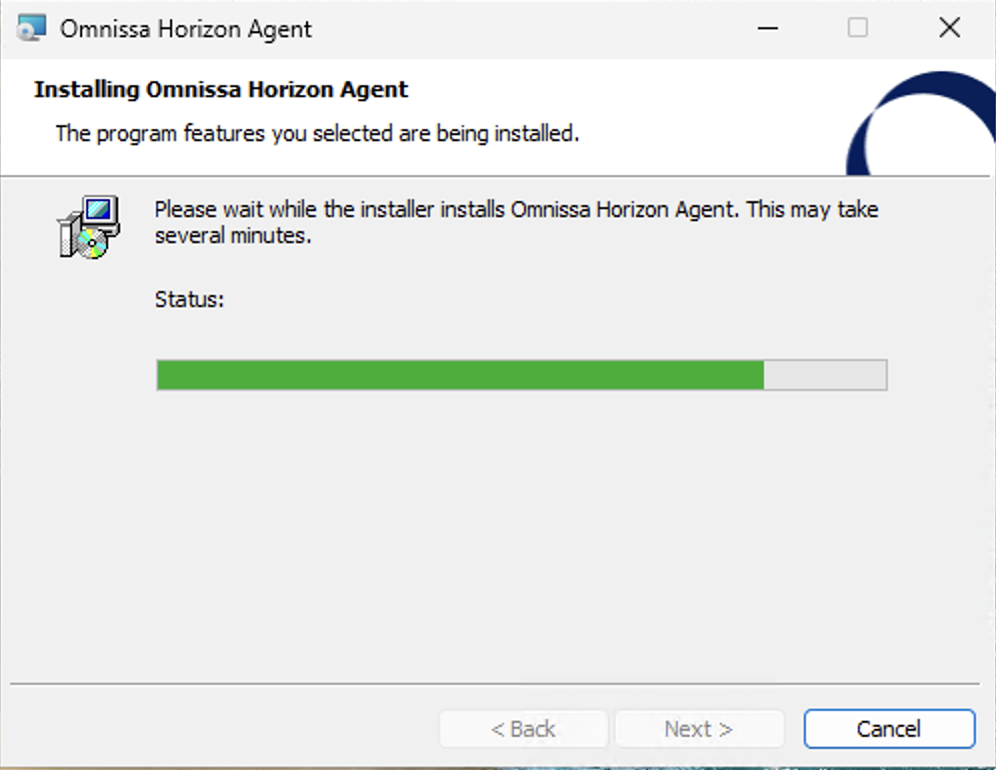
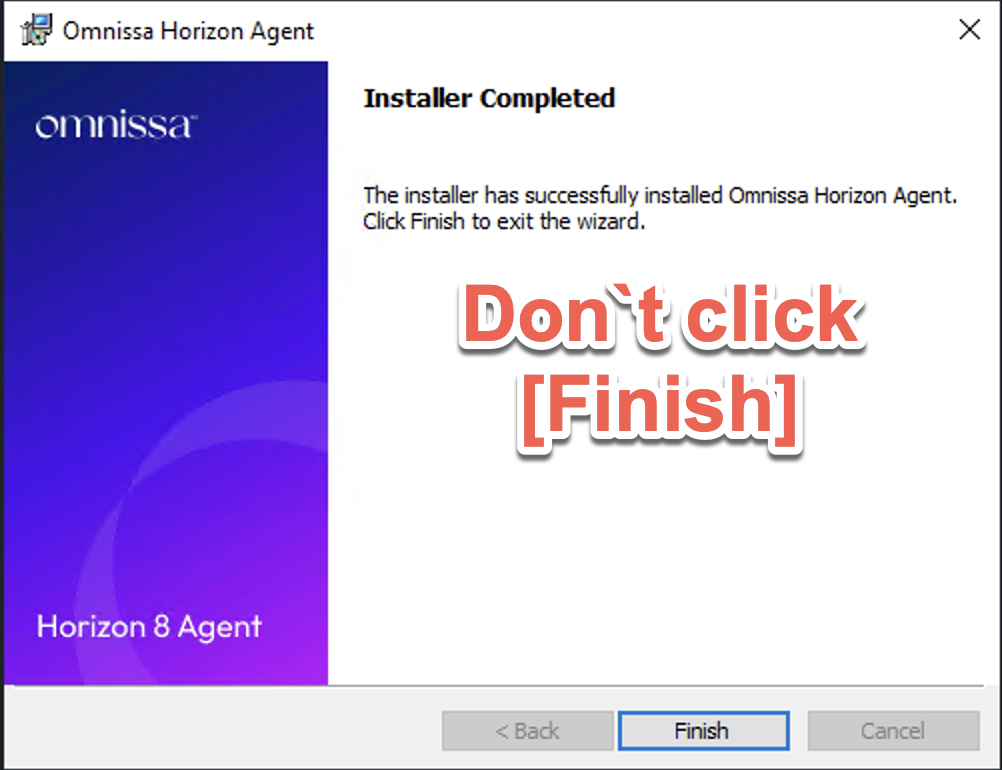
Note: To avoid the multiple reboots of image machine, I would recommend to complete the pairing (step 23) before clicking in [Finish] but if you accidentally selected [Finish], that’s ok too. You can continue to step-23 after the image reboot is completed.
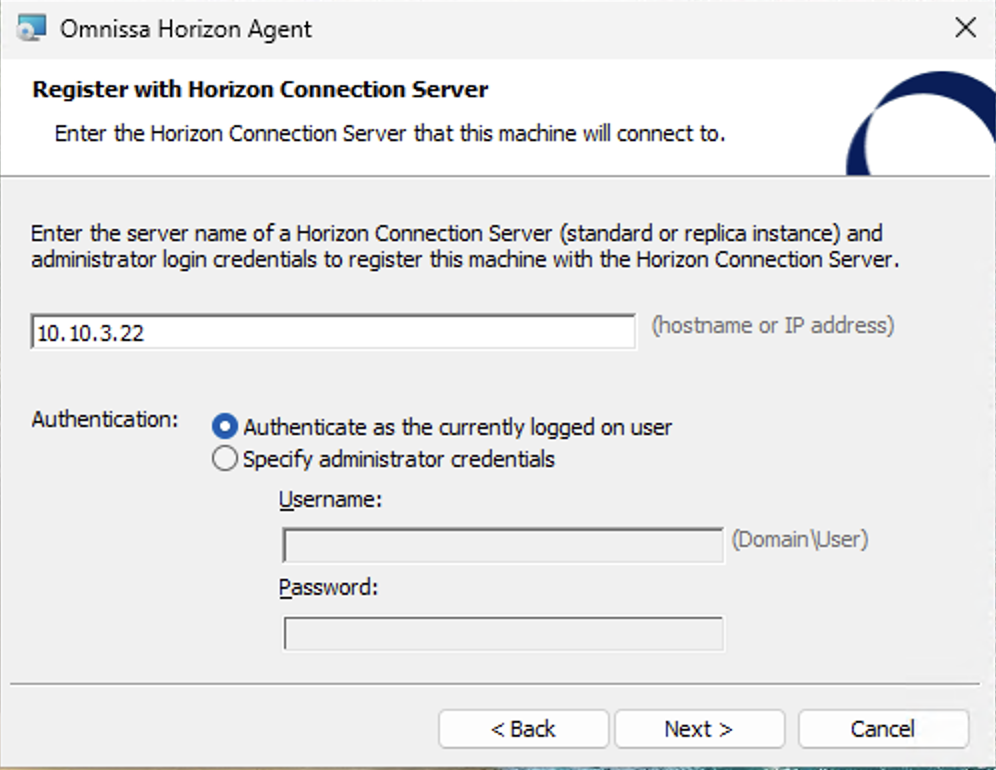
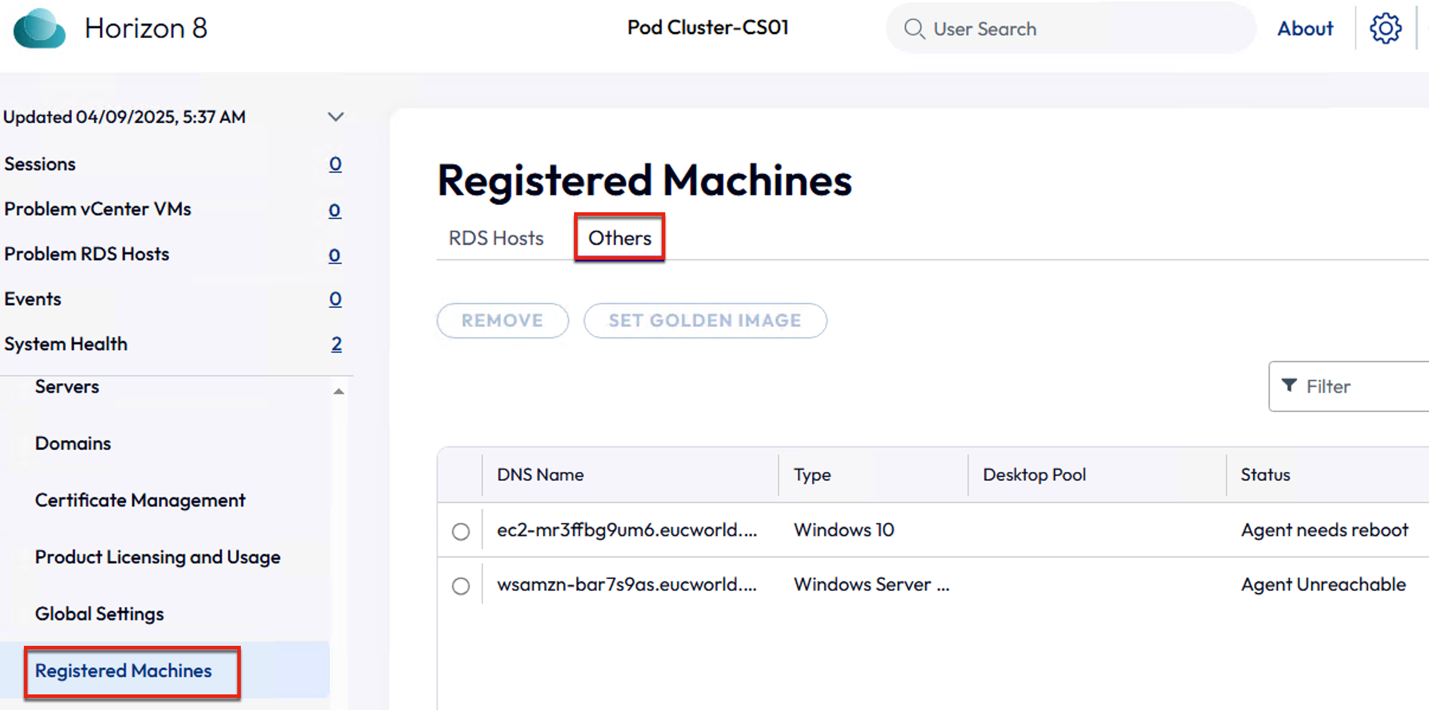
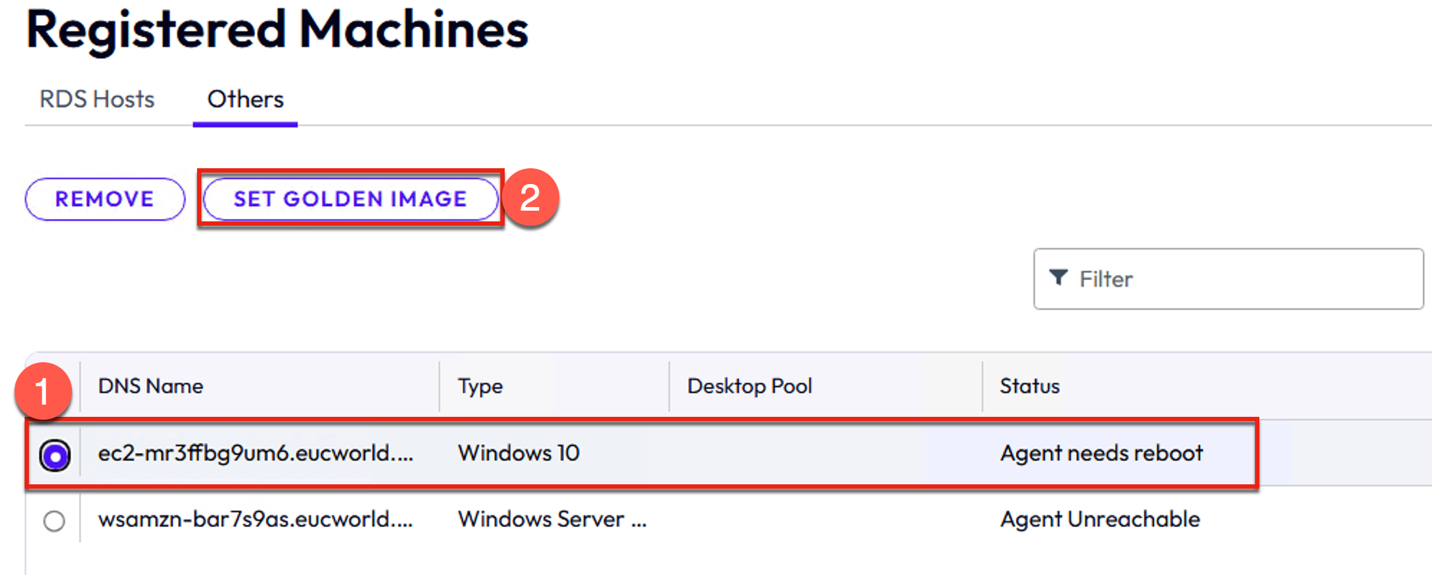
23. In Horizon8 administration console, navigate to [Registered Machines] > [Others] > you should see the workspace machine in the list. Select the [Workspace] name > [Set the Golden Image] > [OK]. This will initiate the agent paring with bundle machine and Horizon Connection Server.

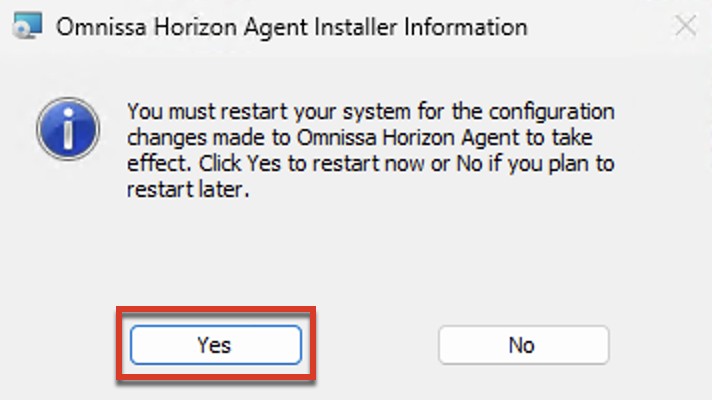
24. Return the Workspace machine RDP session and click [Finish] > [Yes]. Once the image is rebooted, again RDP to Workspace machine and check if the appropriate Horizon Agent is installed correctly.

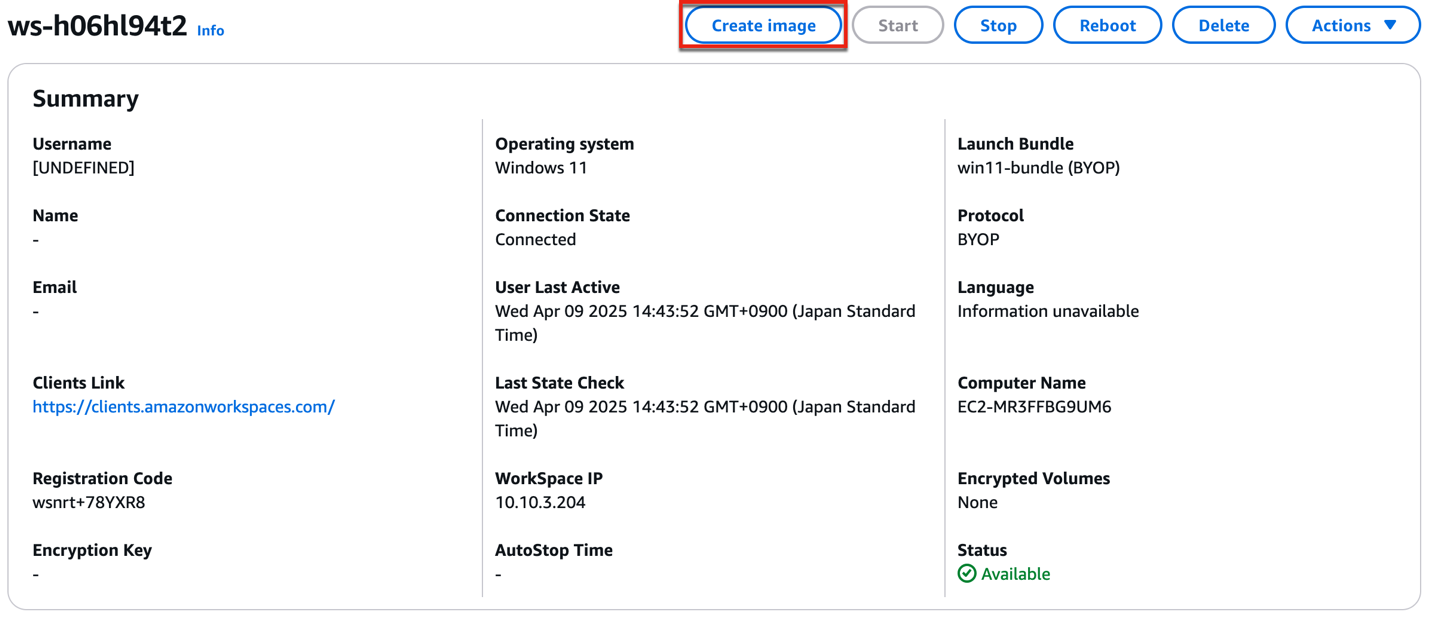
25. Navigate to Amazon WorkSpaces console > [Personal] > click on hyperlink of [Workspace Name] where you have installed the Horizon Agent > select [Create Image] > give the name of your choice to the image > [Create Image].


26. Confirm that the image is created successfully, and the status is [Available]. Image creation may take 30-40 minutes. If you can

Create a bundle for Horizon 8 pool consumption
27. Once the image creation is completed and status becomes [available], select [Image] > [Action] > [Create Bundle] > give the name of your choice to the bundle in [Bundle Name] > select [Bundle hardware type] and [Storage] as you need > select [Create Bundle].
Note: This is the bundle we use to create the desktops pool in Horizon 8.

Create a pool in Horizon 8 admin console
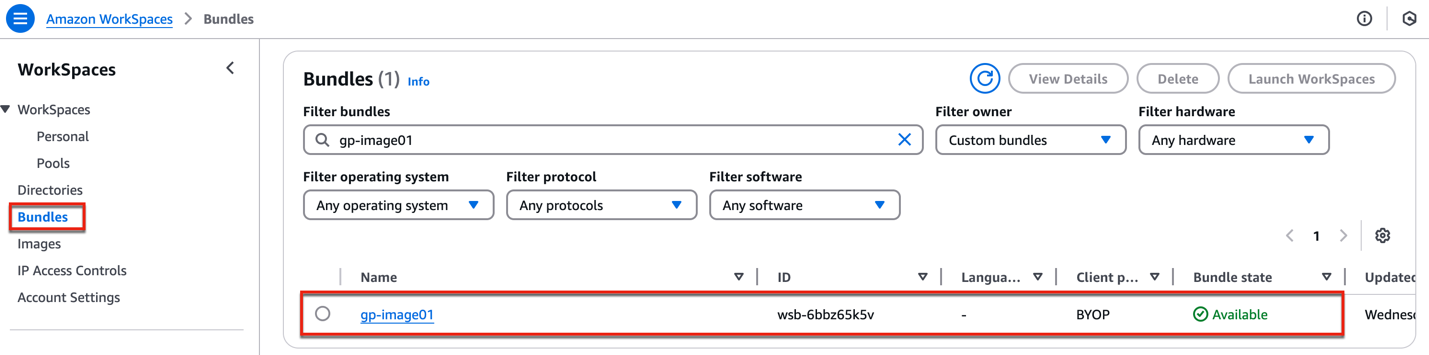
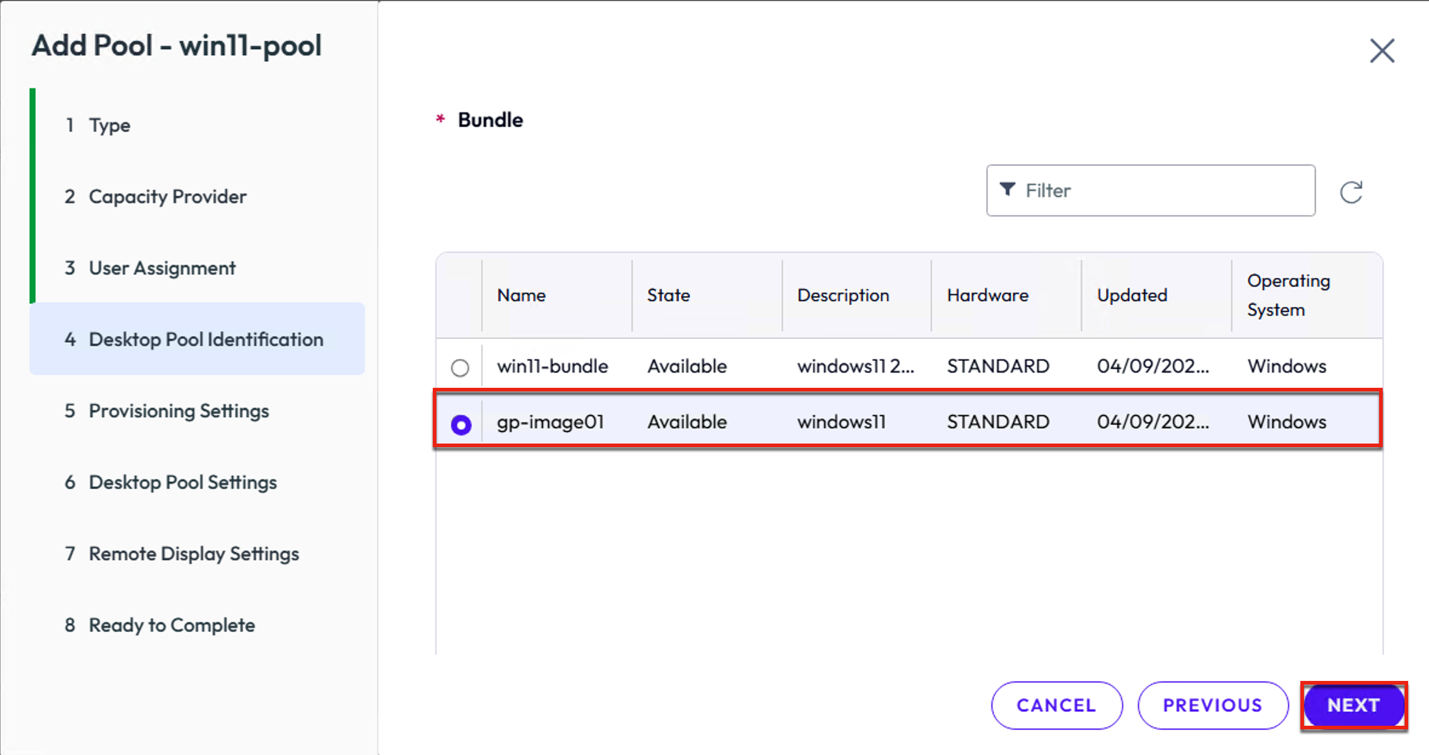
In previous step, we have created a bundle name “gp-image01”. Now we can create the desktops pool with this bundle.
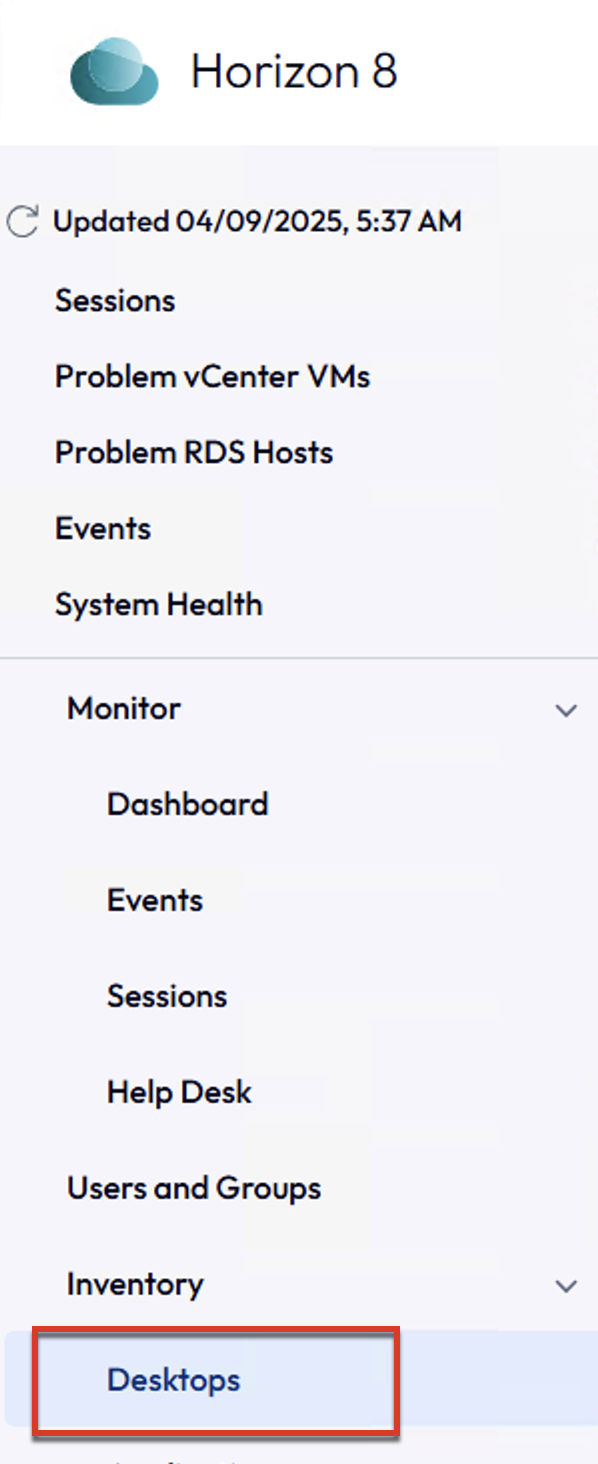
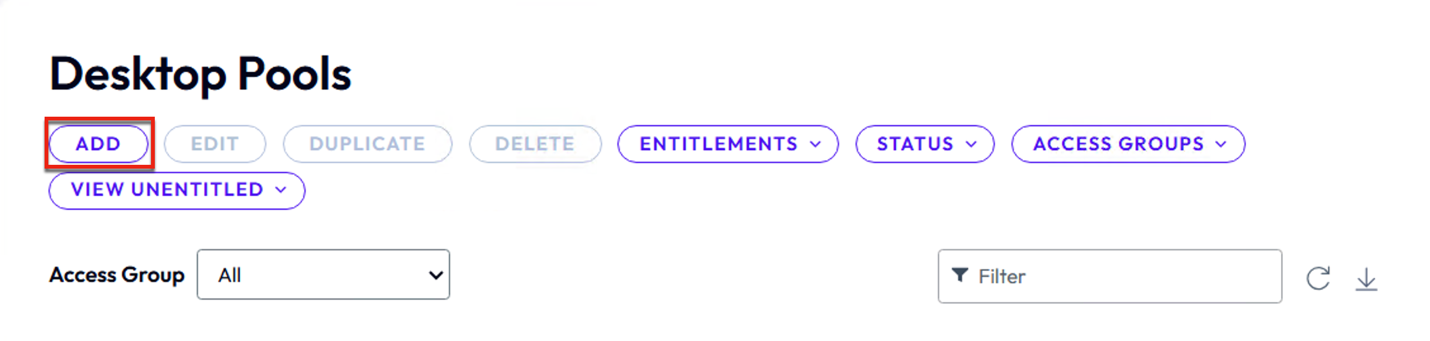
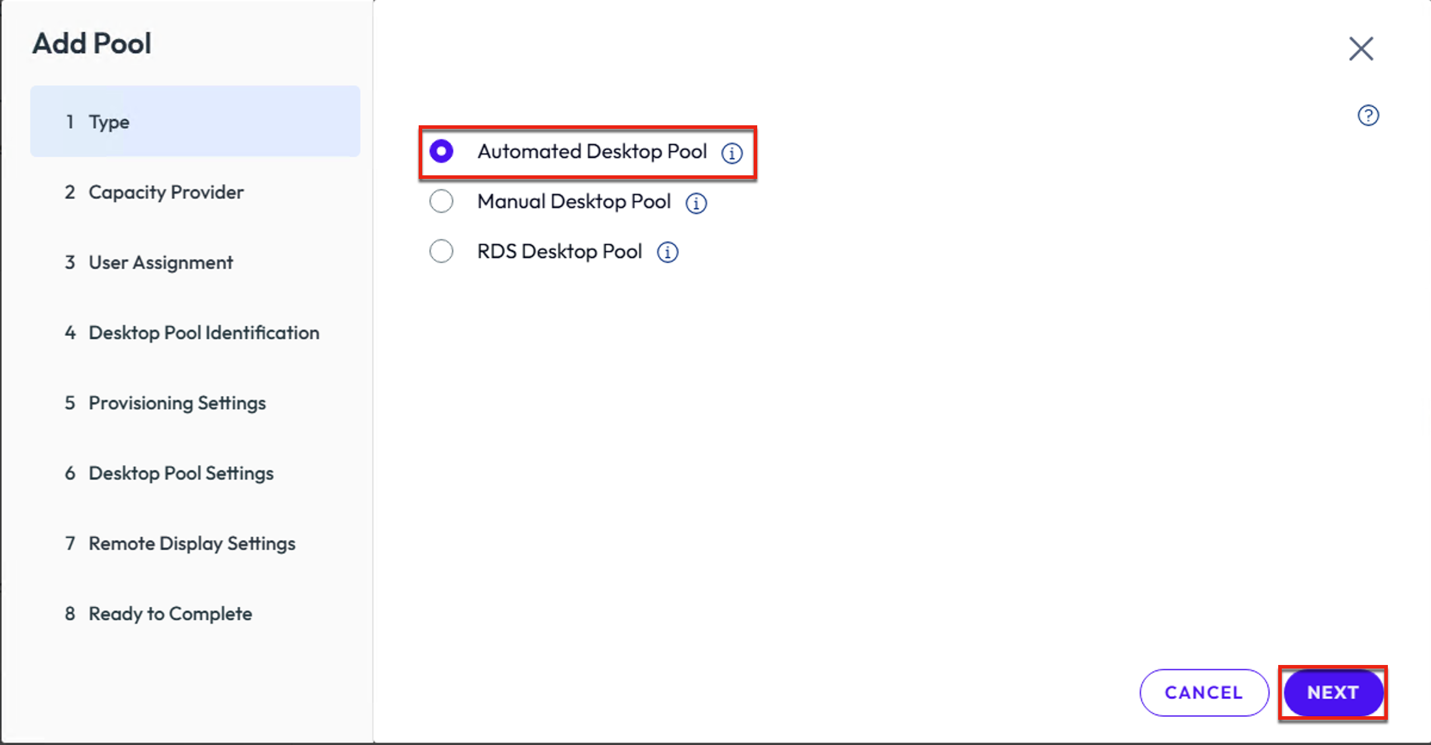
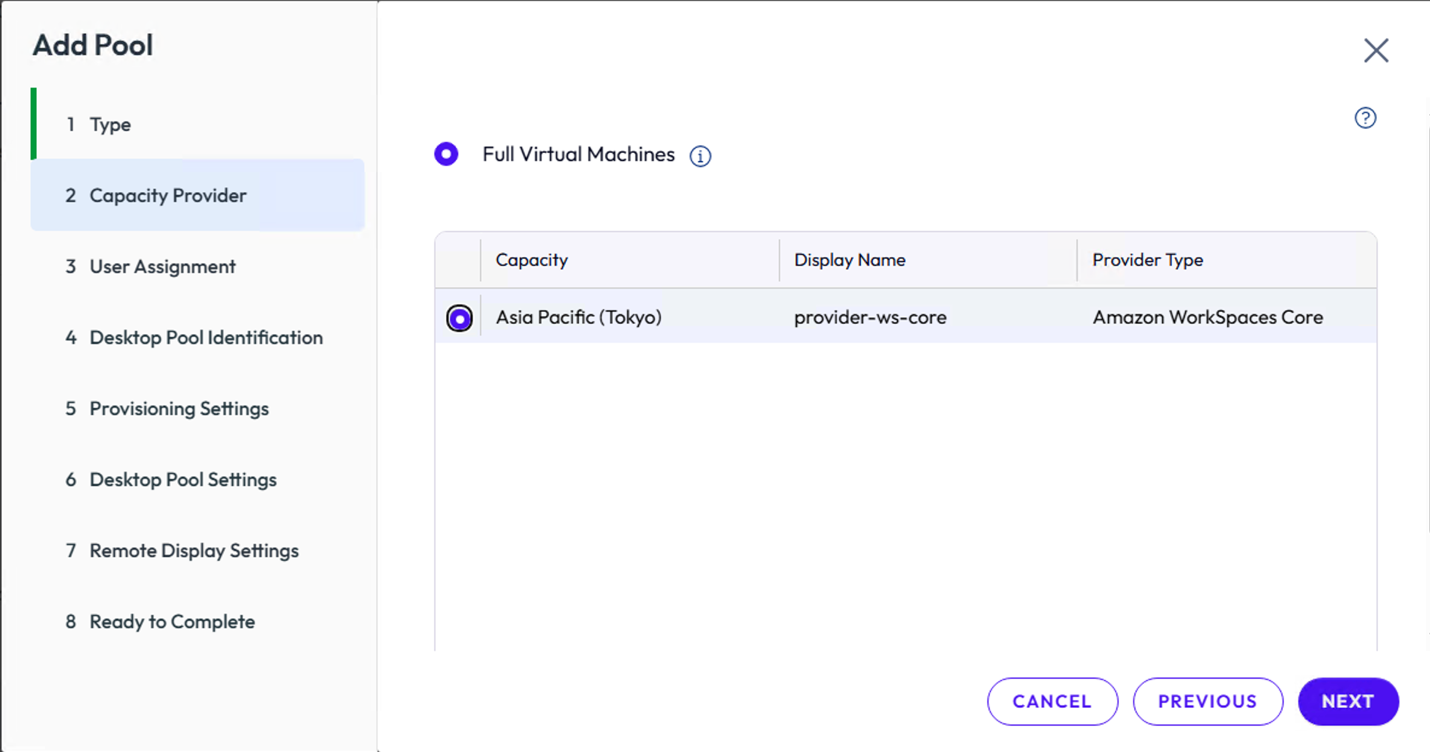
28. Login to Horizon 8 admin console > [Desktops] > [Add] > [Automated Desktop Pool] > [Next].
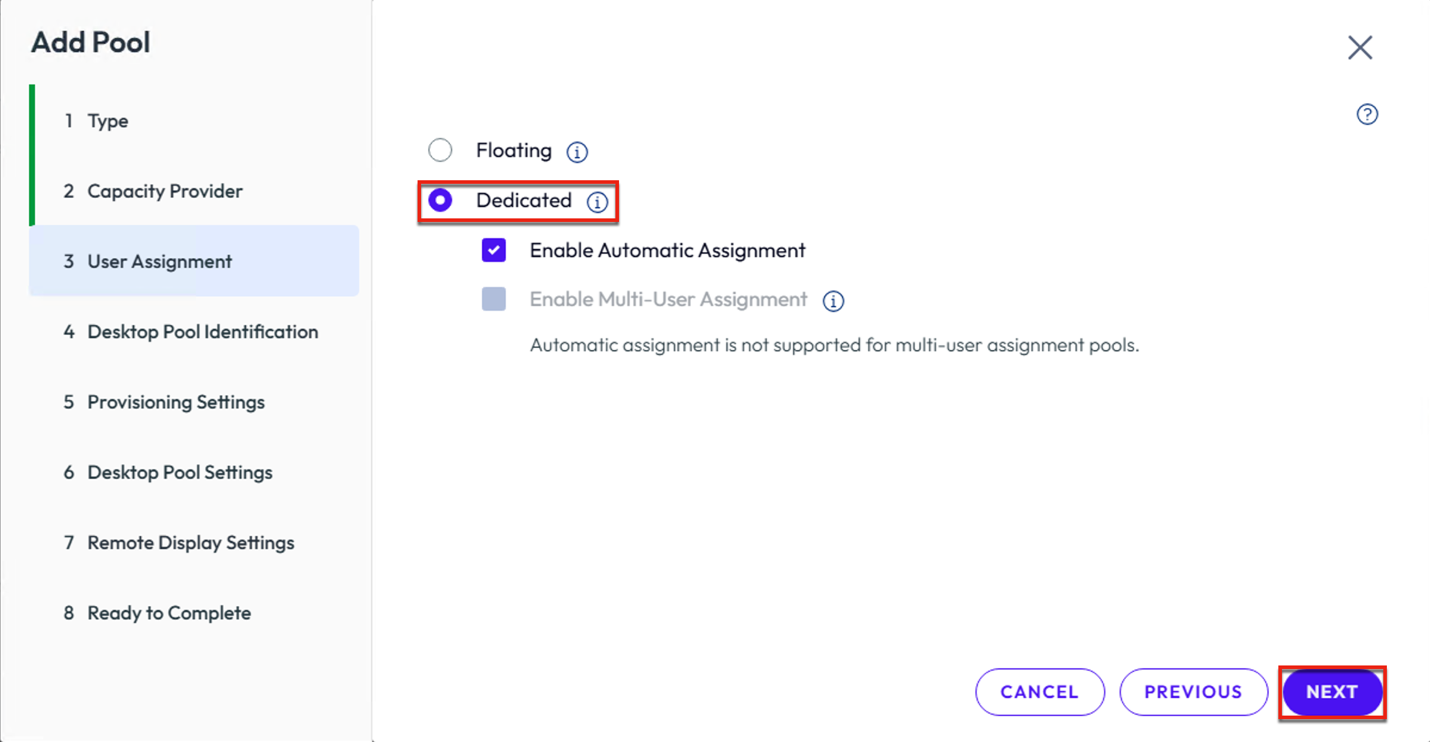
29. Select the Amazon WorkSpaces Core capacity provider which have registered during the installation and configuration (part-I step#29,) > [Next] > set the assignment type as [Floating] or [Dedicated]. I am selection dedicated for my testing purpose.
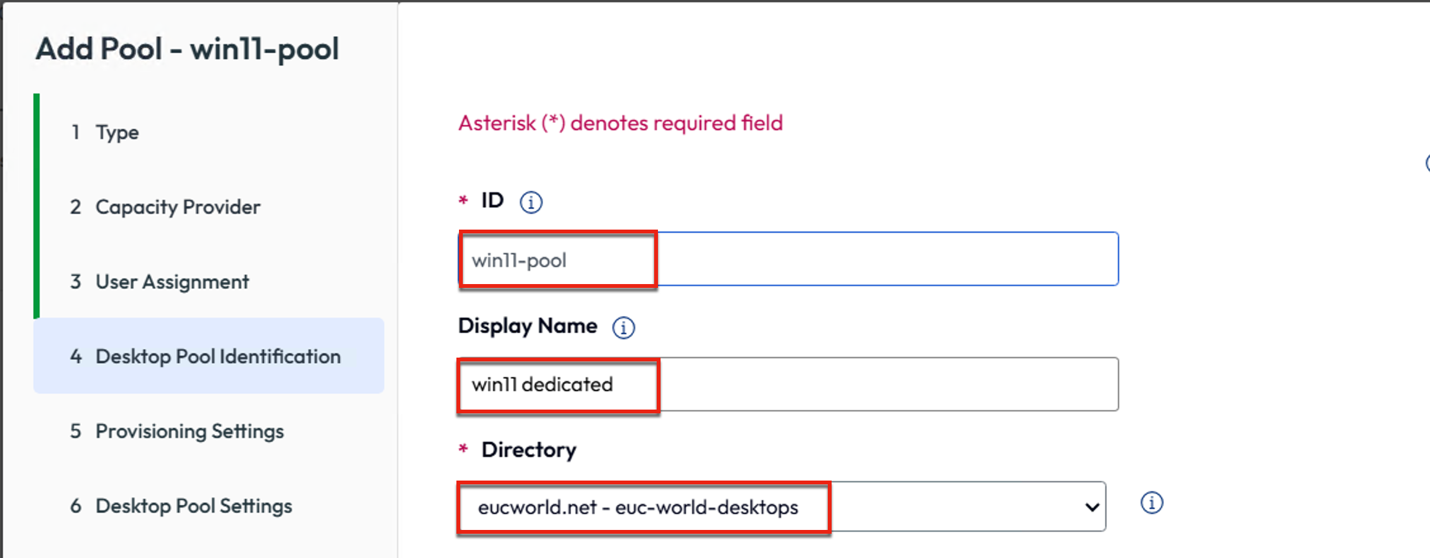
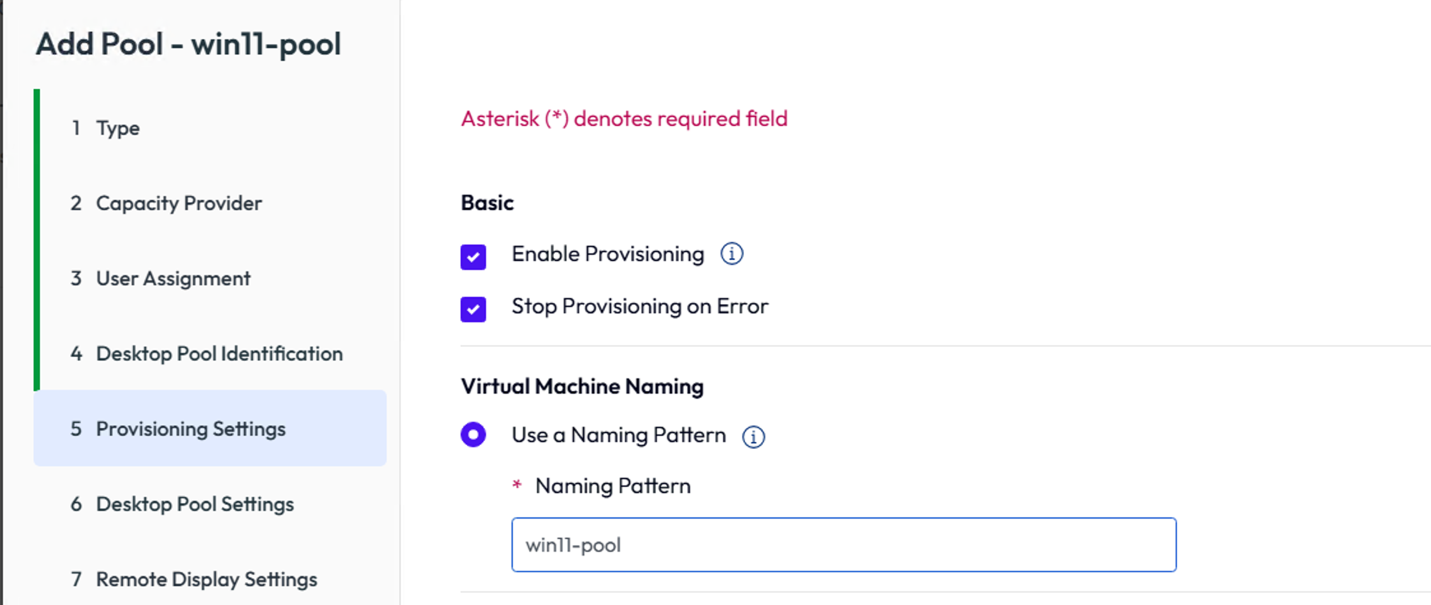
30. Define the [Pool ID] > select the [Directory] and [Bundle] which you have created in Amazon WorkSpaces.
Note: Since we are creating the Windows 11 BYOL pool, the directory we are going to choose here MUST have dedicated workspace BYOL associated/enabled if you have multiple directories in your setup.
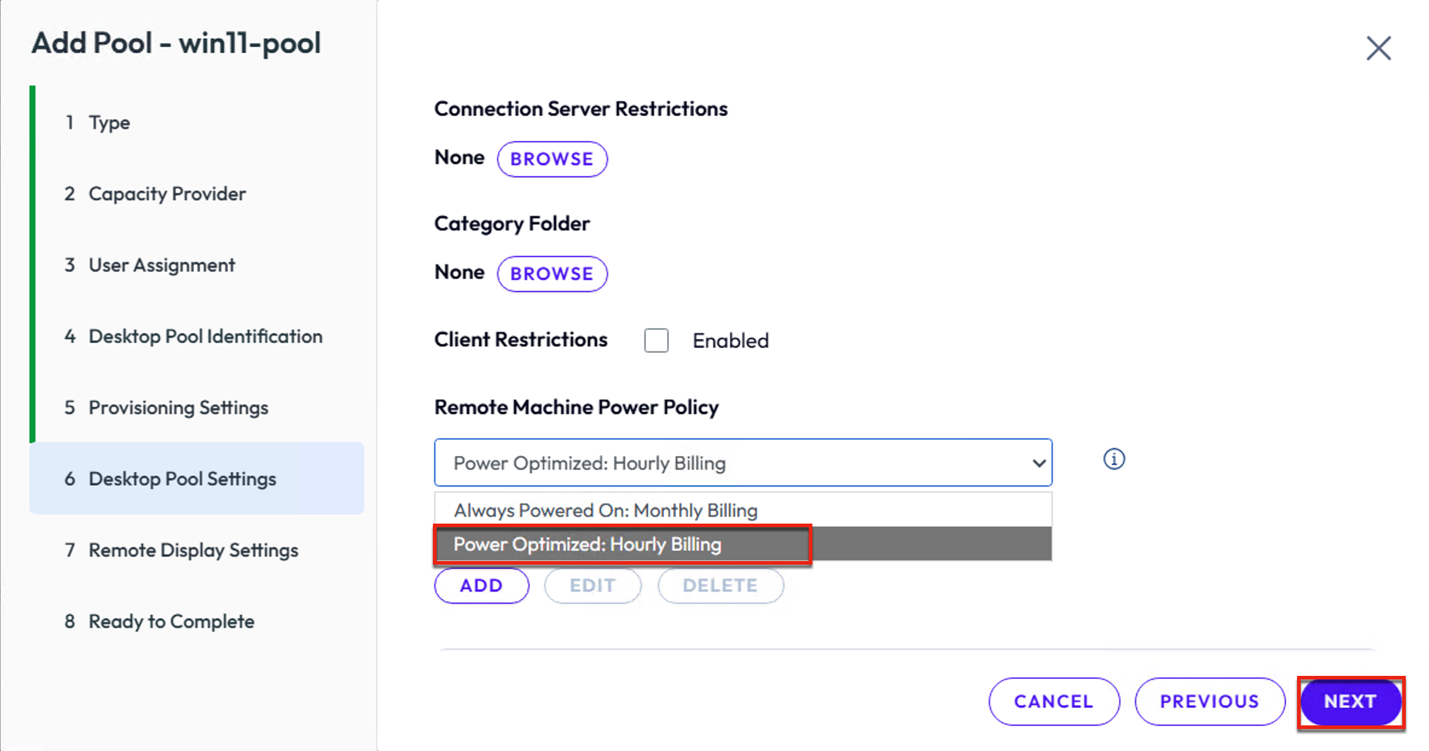
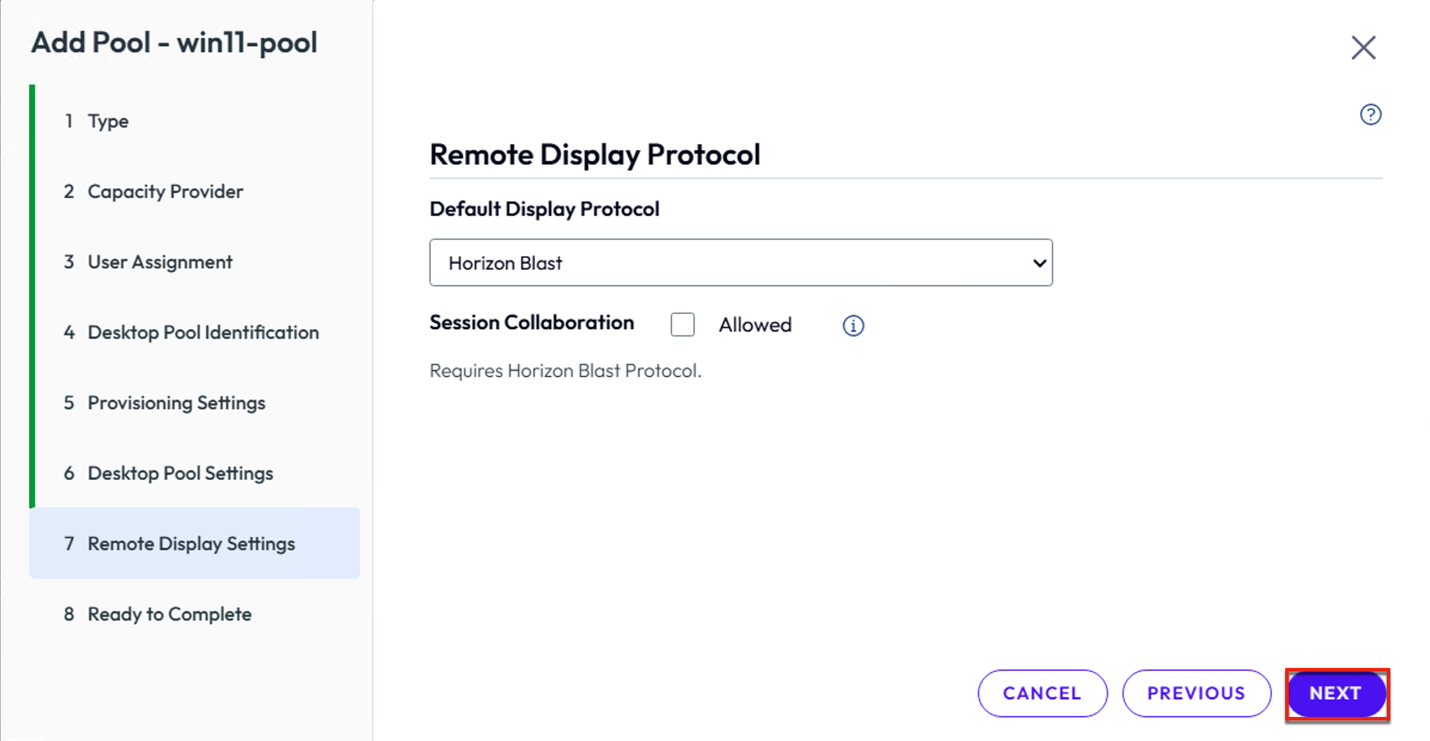
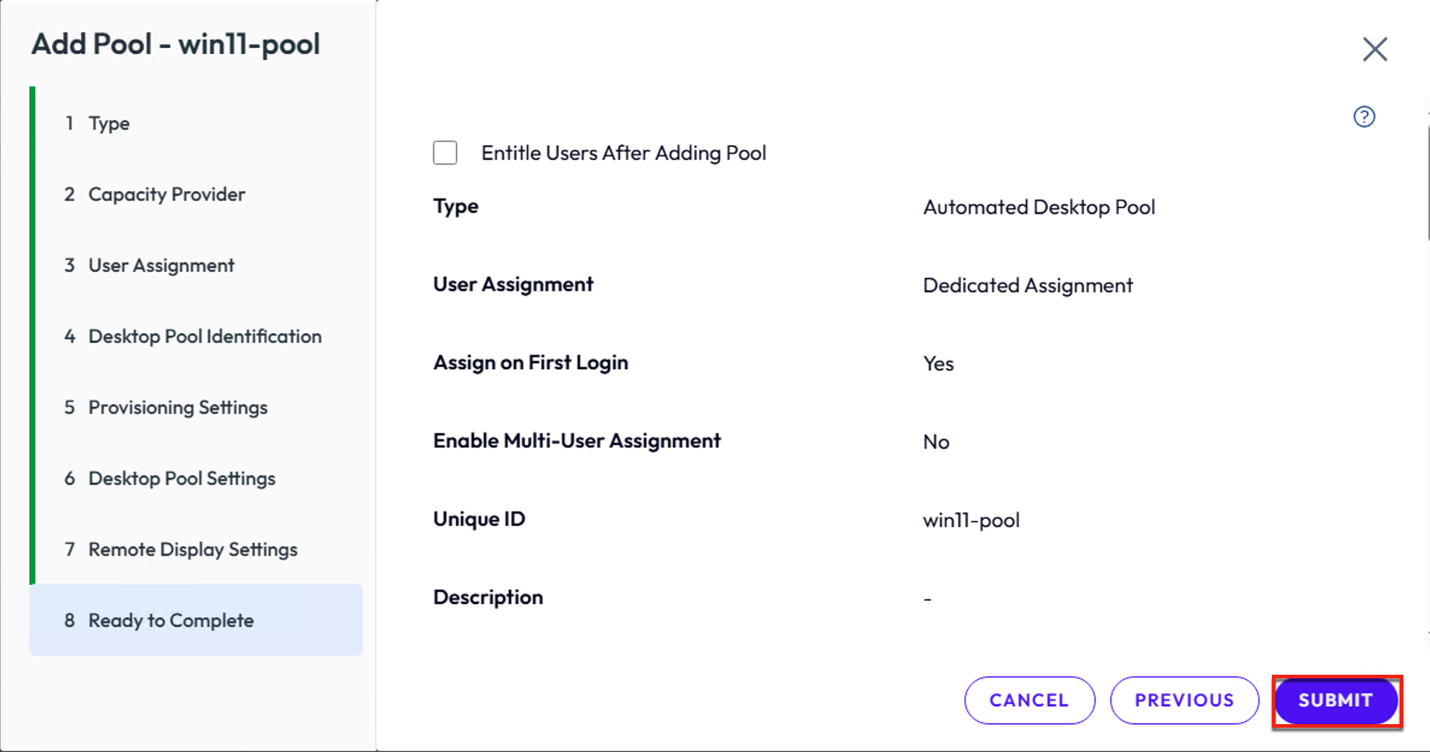
32. Select [Monthly Billing] or [Hourly Billing] as per your requirement. I am selecting [Power Optimised Hourly Billing] > [Next] > [Submit].
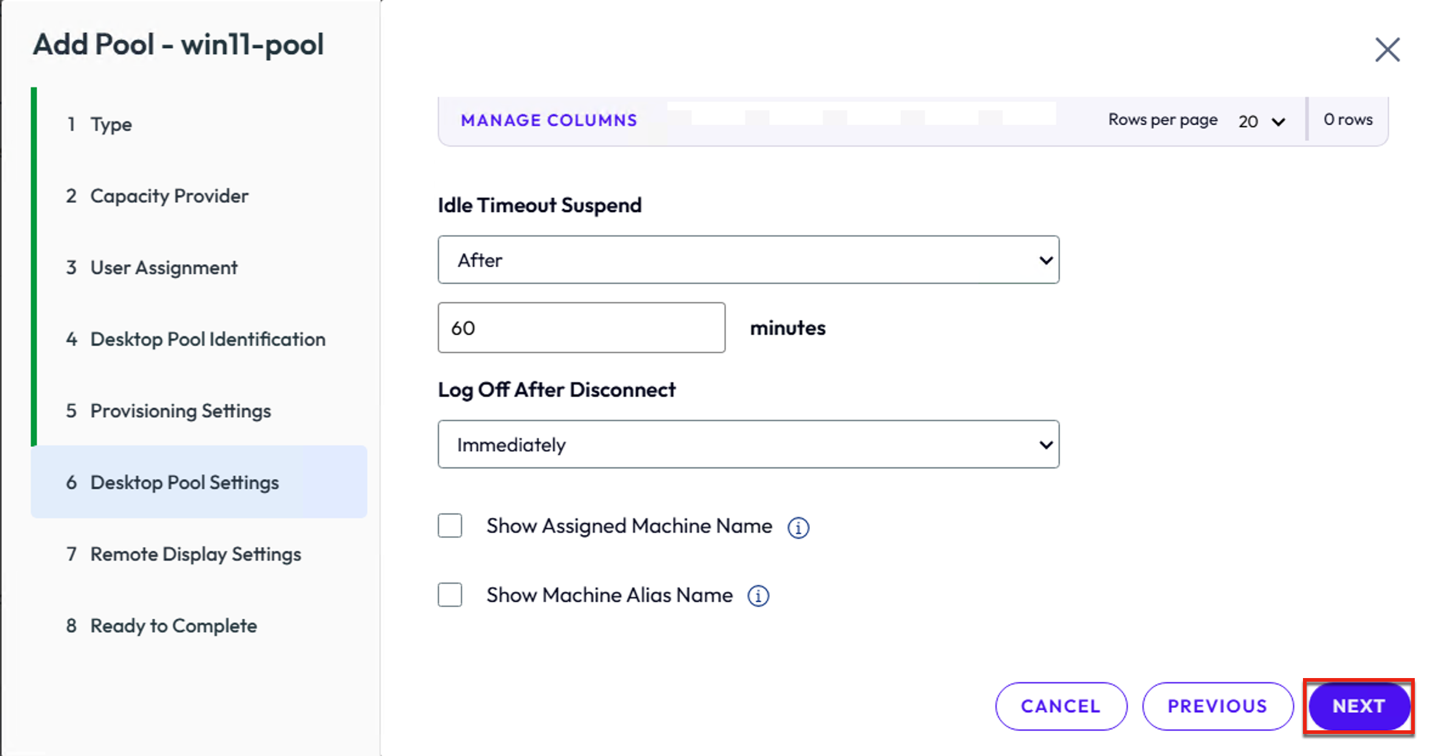
Note: You can set the [Idle timeout suspend] as per your use-case and requirement.
33. Pool creation task has started. This may take 10-12 mins until the Horizon agent status becomes [Available] and ready for consumption.
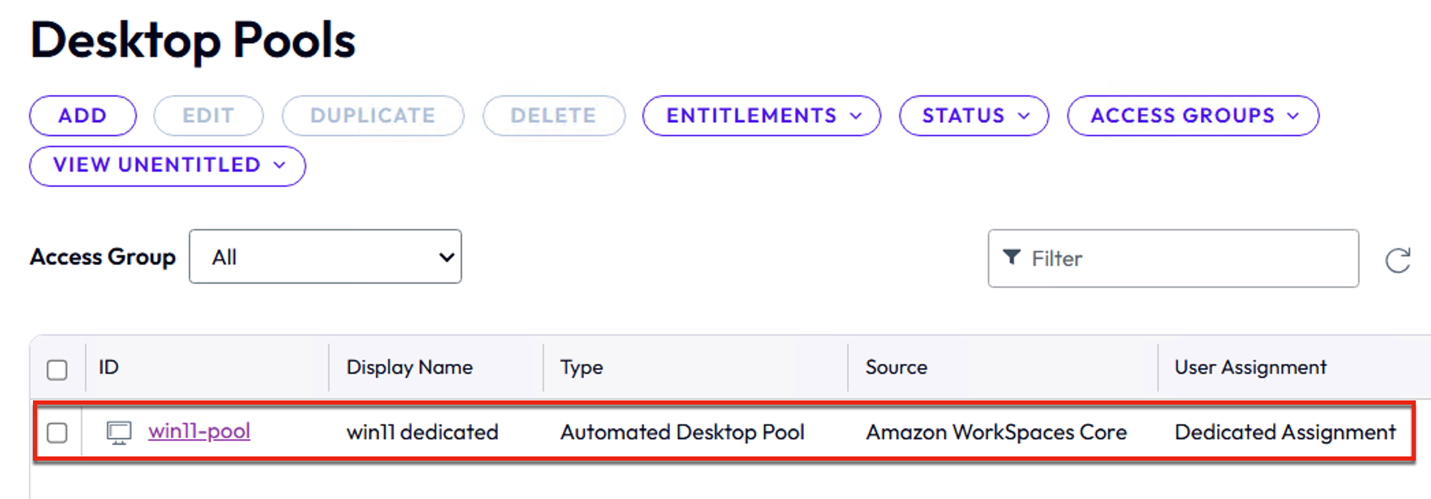
34. Click on hyperlink of [Pool Name] > [Machines] > Agent status is not showing as [available].
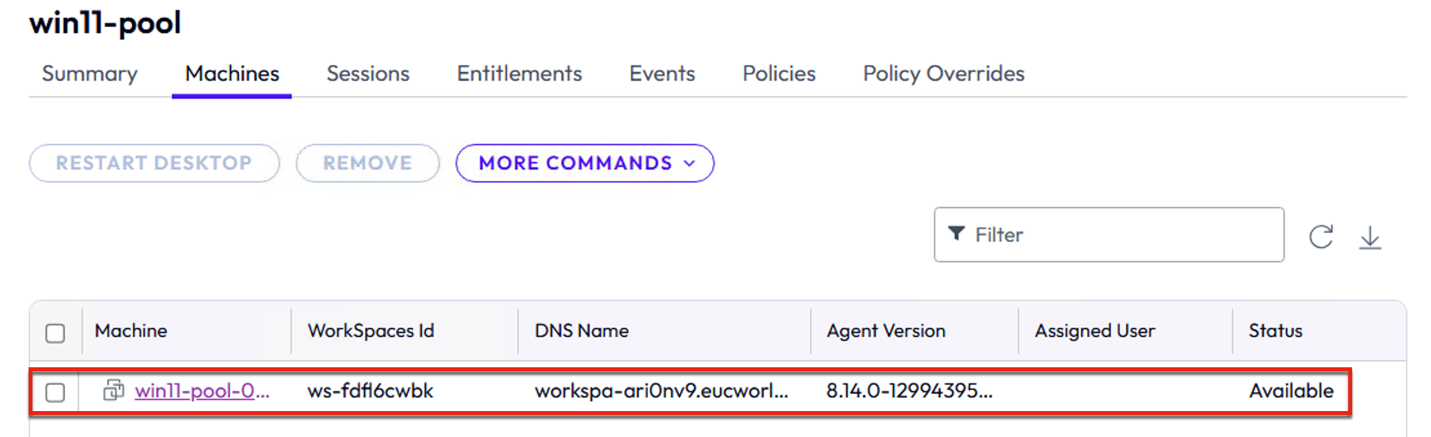
![]()