Overview
This post provides comprehensive requirements and step-by-step instructions for configuring Microsoft Entra ID Single Sign-On (SSO) in Omnissa Horizon Cloud Service for Entra ID-joined desktop and application pools.
Introduction
Omnissa Inc. has recently announced support for Entra ID SSO for Entra ID-joined desktops and application pools in Horizon Cloud Service for Azure provider-based Edge deployments. This feature enables end-to-end single sign-on for virtual desktops using Microsoft Entra ID, streamlining authentication and enhancing user experience.
Prerequisites
Omnissa Horizon Client Requirements
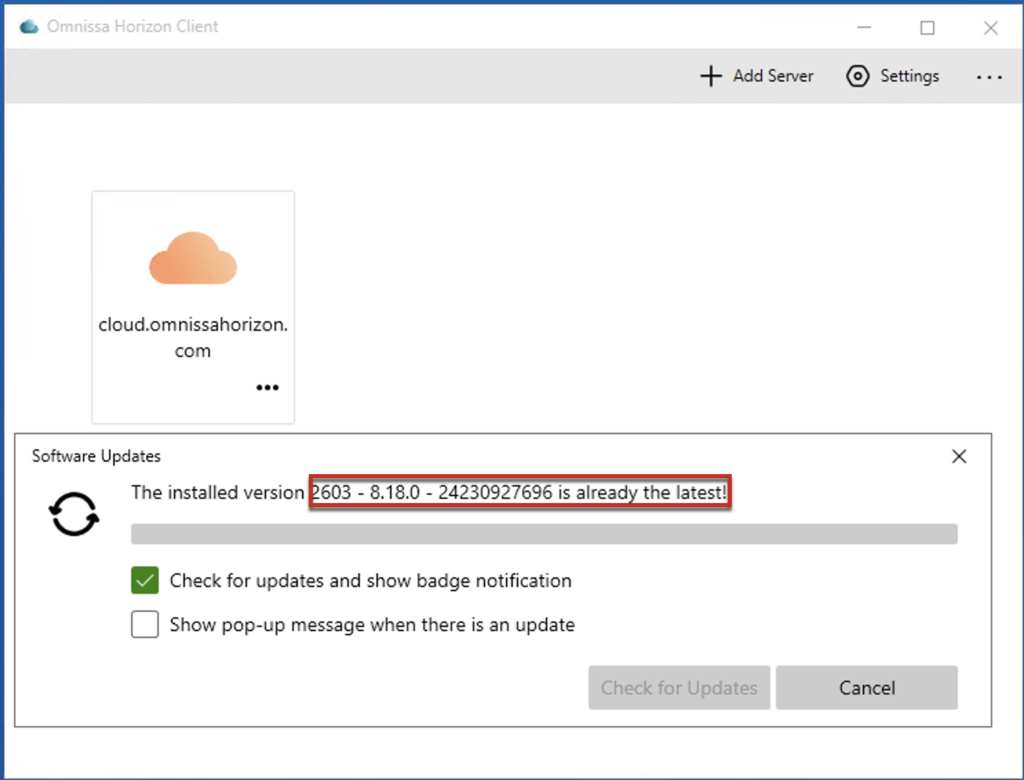
- Horizon Client version 2512.x or later (Windows Client)
- The client host OS must meet the following minimum versions:
- Windows 11 24H2 Enterprise single session with the October 2025 Security Cumulative Update or later
- Windows Server 2025 with the January 2026 Security Cumulative Update or later
Microsoft Entra ID and Azure Subscription Requirements
- Microsoft Entra ID tenant
- Azure Subscription associated with the same Entra ID tenant
- Microsoft Entra ID P1 License
Licensing Note: The Entra ID tenant requires a P1 license to create and configure trusted device groups for Seamless SSO. If this requirement is not satisfied, users will receive a one-time consent prompt during their first launch attempt.
Service Principal and Permissions
- The existing service principal (app registration) used for Edge deployment can be utilized; however, creating a new one is recommended. Once Entra ID SSO is configured, you can delete the service principal or revoke the permissions.
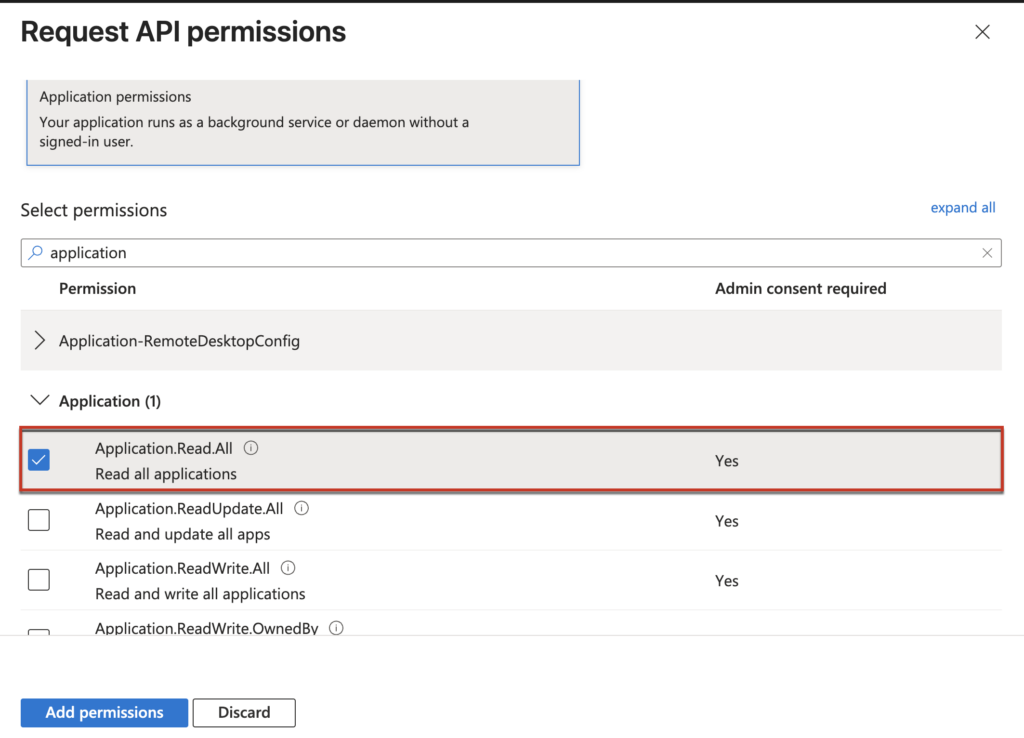
- Add the following two permissions to the Service Principal that is used for Entra ID SSO configuration:
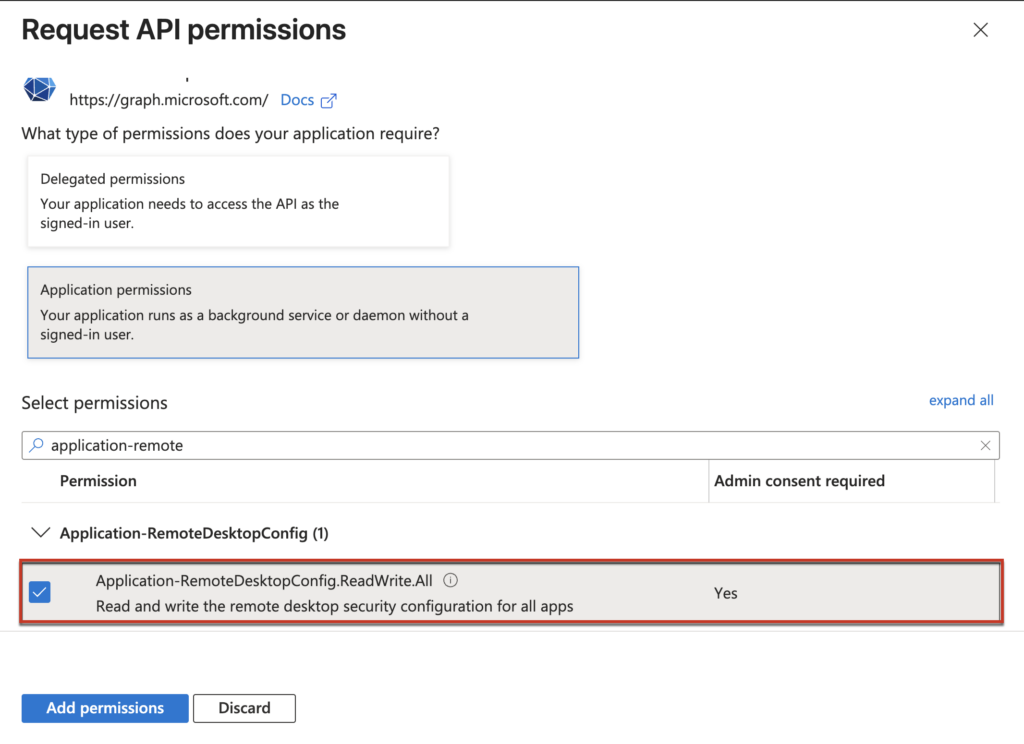
- Application-RemoteDesktopConfig.ReadWrite.All
- Application.Read.All
Horizon Cloud Service on Azure Provider
- Horizon Cloud Service Next-Gen tenant with valid license
- Configured Microsoft Entra ID user identity in the HCS admin portal
- Edge/Unified Access Gateways deployed and running (the both standard and advanced UAG modes are supported)
Important Note: This feature is not enabled by default on all HCS tenants as of April 2026. You will need to contact the Omnissa Horizon Cloud Service team to enable the feature flag before proceeding with configuration.
Horizon Agent , Pool and Pool Group and Requirements
- Single-session and multi-session of Windows10/Windows 11 guest operating systems
- Published applications with Windows10/Windows 11 guest operating systems
- Omnissa Horizon Agent version 25.4.0 or later
- Pools provisioned with machine identity configured as Microsoft Entra ID
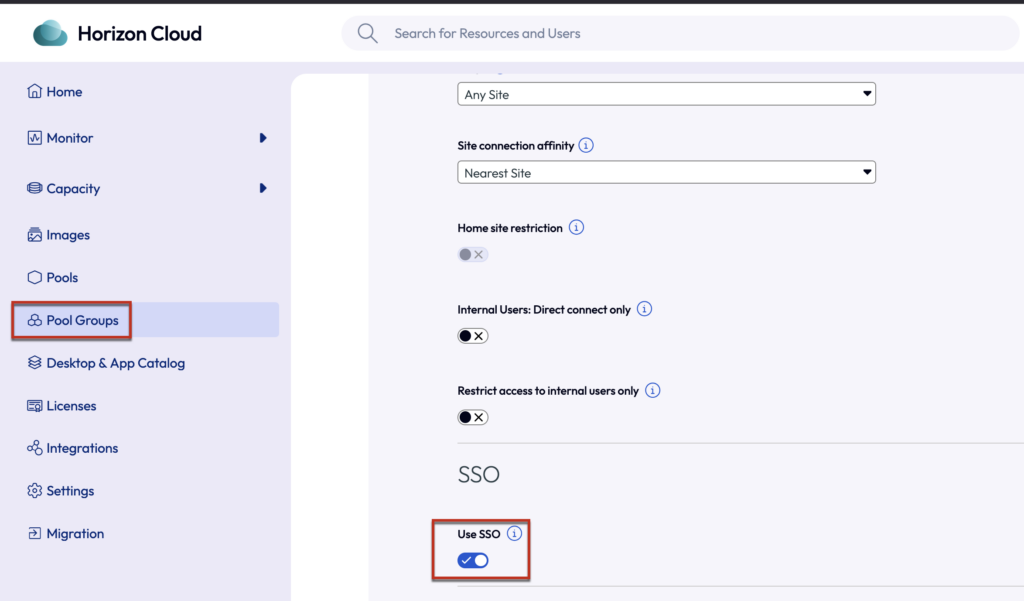
- TrueSSO is turned-on in Pool Group under policies section
List of the tasks:
- Create an Azure Service Principal
- Create a Trusted Device Group and users group
- Configure Entra ID SSO with Omnissa provided powershell script
- Verification of Entra ID SSO (watch the video clip at the bottom of this post)
- Connect to desktop pool and verify Entra ID SSO
- Connect to publish application and verify Entra ID SSO
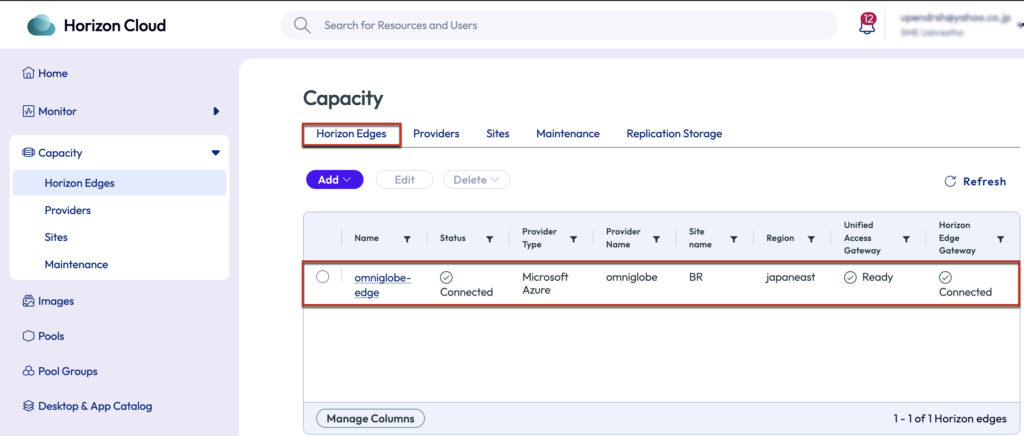
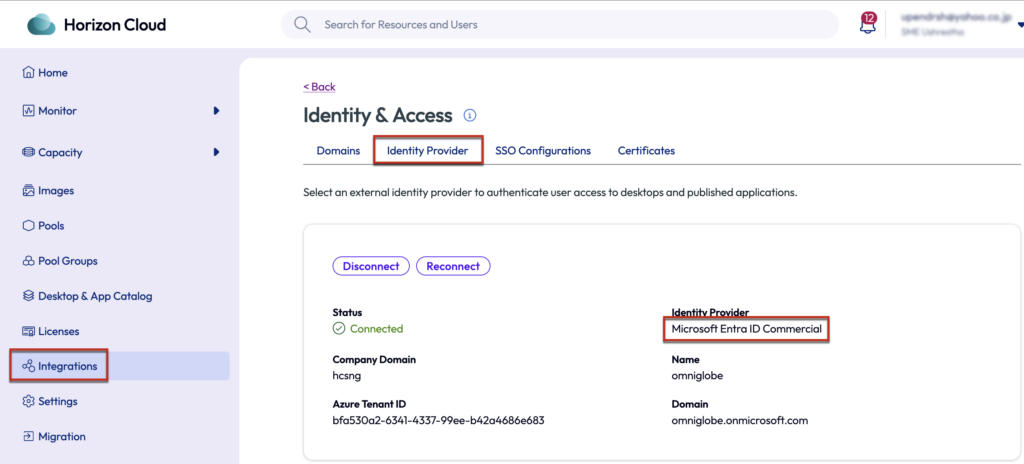
Assuming Horizon Cloud Sevice on Azure Edge is already deployed and Entra ID is registered as users identity in Horizon Cloud Universal console. The desktops pool and the published application pool are already configured with the supported version of Horizon agent.
In the next step, we are going to prepare a separate service principal and configure the Entra ID SSO.
Step-1, Creating Azure Service Principal (app registration) for Entra ID SSO configuration
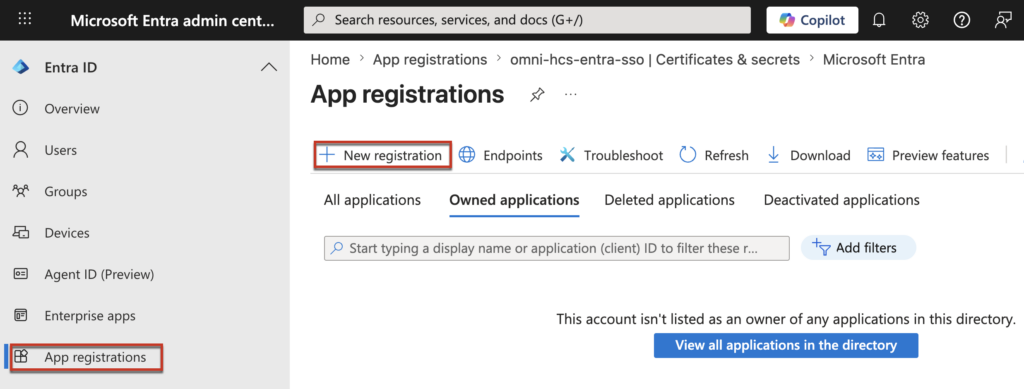
1.1 Sign in to the Microsoft Entra ID Portal at https://entra.microsoft.com/#home with an account that has appropriate permissions, navigate to [App registrations] in the left pane > [New registration].
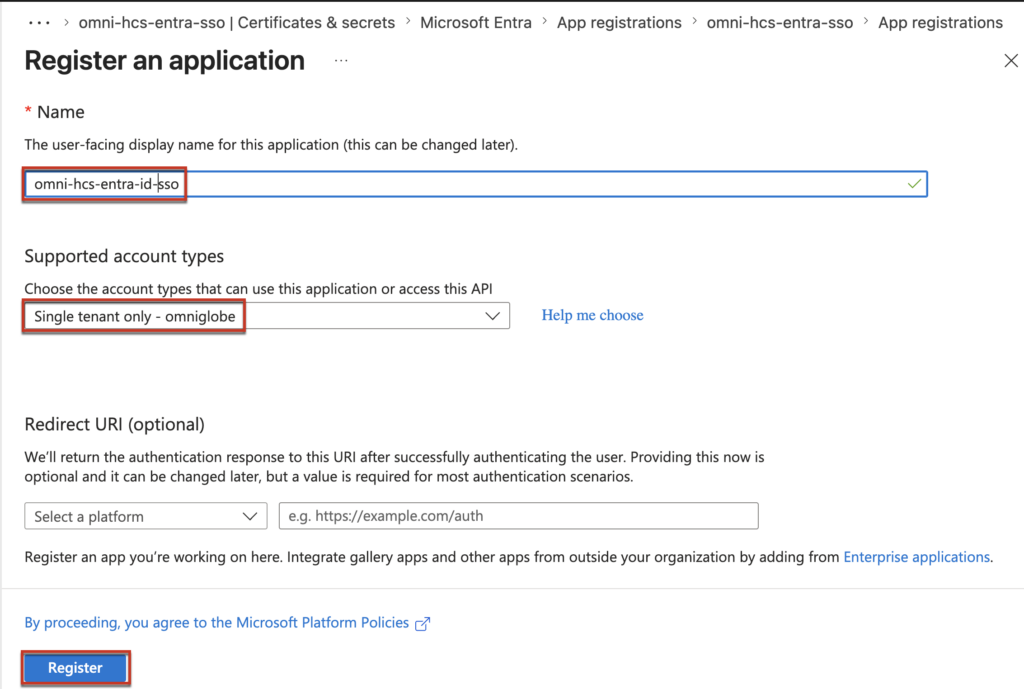
1.2 Give the name of your choice in [Name] > select [Single tenant only] in supported account type section > [Register].
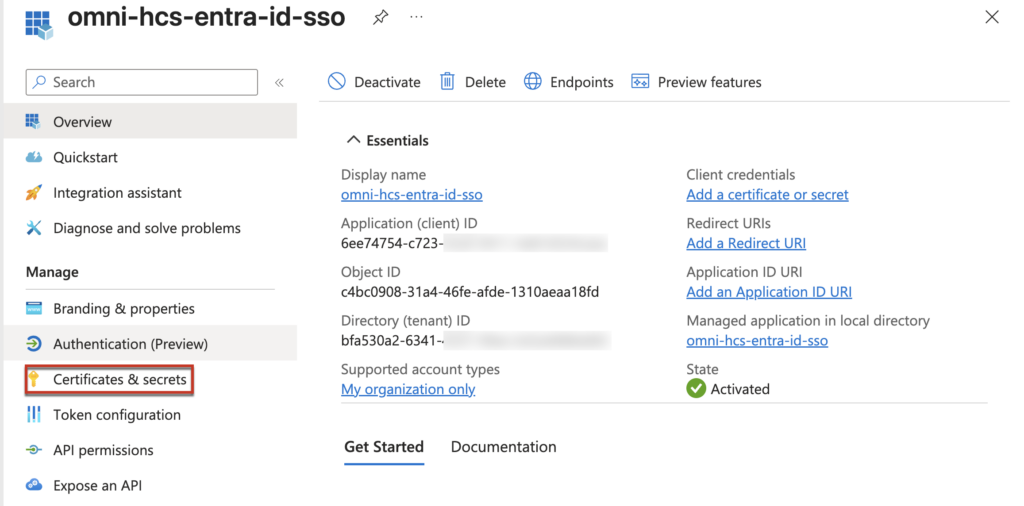
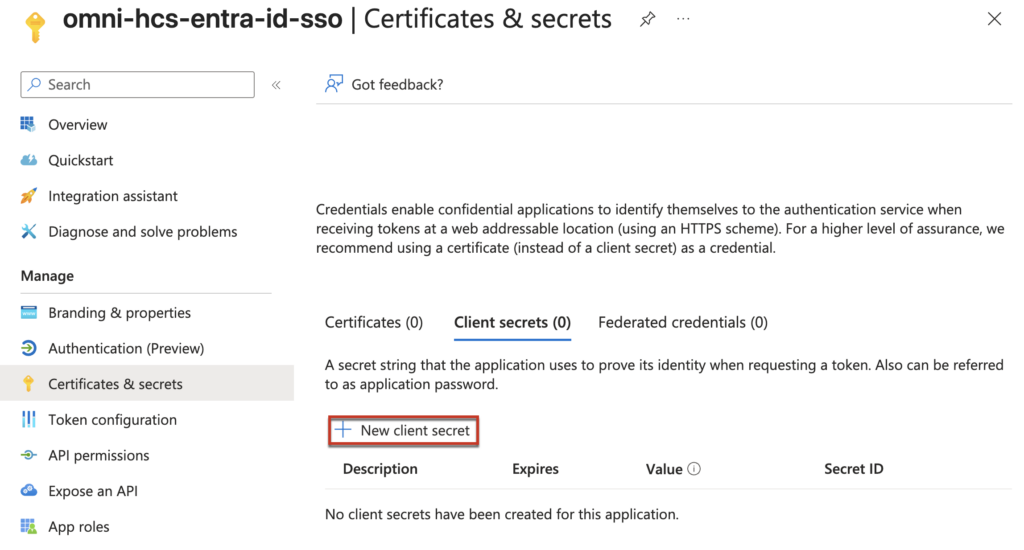
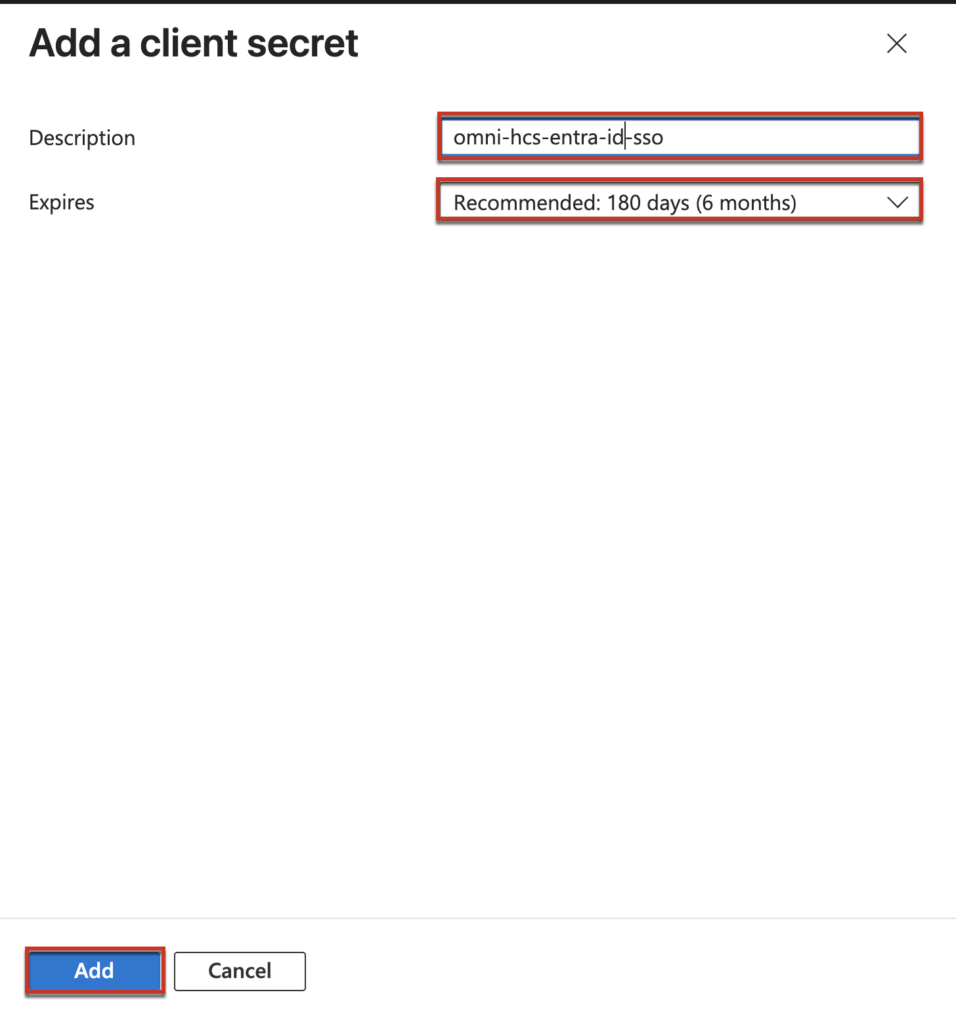
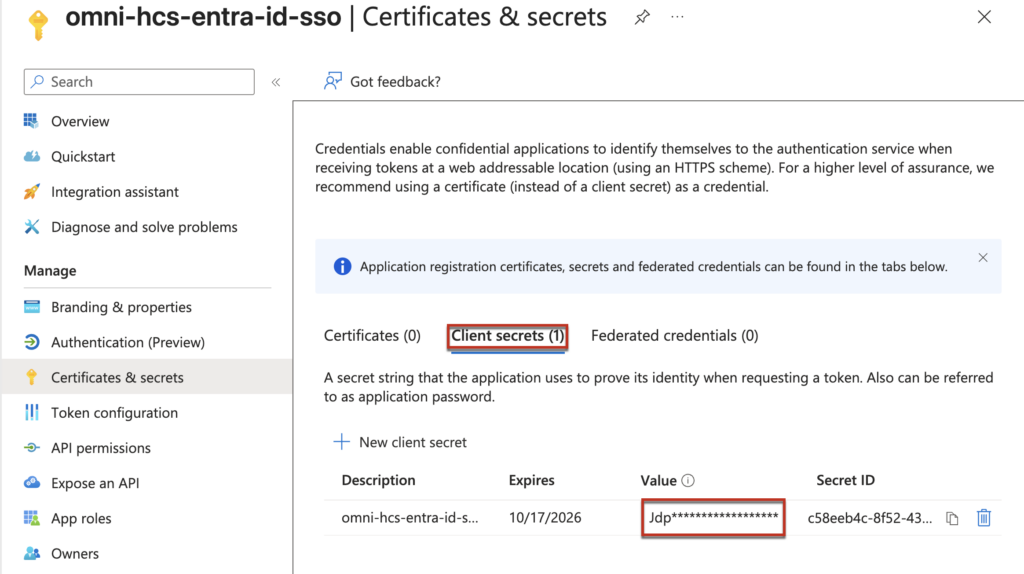
1.3 Expand the newly created service principal > select [Certificate & Secrete] > [New Client Secrete] > add the desciption and expire date for the client secrete > [Add].
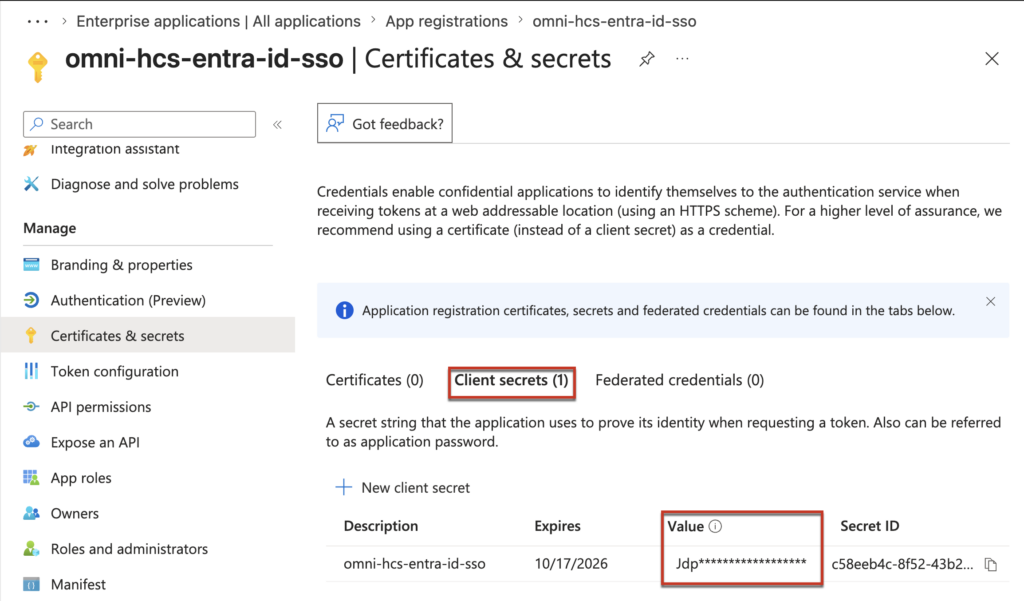
1.4 Copy and securely store the client secret displayed in the [Value] column. This secret will be required when configuring the SSO client using the PowerShell script in a later step.
Important: Immediately copy and securely store the client secret value. This value is only visible at the time of creation and cannot be retrieved later. You will need this value when executing the SSO configuration script.
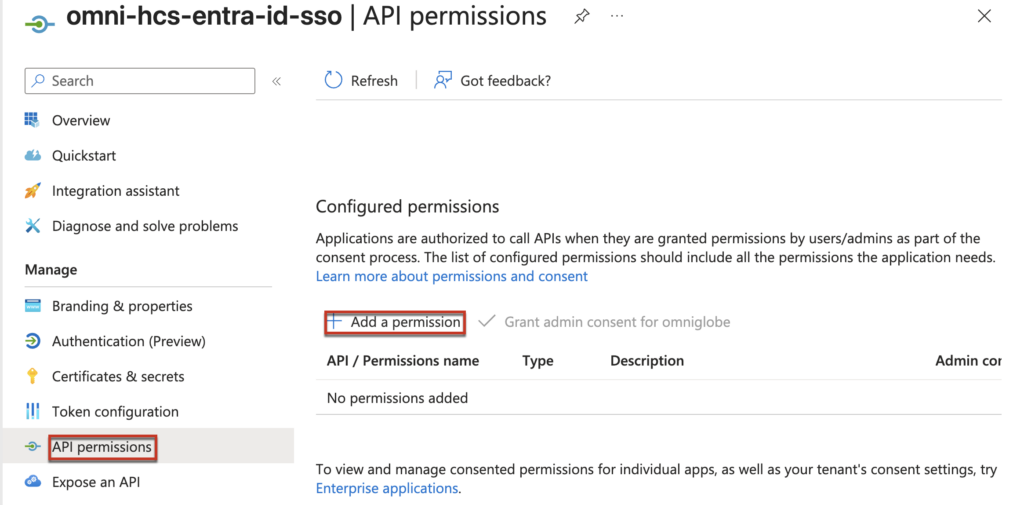
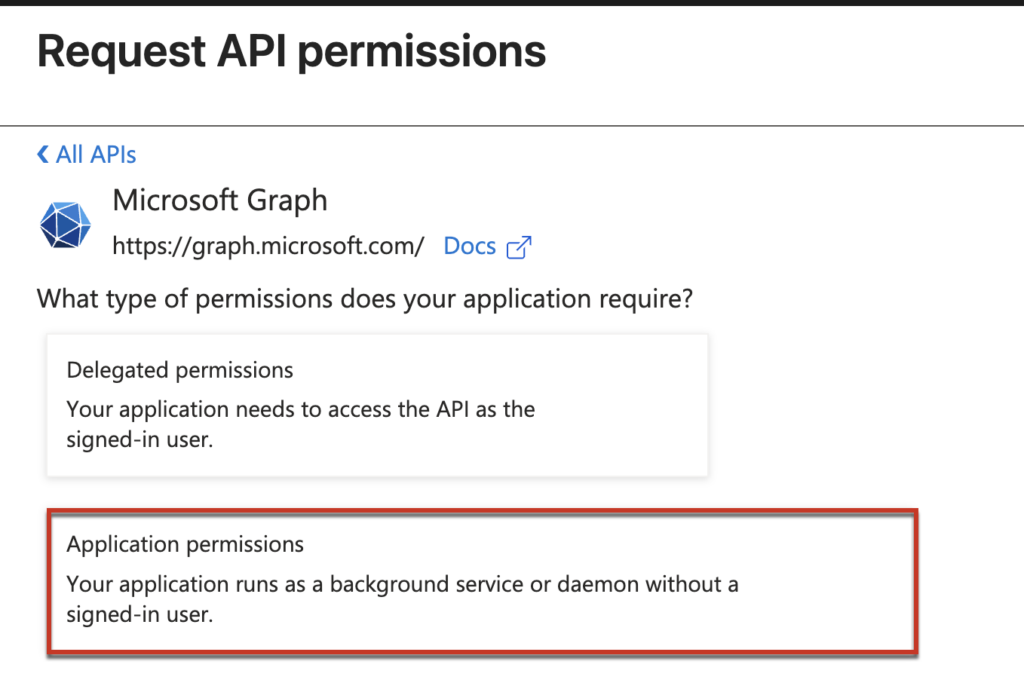
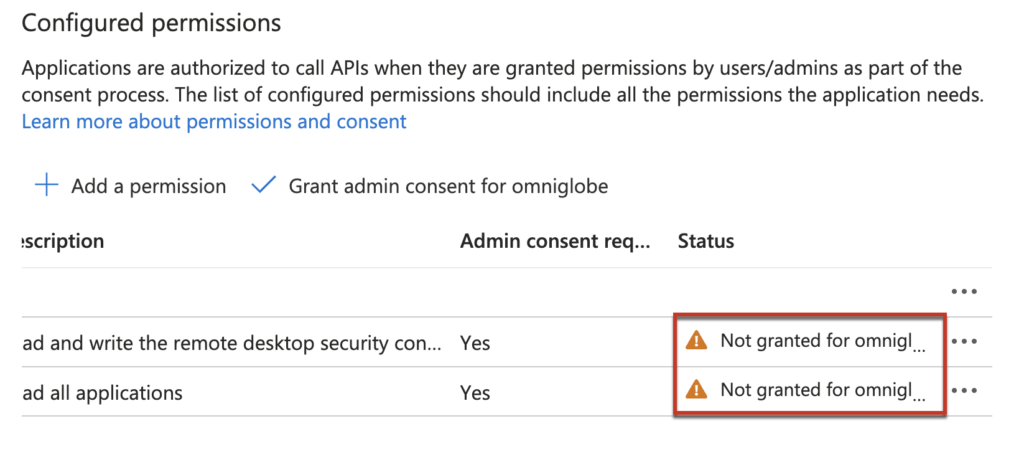
1.4 Select [API permissions] > [Add permission] > [Microsoft Graph] > [Application permission] > find [Application.ReadWrite.All] & [Application-RemoteDesktopConfig.ReadWrite.All] > [Add permission].

1.5 Once you added the permission to the service principal, if you look ad status column you will see [Not granted for Entra ID tenant]. You would need to grant the permission.
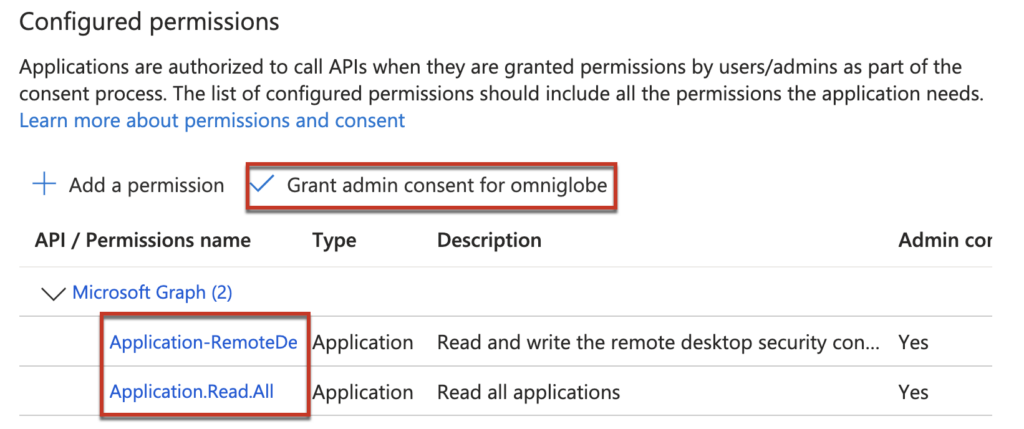
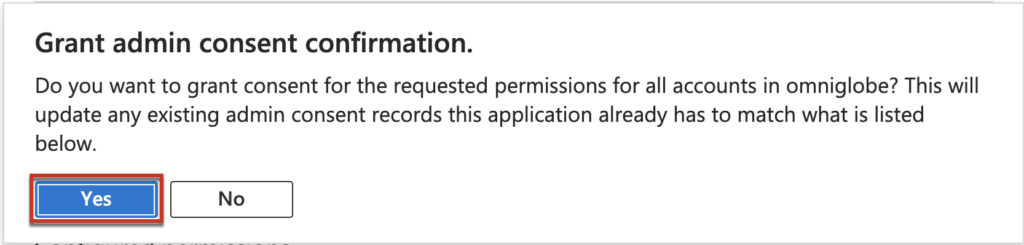
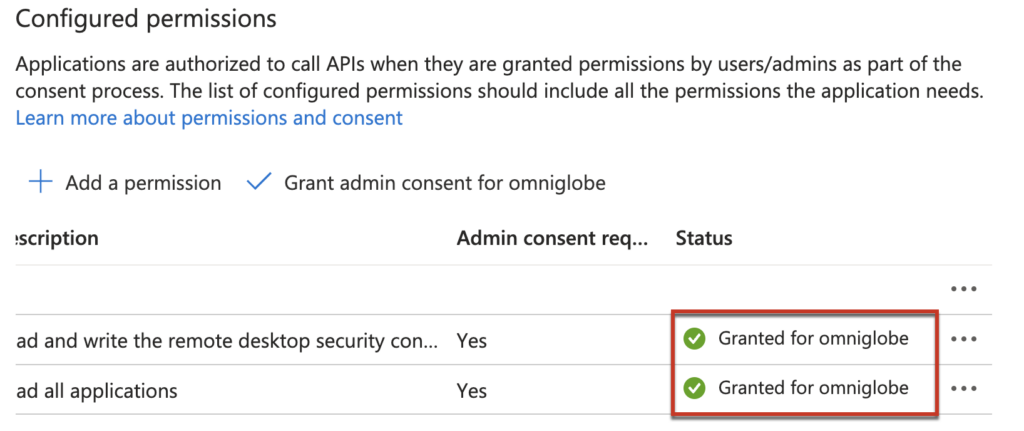
1.6 Select [Grant admin consent for Entra ID tenant]. In my case Entra ID tenant name is omniglobe > [Yes] > verify the permission status has been changed to [Granted] with green ticked.
Step-2, Creating the Trusted Device Group and Users Group
We will create the trusted devdice group and users group in this step.
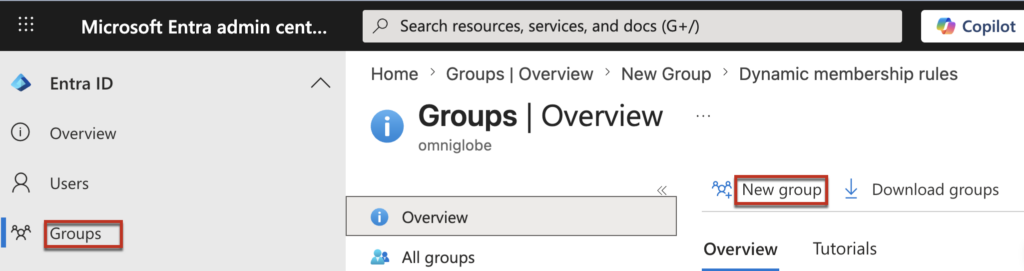
2.1 If you are signed out from Microsoft Entra ID portal, Sign in at https://entra.microsoft.com/#home with an account that has appropriate permissions, navigate to [App registrations] in the left pane > [Groups] > [New Group]
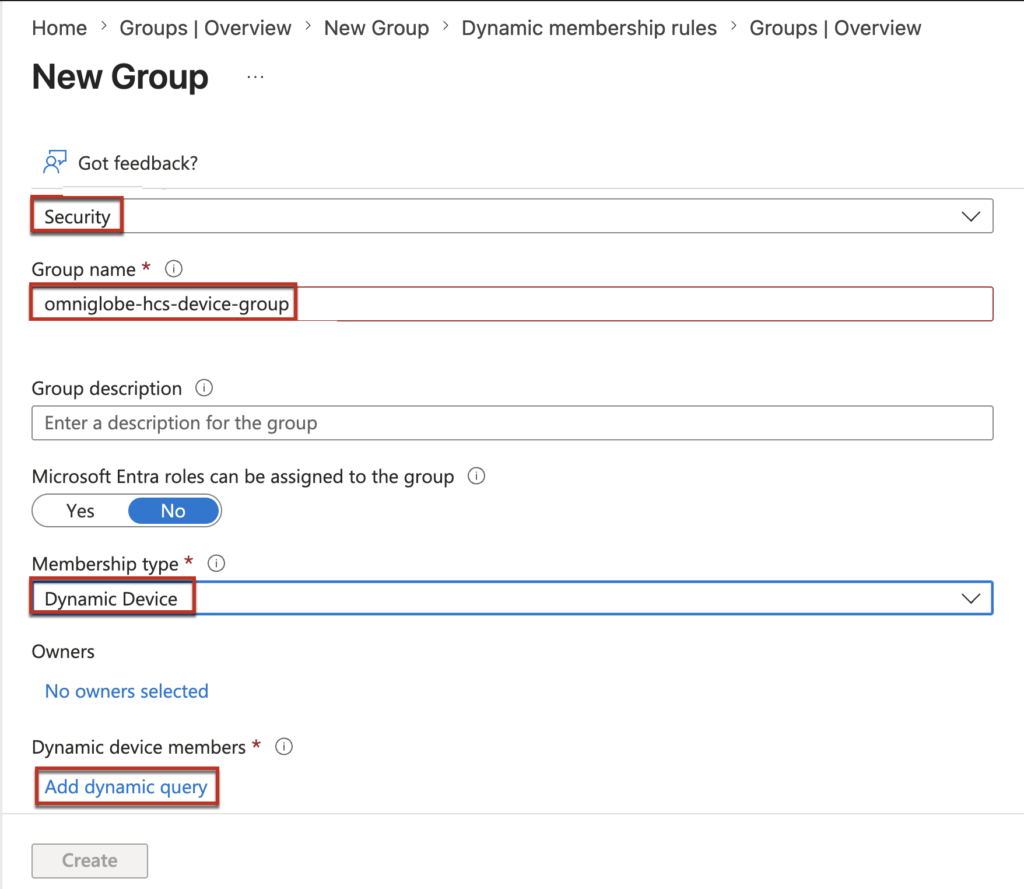
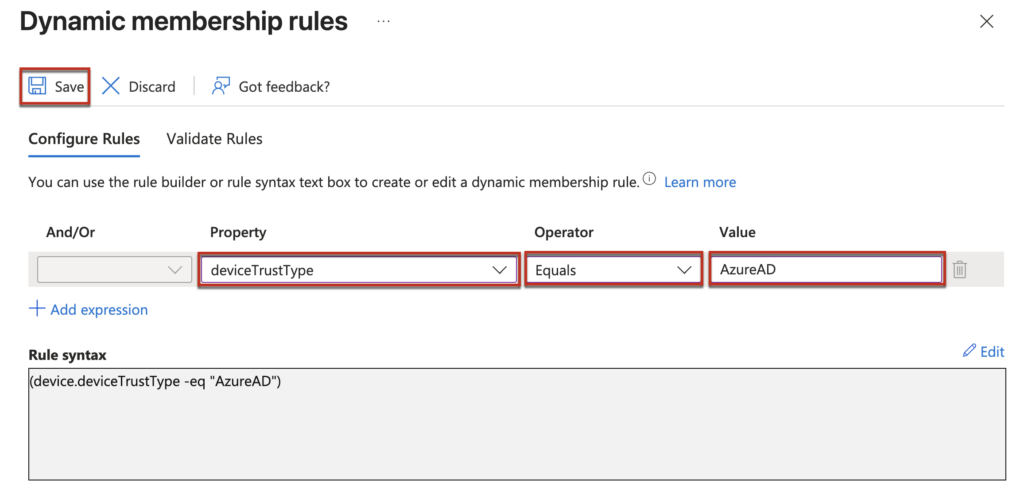
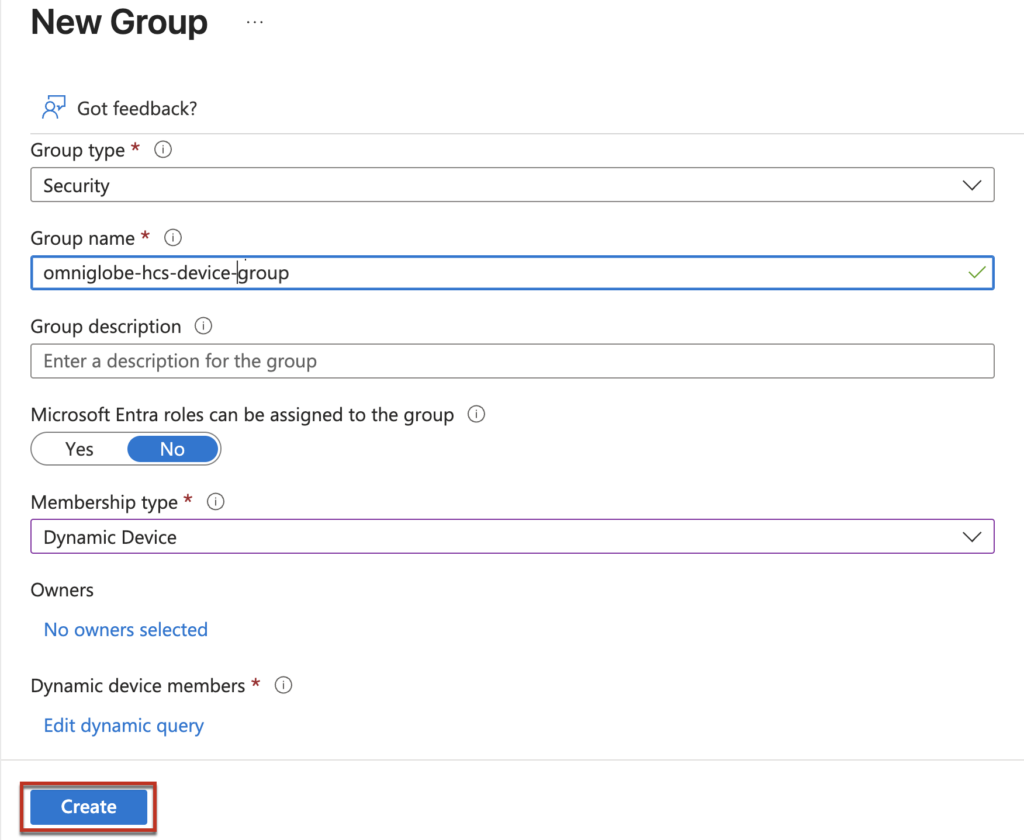
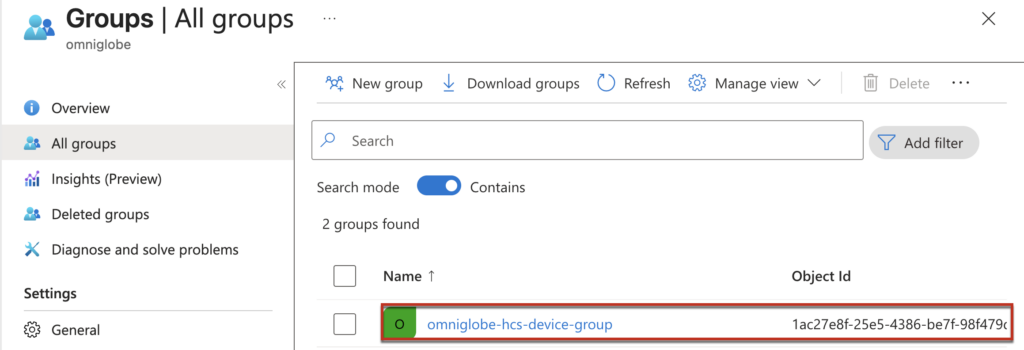
2.2 Select the [Security] under the Group type > define the [Group name] > select [Dynamic Device] from the drop down menu in the [Membership typ] > [Add dynamic query] > define the Property as [device trust type], operator as [Equals] > value as [AzureAD] > [Save] > [Create] and confirm the trusted device trust name is created.
2.3 Create users group
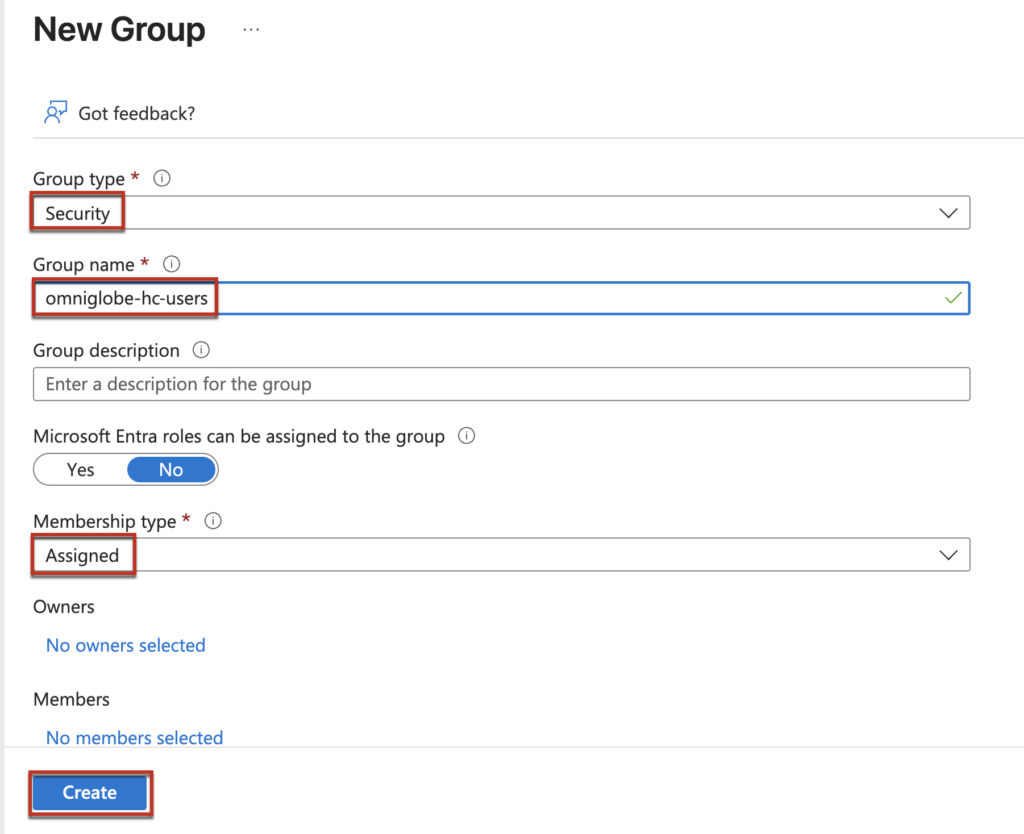
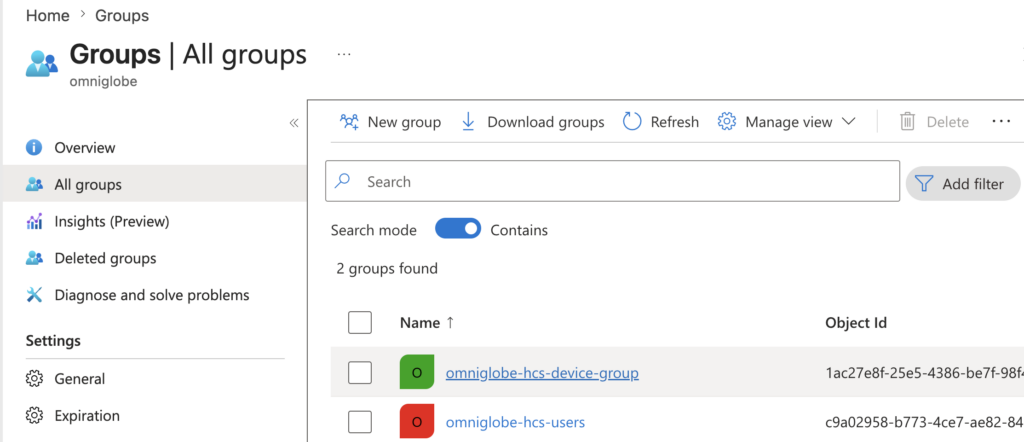
[Groups] > [New Group] > select the [Security] under the Group type > define the [Group name] > select [Assigned] from the drop down menu in the Membership typ > [Create] and confirm the users group is created.
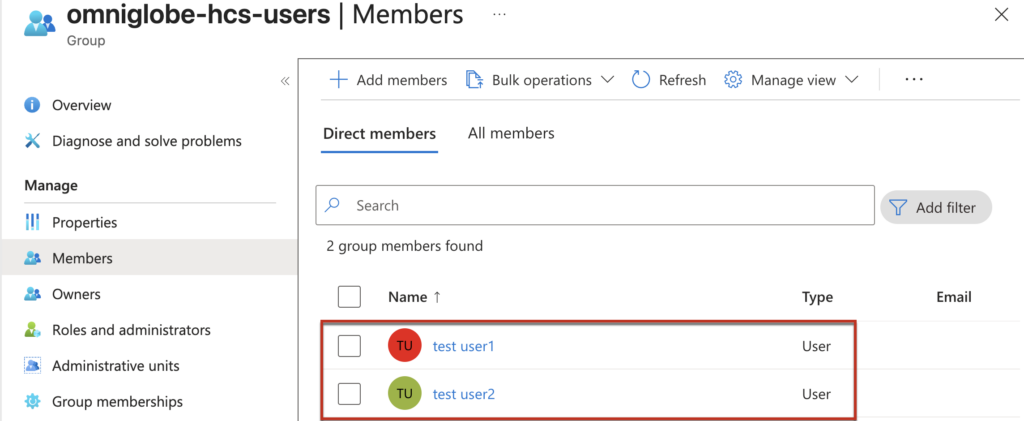
Add the users to the users group.
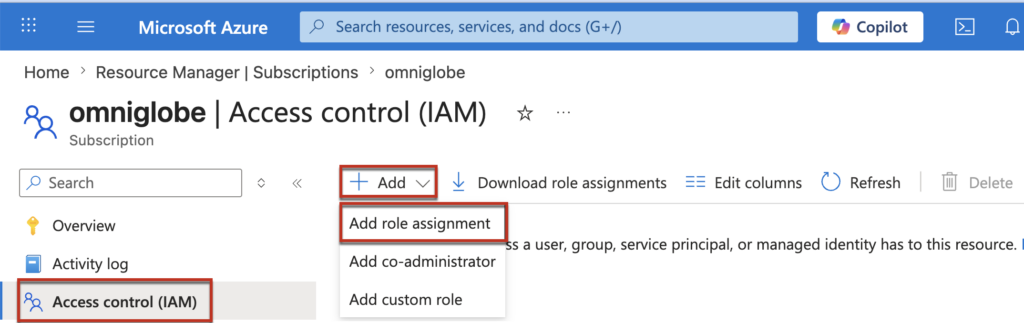
Assign the [Virtual machine user login] role to users group. Loging to Azure portal > [Access Control (IAM)] > [Add] >[Add role assignment].
Note: “Virtual machine user login” role is MUST for the Entra ID users to login to the VM (HCS desktops) in the azure subscription .
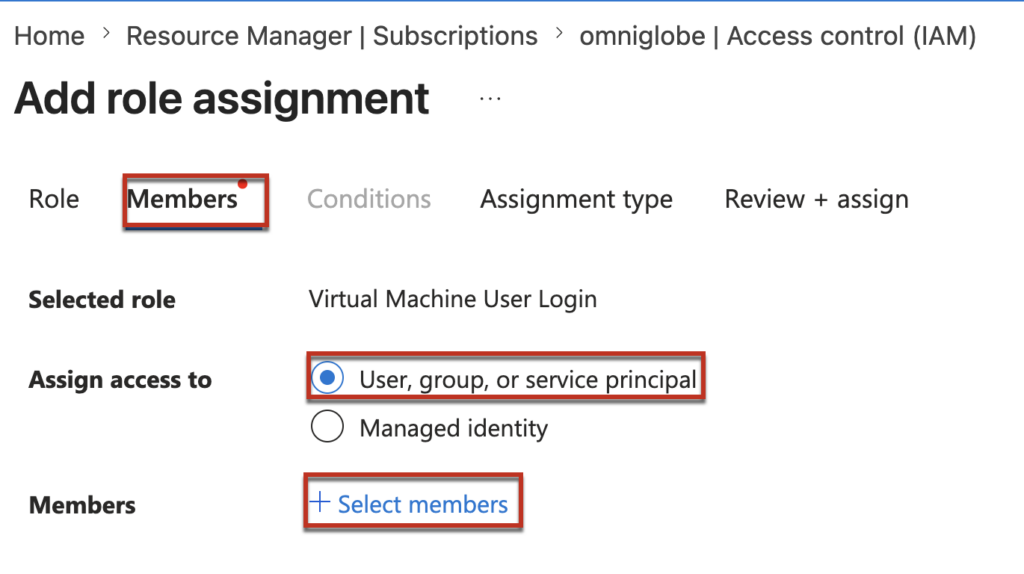
[Members] > [User, Group or Service Principal] > [select members]
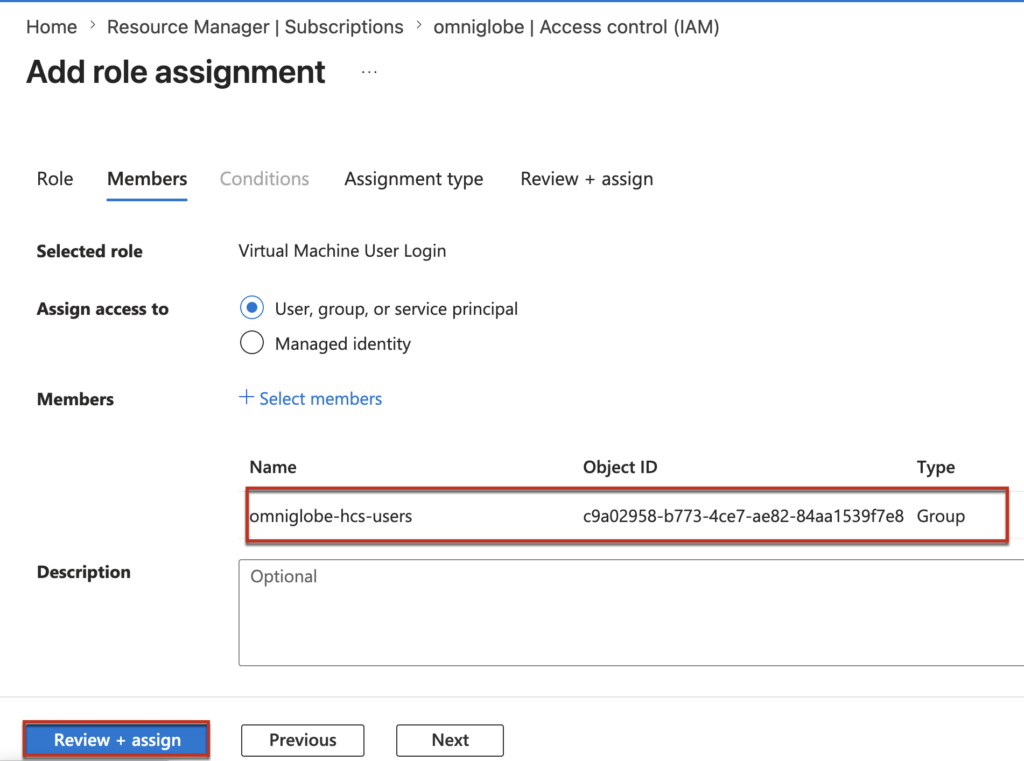
Select the users group you have created > [Select] > [Review and assign].

Step-3, Configure Entra ID SSO with Omnissa provided powershell script.
Note: As I mentioned previously, Omnissa Inc. will be responsible to enable the Entra ID SSO feature flag on your HCS tenant which is not enabled by defaul as of April 2026 and provide the powershell scrip to configure the SSO.
3.1 Preparation of the syntax to execute the powershell script. You will need to execute all together 3 scripts to configura and verify the SSO configuration.
3.1-a Generate access token using your service principal you have create in step-2.
./EntraID-ConfigureSSO.ps1 -Action getGraphAccessToken -TenantId "<AZURE_TENANT_ID>" -ClientId "<AZURE_APP_CLIENT_ID>" -ClientSecret "<AZURE_APP_CLIENT_SECRET>" TenantId = Your tenant ID, you can confirm in your service principal
ClientId = Application (client) ID of your service principal
ClientSecret = Certificates & secrets you created in step 1.4

3.1-b Configure SSO for Resource and Client Applications. Optionally configure Trusted Device Group
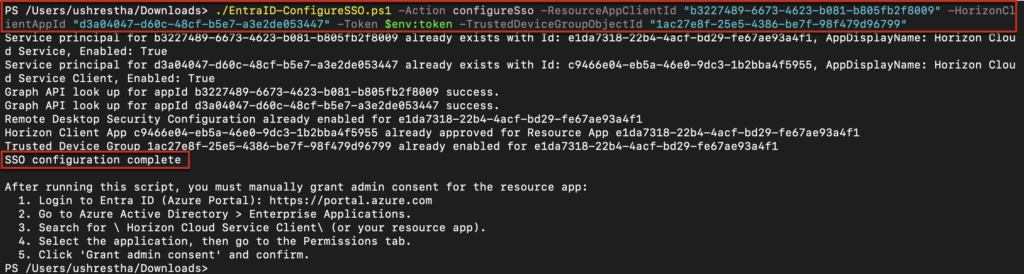
./EntraID-ConfigureSSO.ps1 -Action configureSso -ResourceAppClientId "<OMNISSA_RESOURCE_APP_ID>" -HorizonClientAppId "<HORIZON_CLIENT_APP_ID>" -Token $env:token -TrustedDeviceGroupObjectId "<DEVICE_SECURITY_GROUP_OBJECT_ID>"ResourceAppClientId = Omnissa provided, use below
"b3227489-6673-4623-b081-b805fb2f8009"
HorizonClientAppId = Omnissa provided, use below
"d3a04047-d60c-48cf-b5e7-a3e2de053447"
TrustedDeviceGroupObjectId = the Id of the Trusted Device Group you created in step 2.2 (refer below)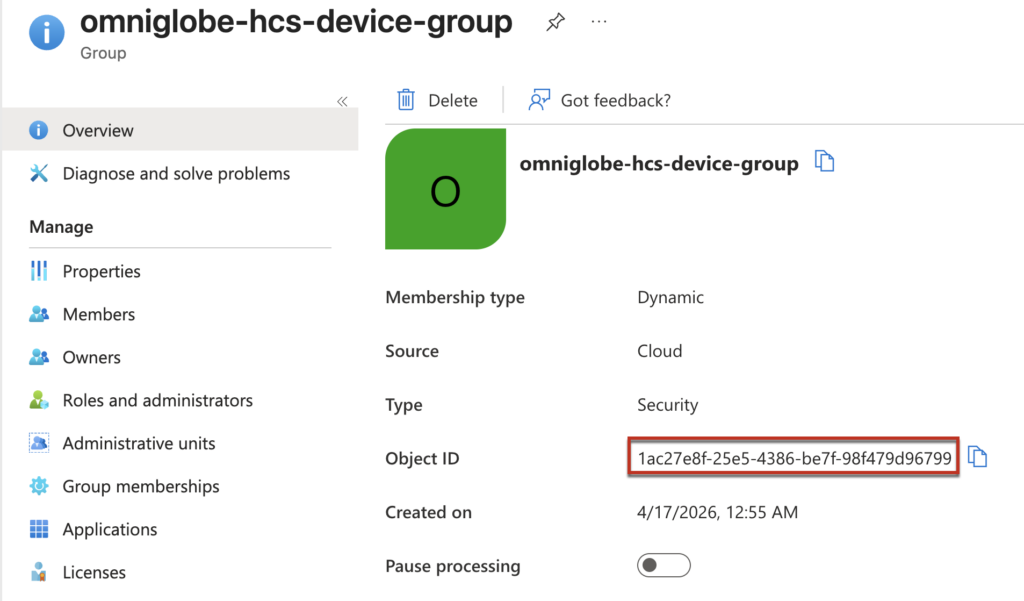
3.1-c (optional) Check current SSO configuration status for Resource App and Client Apps. Optionally verifiy Trusted Device Group configuration.
./EntraID-ConfigureSSO.ps1 -Action checkSso -ResourceAppClientId "<OMNISSA_RESOURCE_APP_ID>" -HorizonClientAppId "<HORIZON_CLIENT_APP_ID>" -Token $env:token -TrustedDeviceGroupObjectId "<DEVICE_SECURITY_GROUP_OBJECT_ID>" 3.2 We are all set with the preparation. Let`s configurat the SSO now!
You can execute the powershell script either from Azure Cloud Shell or from the powershell. In my case, i am going to execute from the powershell. You would need to install the Az-module on your PC if you are going with powershell option.
3.2.1 Login to your azure account and execute all 3 commands (3.1-a-c) we prepared above and verify that the SSO has been configured successfully.
For this demonstration, I have placed the Omnissa-provided PowerShell script file “EntraID-ConfigureSSO.ps1” in my Downloads folder and will execute the commands from that directory. You can adjust the file path according to your own environment and preferences.


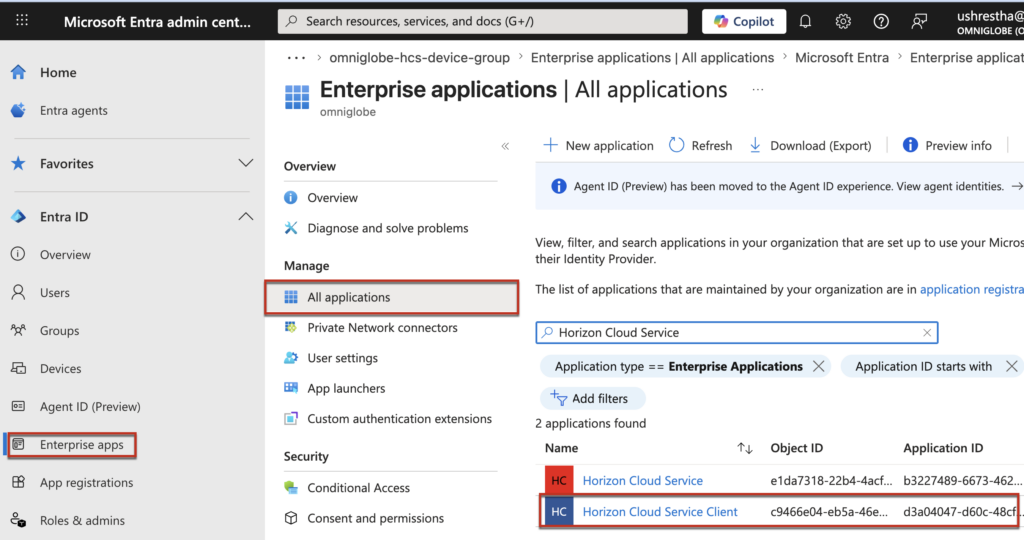
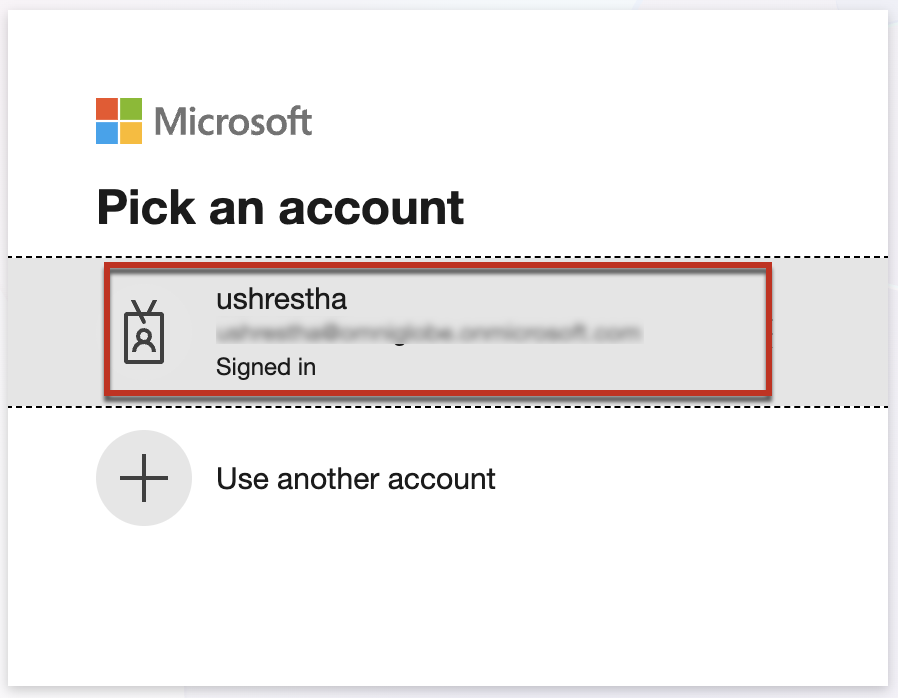
3.2.2 Nagivate to Entra ID portal > [Enterprise apps] > [All applications] > find a app name [Horizon Cloud Service Client] which is created for the Entra ID SSO as part of step 3.2.1.
3.2.3 Click on the application name hyperlink, then click the [Grant admin consent for [Your Organization Name]] button, review the requested permissions carefully, and click [Accept] to grant the required permissions to the application.
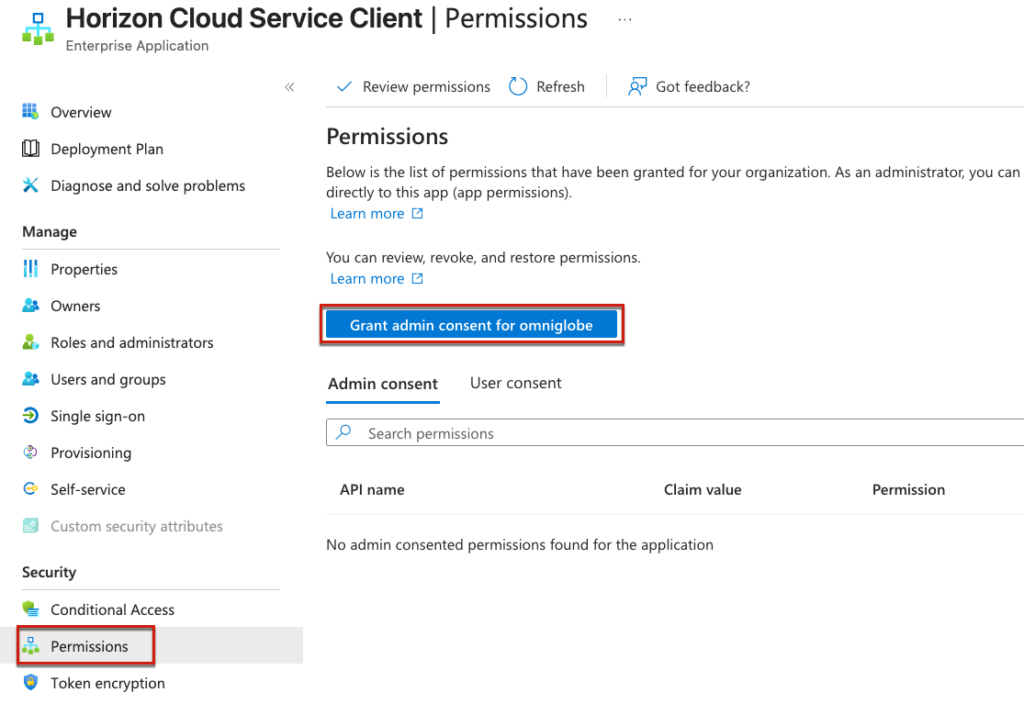
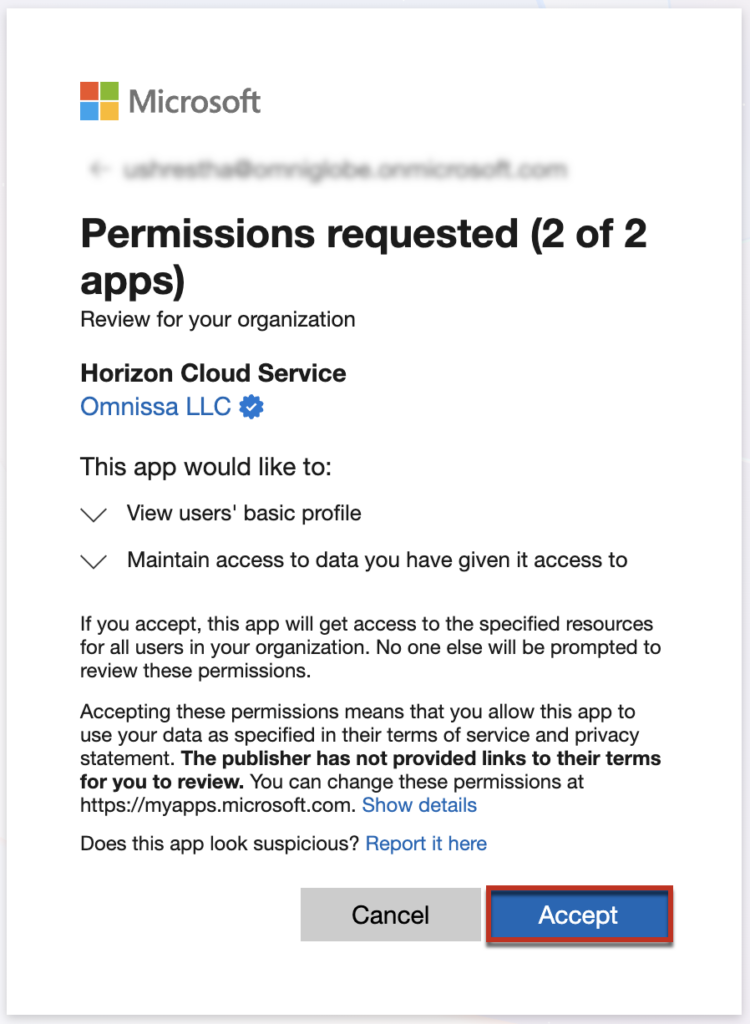
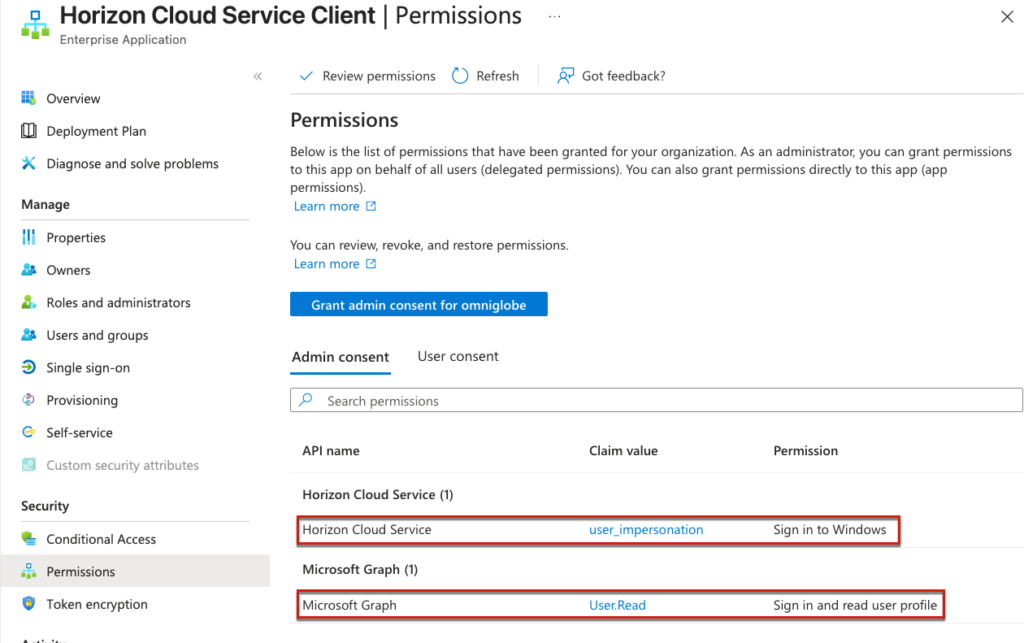
If everything goes well, you will see 2 Admin consents in the Horizon Cloud Service Client enterprise application.
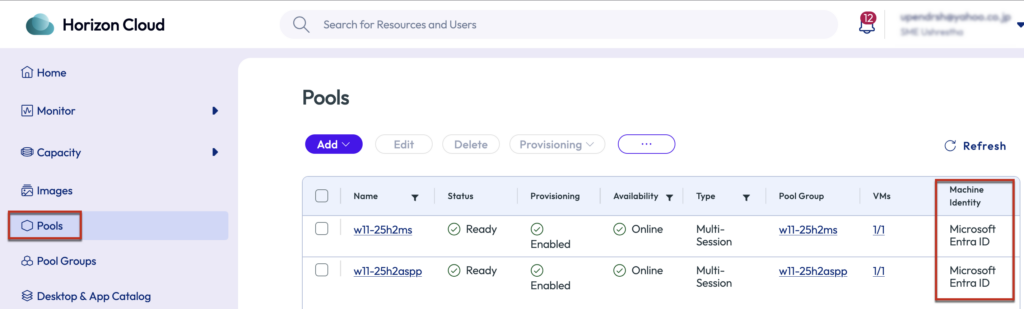
Step-4, Verification of Entra ID SSO by logging into HCS desktop pool and application.
Assuming you already have an entra ID joined desktop and application pool and you have enabled the TruSSO on pool group policies.
4.1 As I mentioned in the Prerequisites section, launch the supported version of Horizon Client (version 2512.x or later) on your compatible client operating system, click the […] menu button in the top-right corner of the Horizon Client application and select [Microsoft Entra ID] from the dropdown menu.

4.2 Enter the Horizon Cloud Service broker URL in the Horizon Client application, authenticate using your company domain and valid username/password credentials, then launch your entitled desktop or published application to verify that Entra ID SSO is functioning as expected. Watch the demonstration video below to see this process in action.